Summary
This tutorial describes how a trainee accesses a BMS educational application and restores their database with maize example data. The tutorial also explains how to browse and create germplasm lists.
Access BMS Educational App
Trainees can access the BMS educational application after the demo administrator establishes their roles and permissions in the system. The demo administrator will share a web link with the trainee, perhaps via email.
- Follow the link to establish a password.

Set Your Password
The temporary url link sent to your email, leads to a page where you can set or reset your password.
- Enter your password twice and select Reset Password.
- Bookmark or save the url corresponding to the server installation of the BMS for future access.
Login
The BMS will automatically log out inactive users.
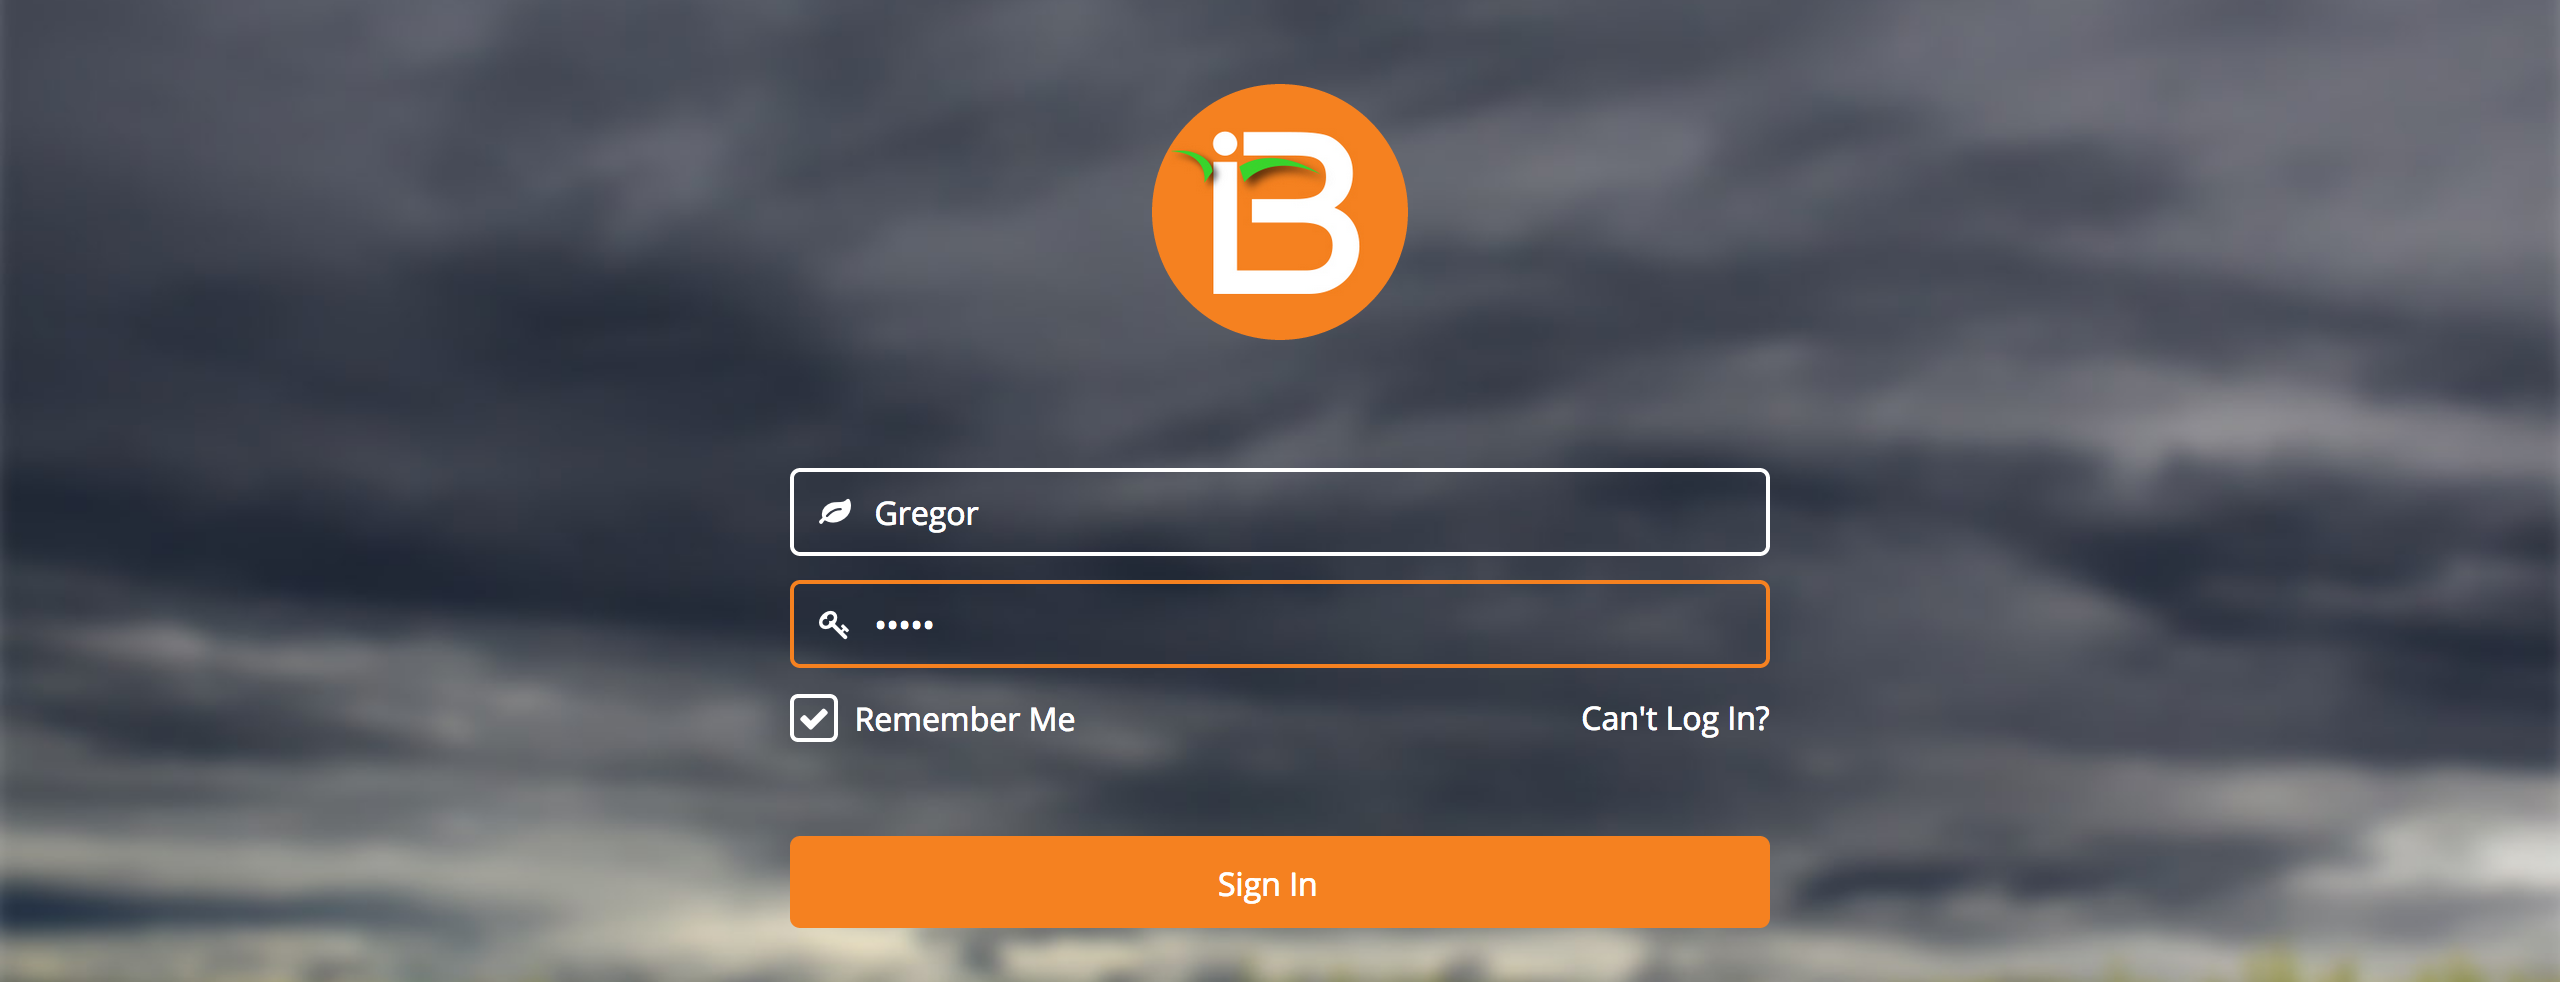
- Login to the BMS by navigating to the url and entering username and password. Select Remember Me if you want to automate login from your computer. Select Sign In.
Forgot Password
If you forgot your password, select Can't login?. Enter your username and email. You will receive an email to reset you password.

Program Overview
- Select the program of interest to launch. (If you do not see a program contact your workshop leader or the IBP staff that granted you access.)

Managing Germplasm
Browse Lists
Select Manage Germplasm from the Breeding Activities menu.
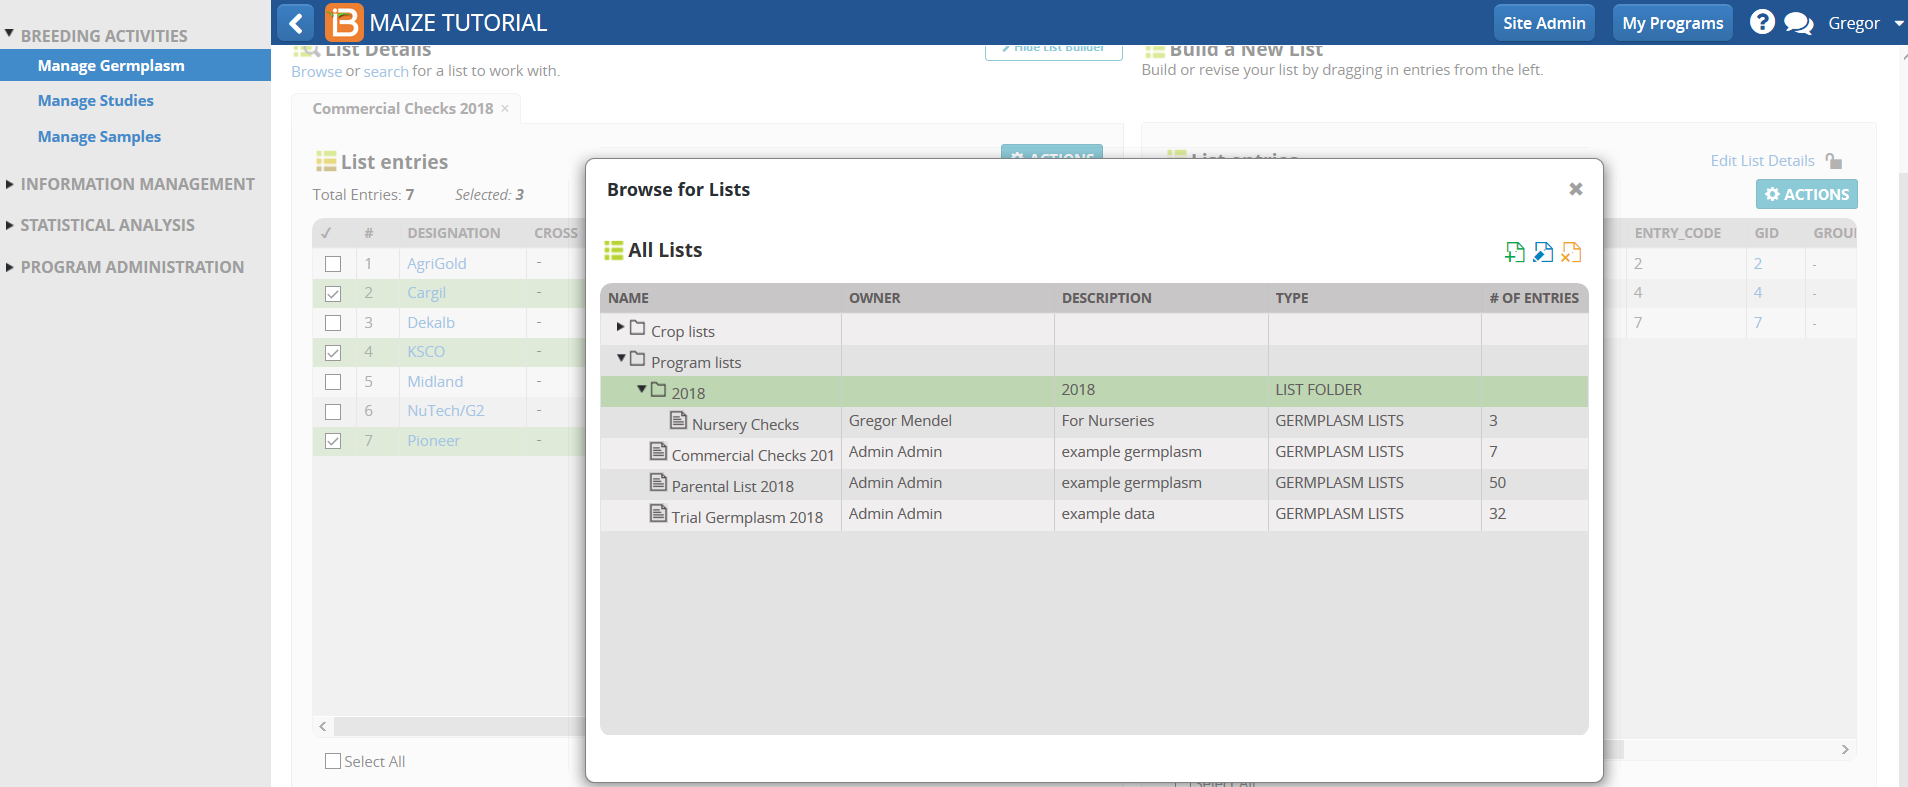
- Select Browse.

Notice that 3 lists of example germplasm are available in the Program Lists Folder (If the example germplasm lists are not available, see instructions above for self-directed demonstrations or contact your workshop leader.)
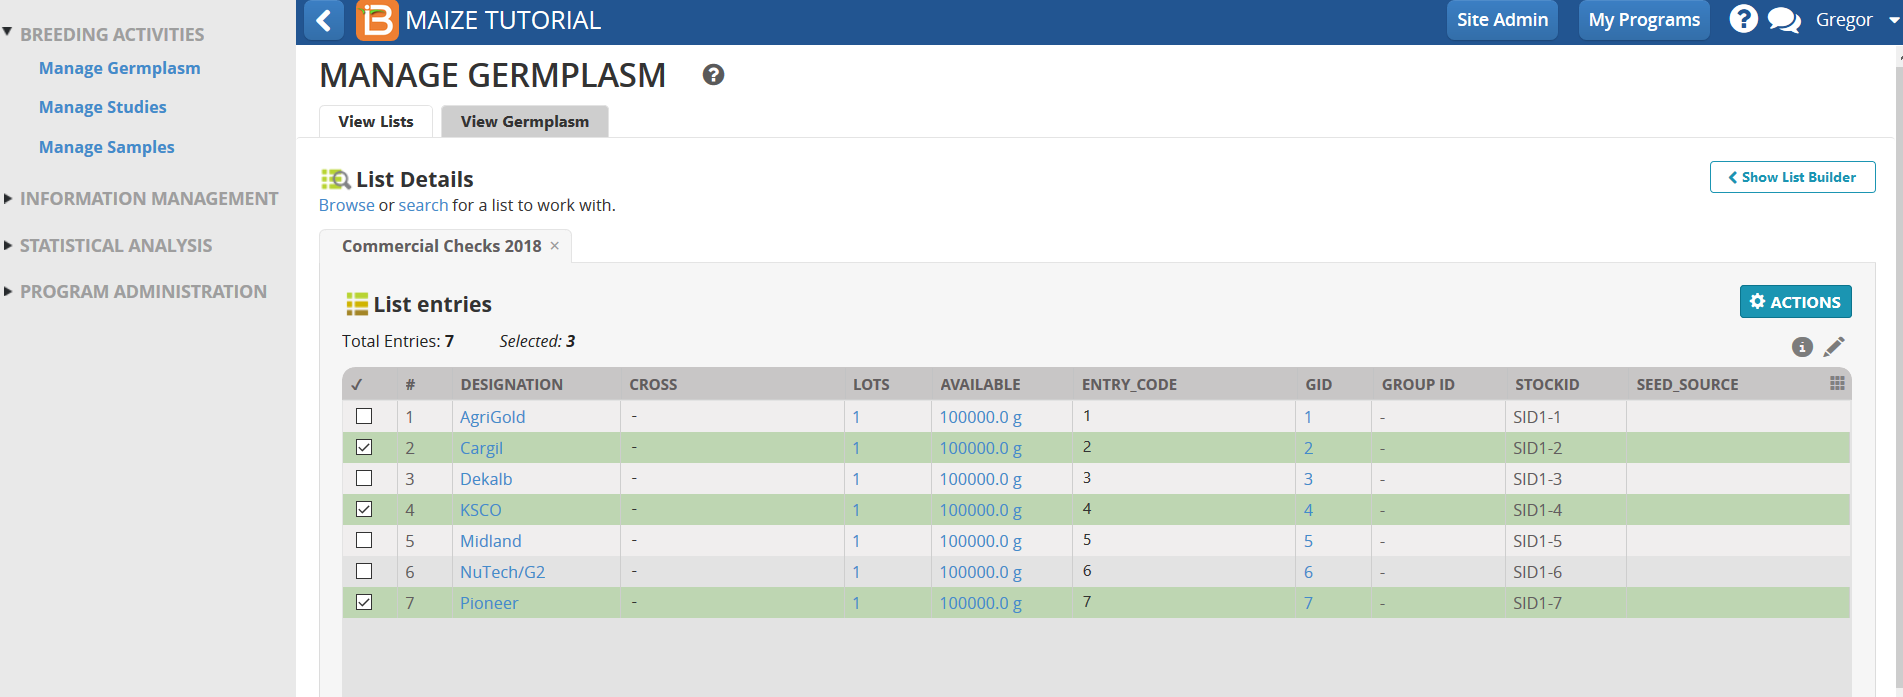
- Select Commercial Checks and close the popup menu.

- Select 3 entries: Cargil, KSCO, Pioneer.
Build New List
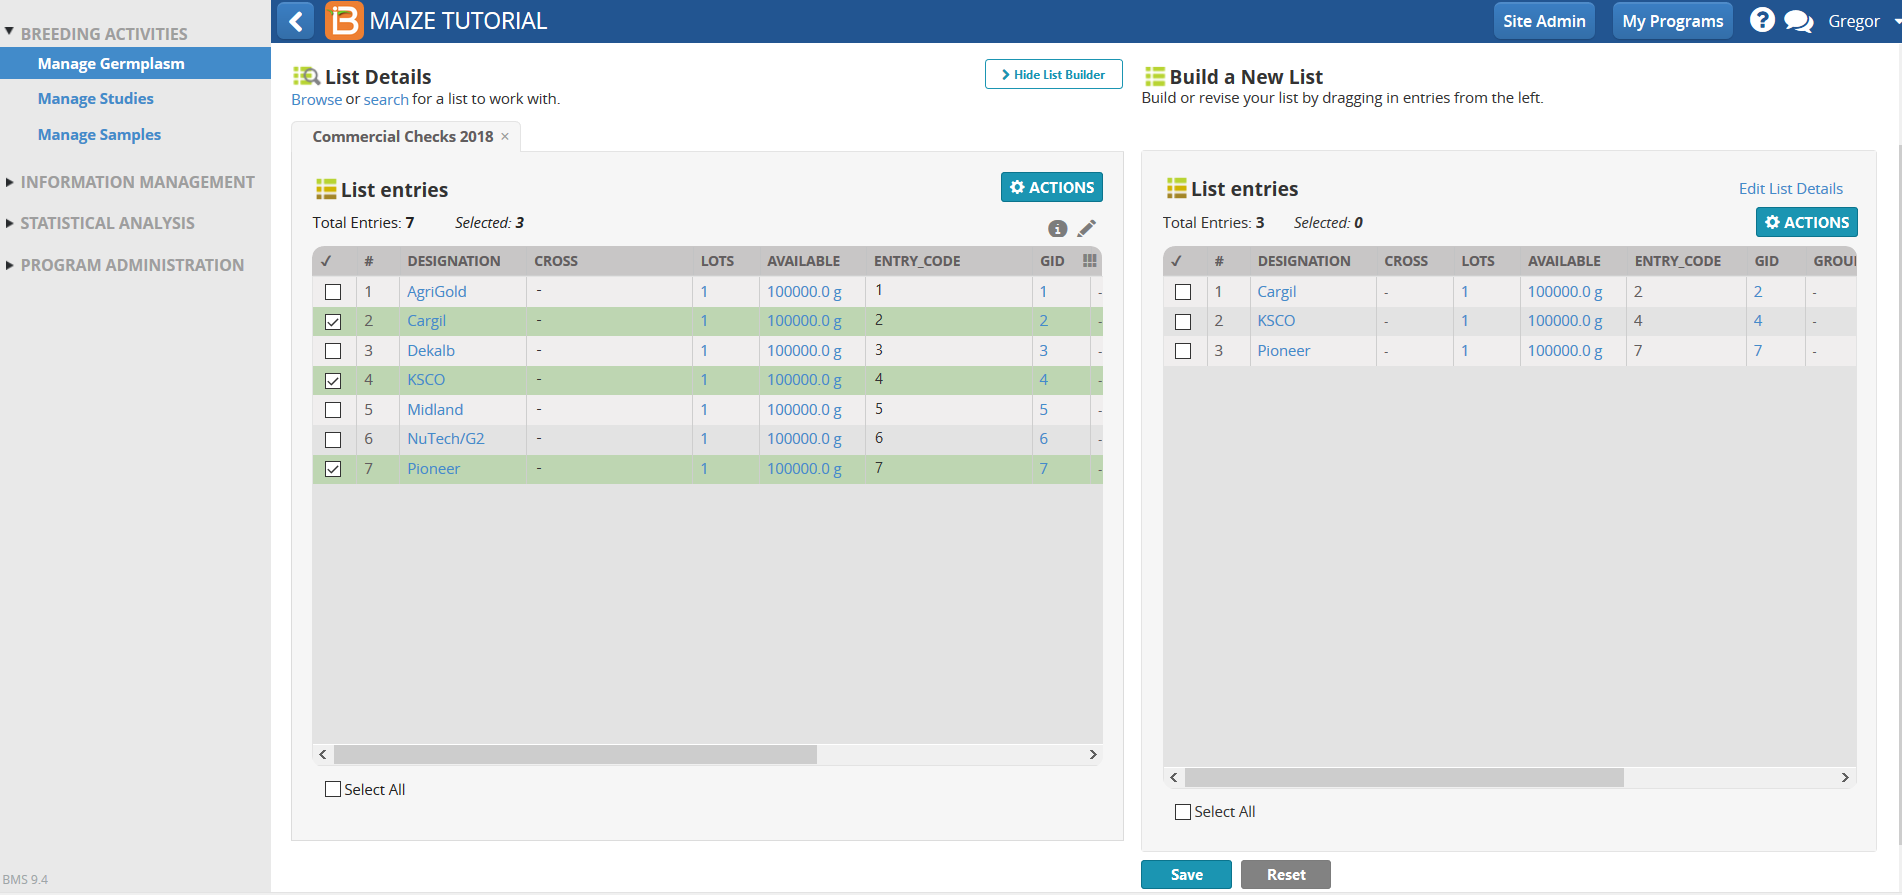
- Select Show List Builder. Drag and drop selections into new list.
- Save the new list of 3 entries.
Save New List
- Select the "green + icon" to add new folder called 2018 into the Program Lists. Select the green check box.
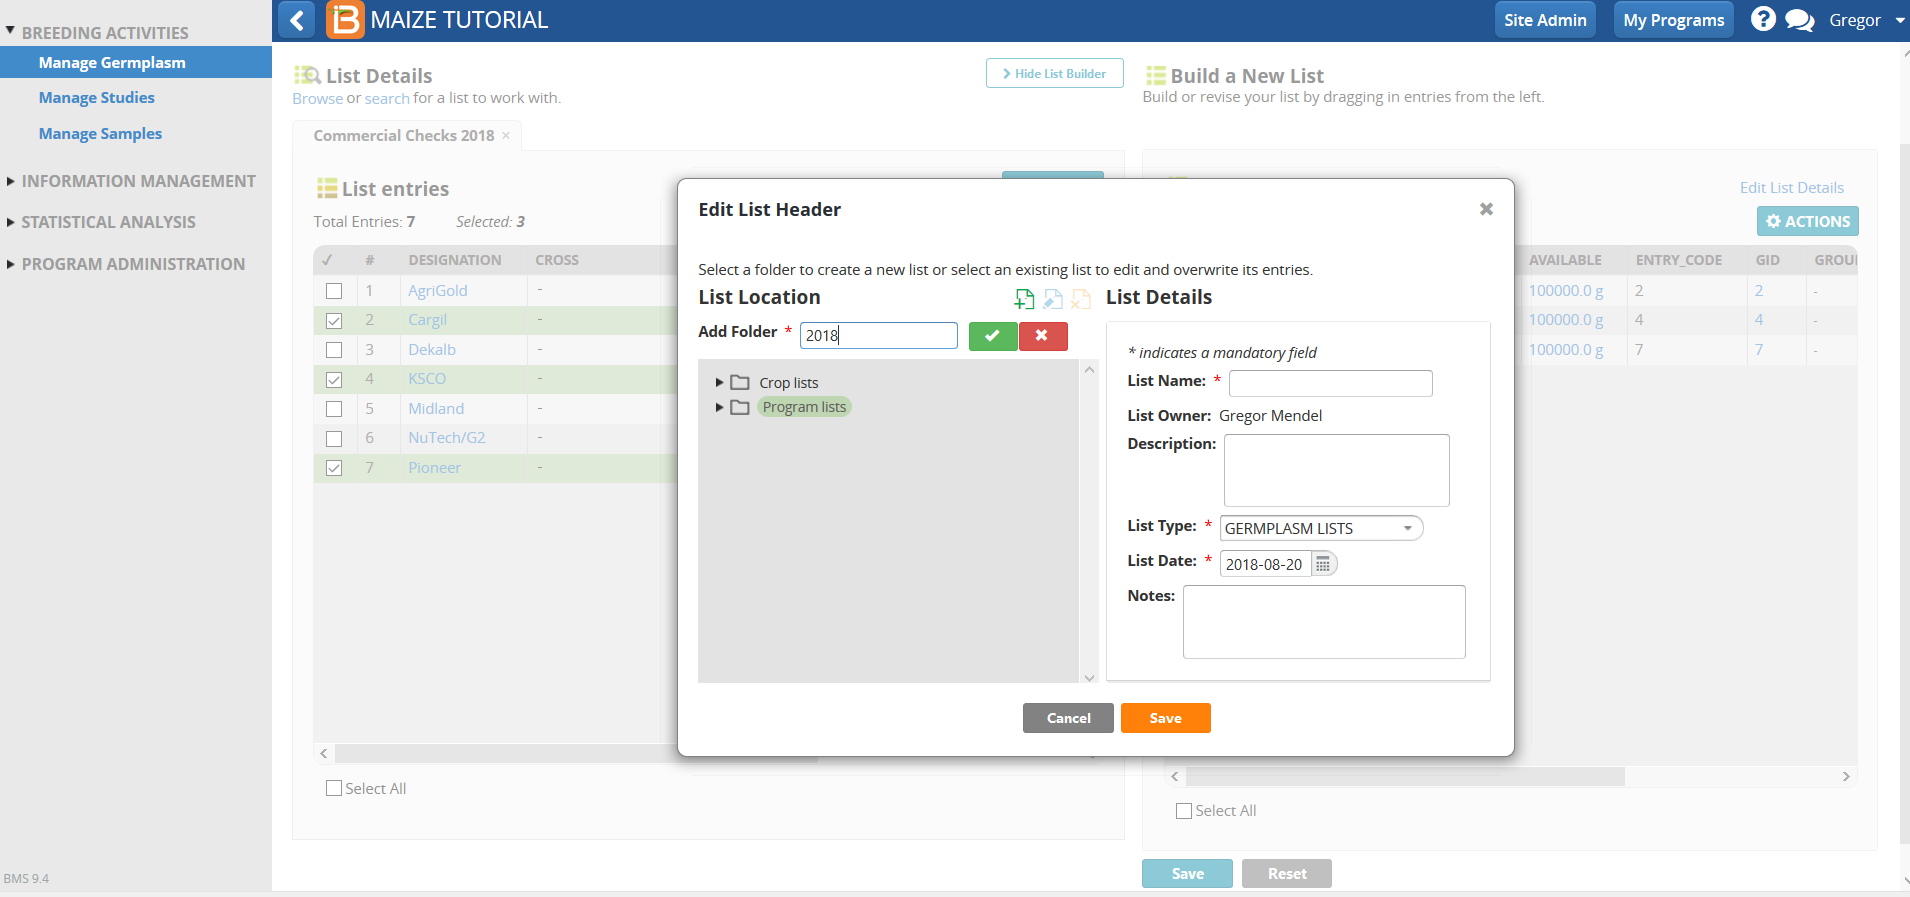
- Name, describe, and save the list. This list of 3 entries will be used as check varieties in 2018 nurseries.
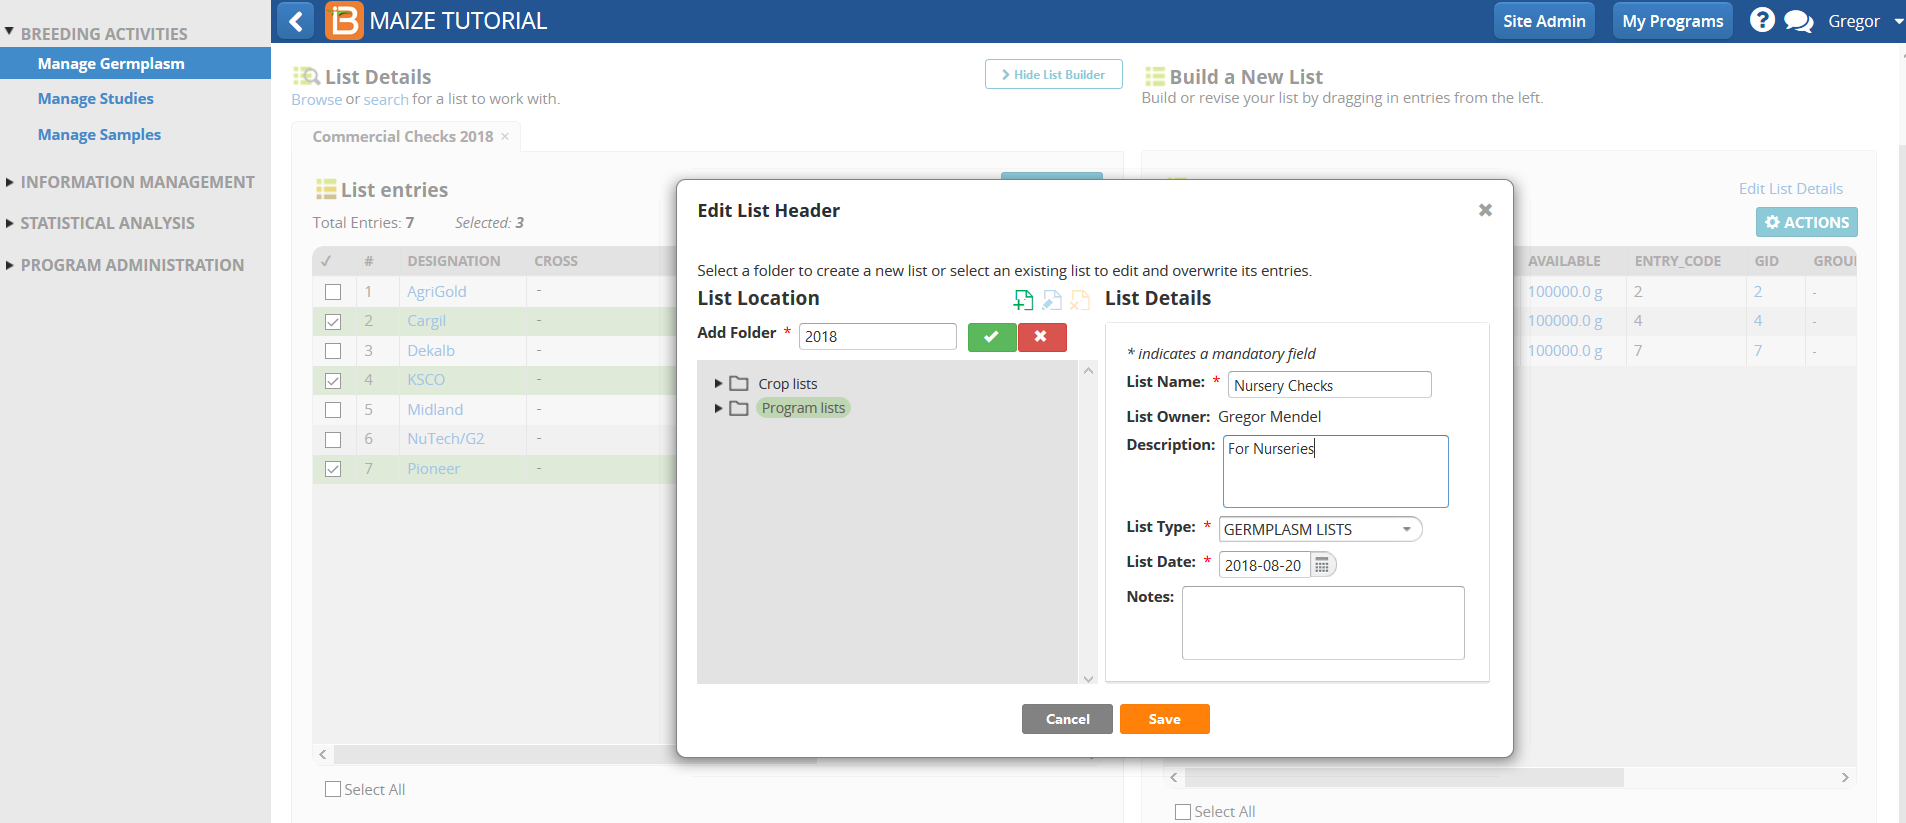
Nursery Checks is now a child page of the 2018 folder.
