

Start a New Study
Create a Breeding Management System study to house data and manage study activities.
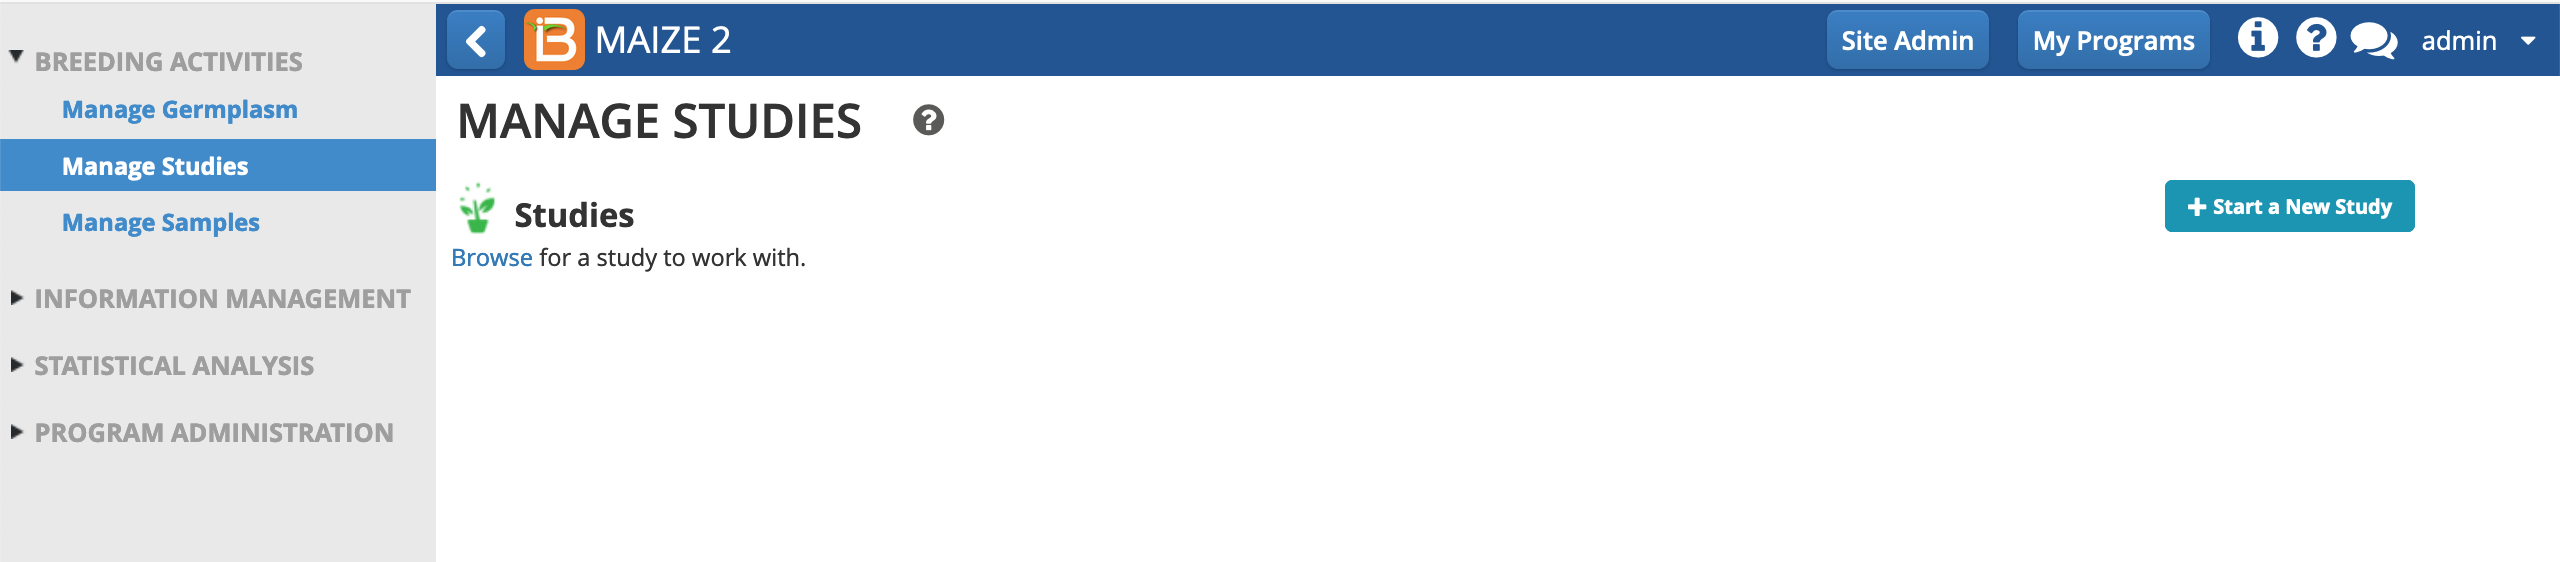
- From Manage Studies on the left menu, select Start a New Study.
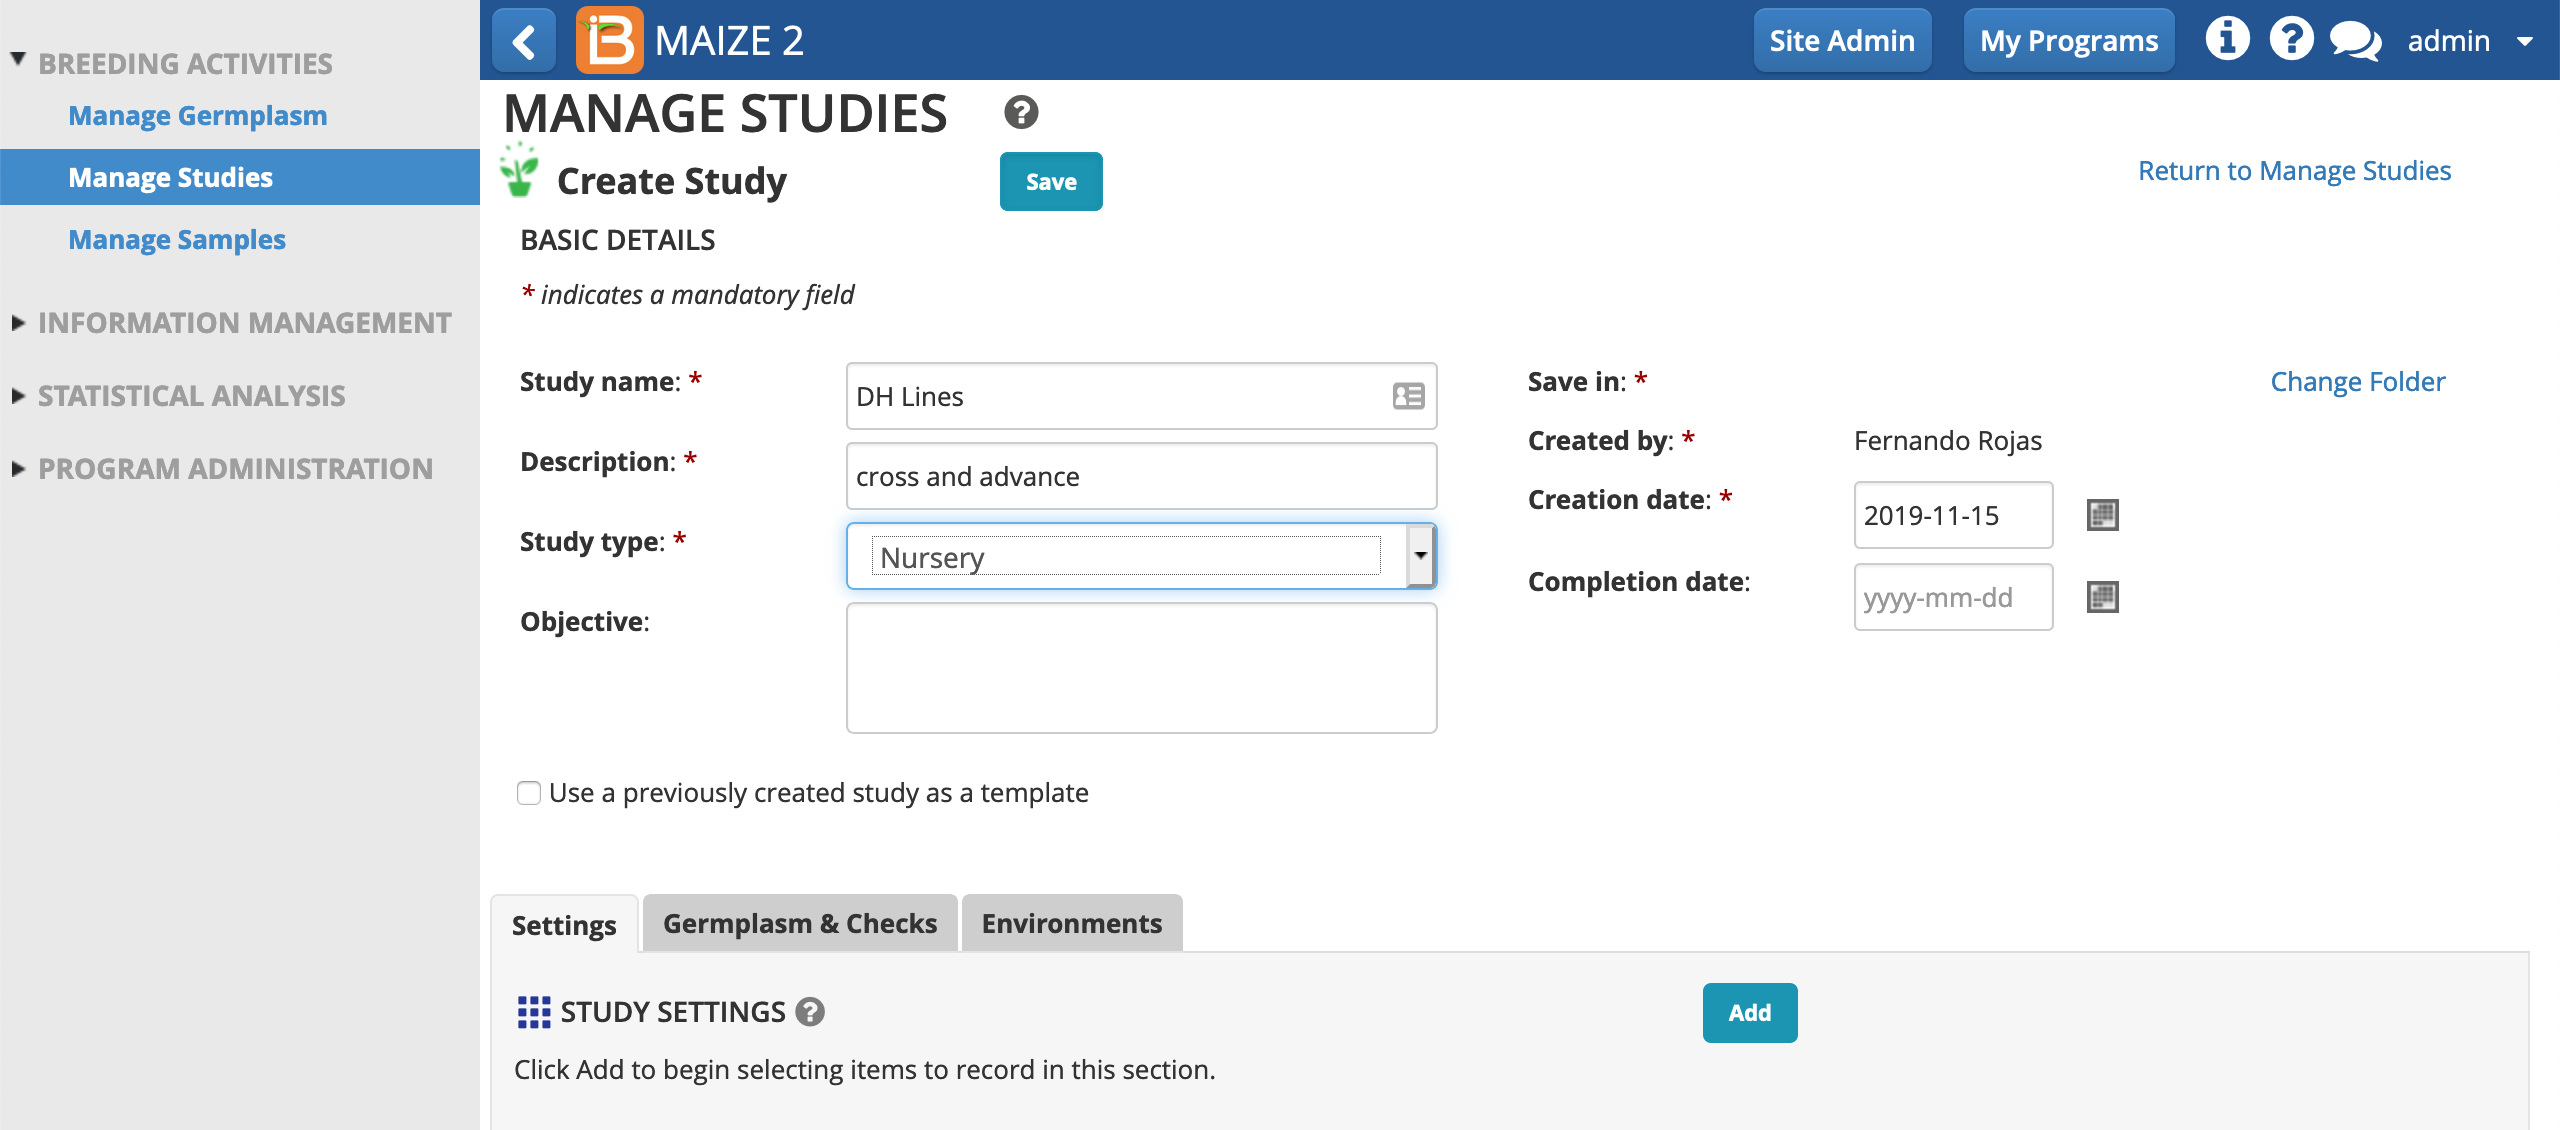
- Name and describe study. Define the study as a Nursery type. Select Save to create the study.
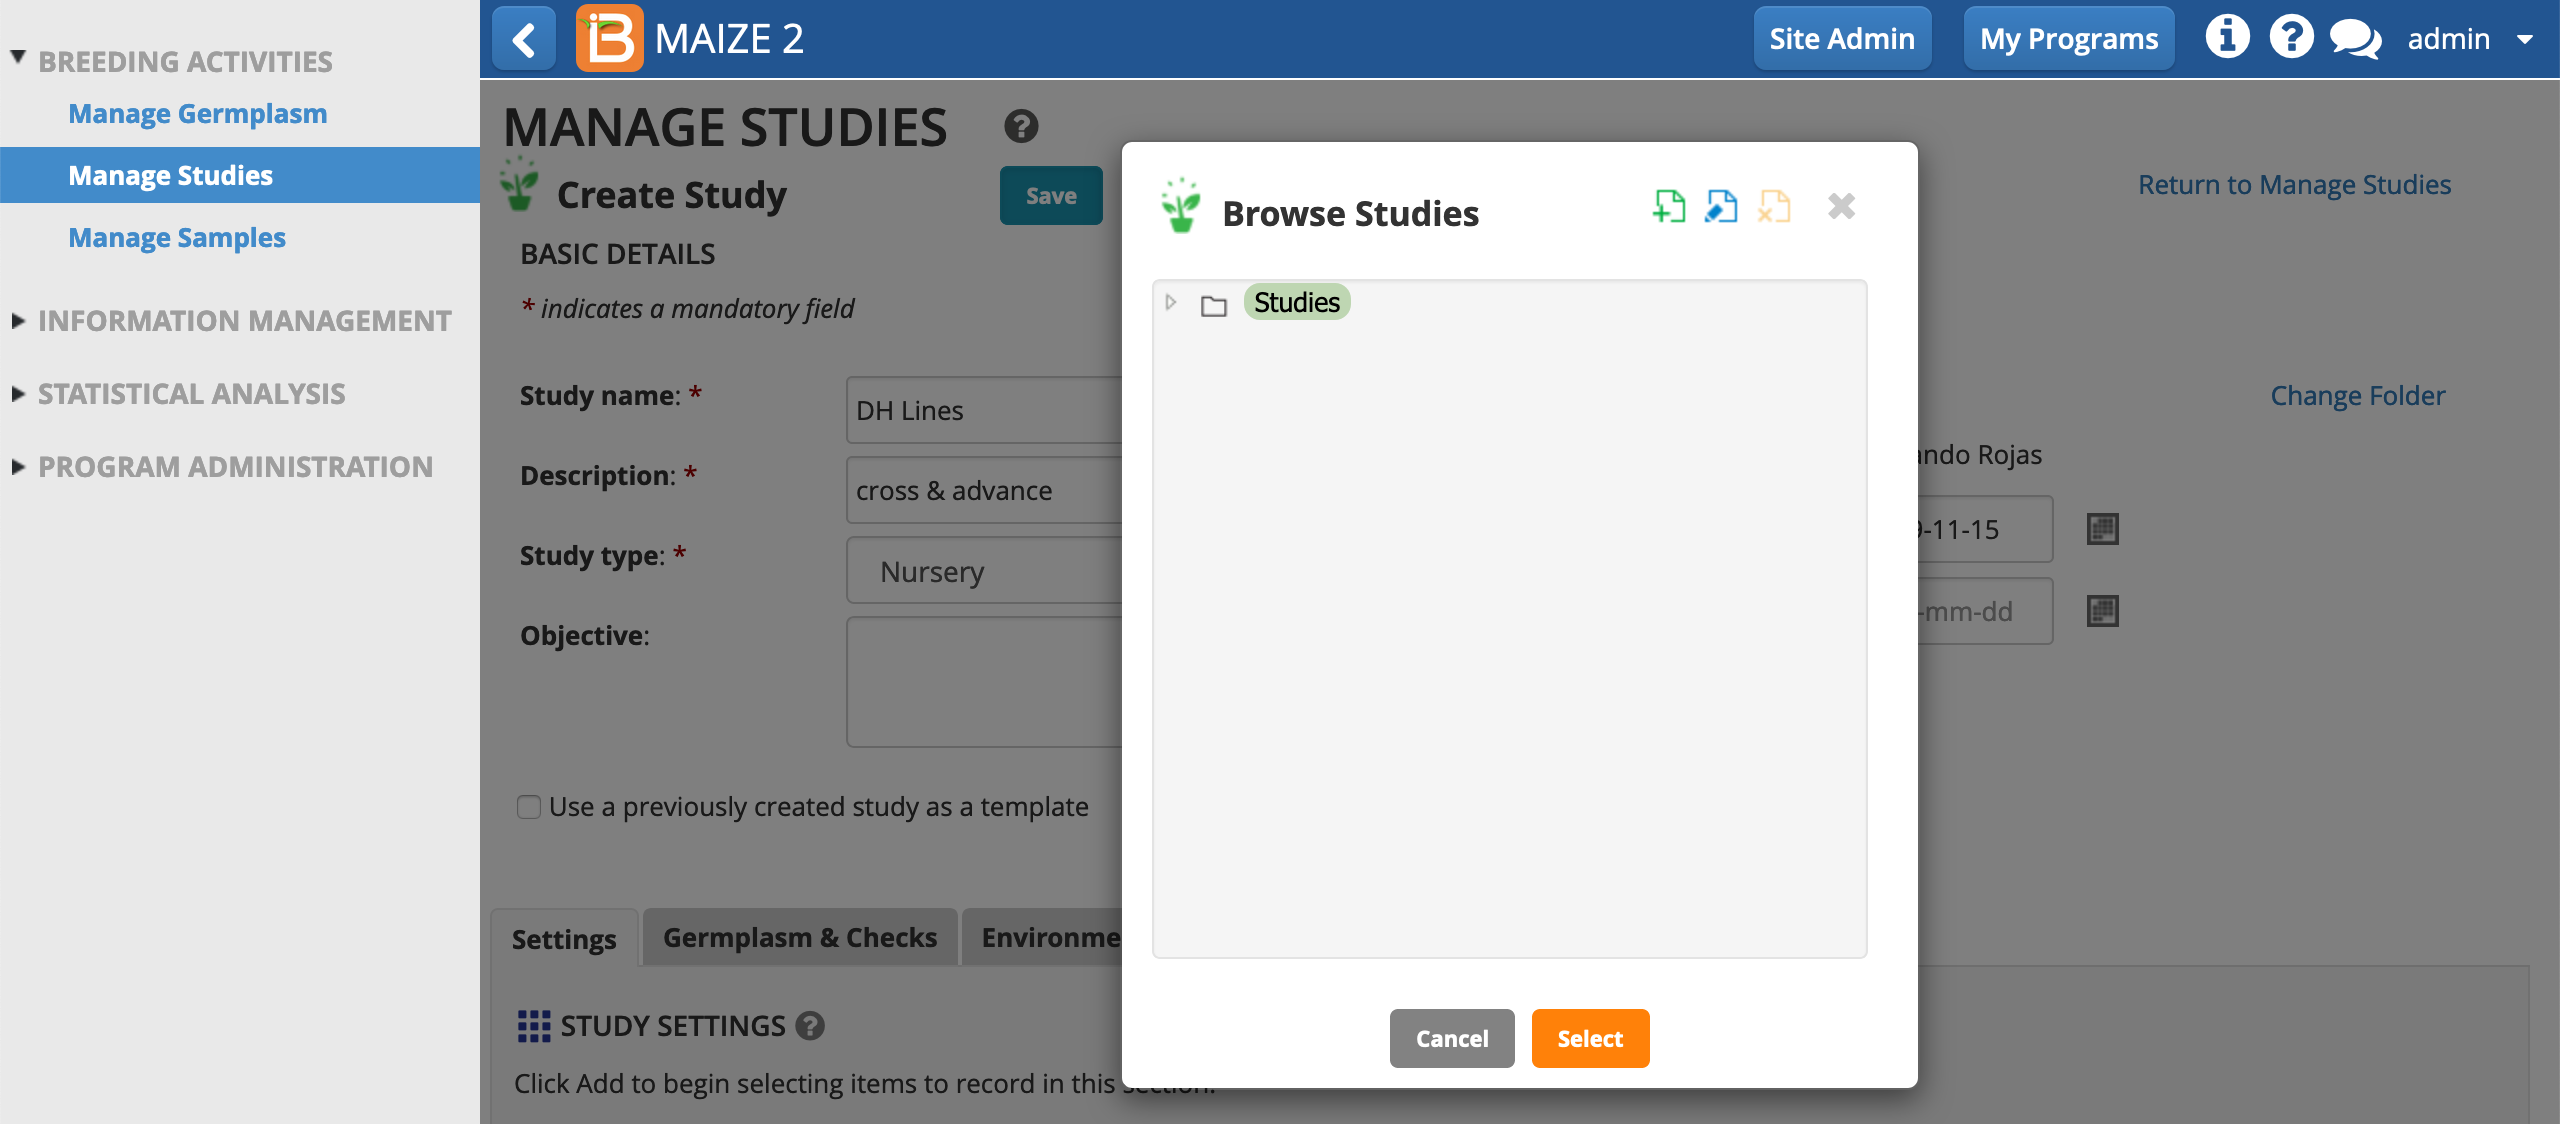
- Choose folder in the study directory. Select.
Settings
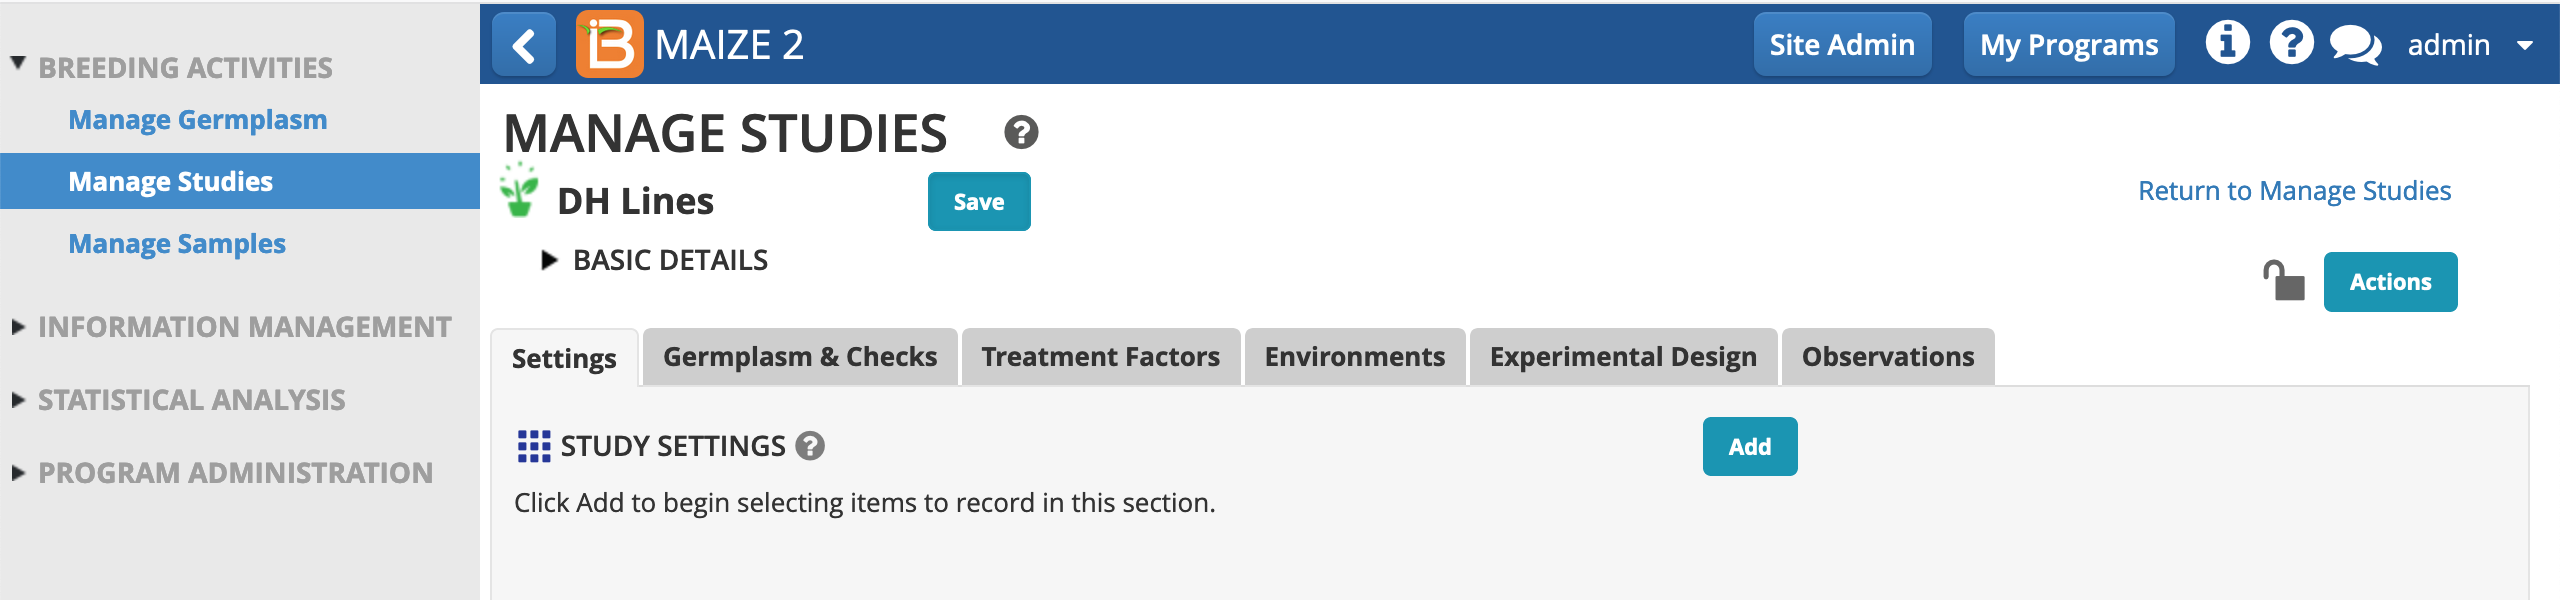
- Once saved, the browser will refresh and the basic details of the study will collapse. Under the Settings tab, select Add.
Ontology Note
Study level details are established by customizable terms in the Breeding Management System ontology. The ontology determines the options available and the format of the data input (free text, numeric, drop down categorical). Institutions can establish terms as needed. Ontology management is considered an advanced activity. Many institutes restrict ontology editing to specifically trained users. Once a term is used by studies, ontology rules restrict some editing options, including deletion. Imprecise and/or duplicate terms can pose long-term problems for queries and searches, and direct editing of database tables is required to correct terms once they are in use.
Study level details are established by customizable terms in the Breeding Management System ontology. The ontology determines the options available and the format of the data input (free text, numeric, drop down categorical). Institutions can establish terms as needed. Ontology management is considered an advanced activity. Many institutes restrict ontology editing to specifically trained users. Once a term is used by studies, ontology rules restrict some editing options, including deletion. Imprecise and/or duplicate terms can pose long-term problems for queries and searches, and direct editing of database tables is required to correct terms once they are in use.
Additional Activity: Create a new ontology term from the Ontology Manager (see manual for more details).
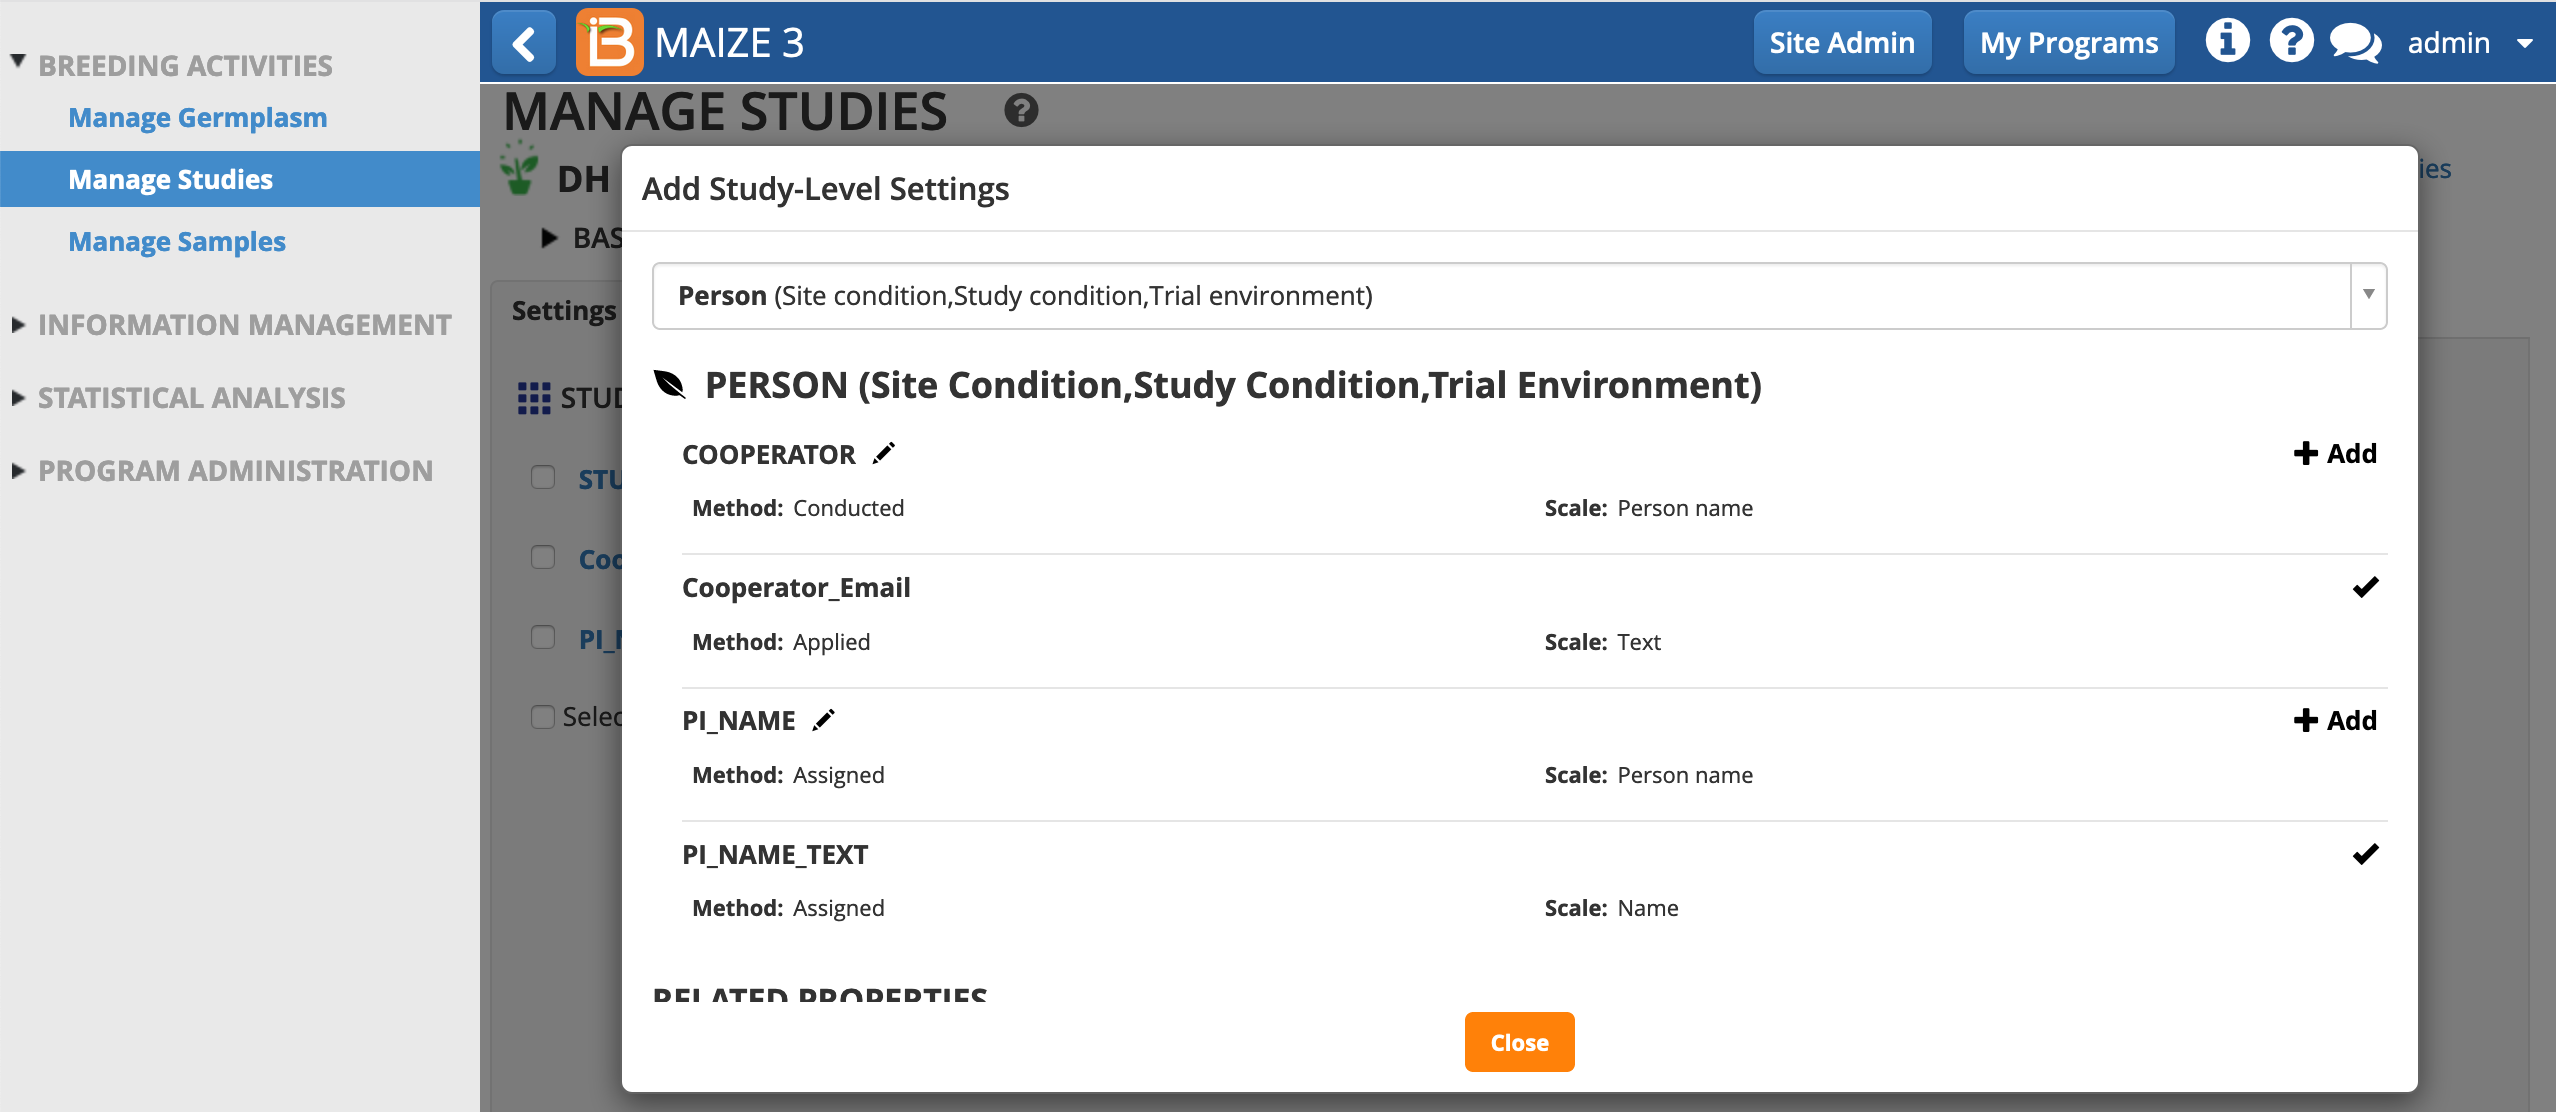
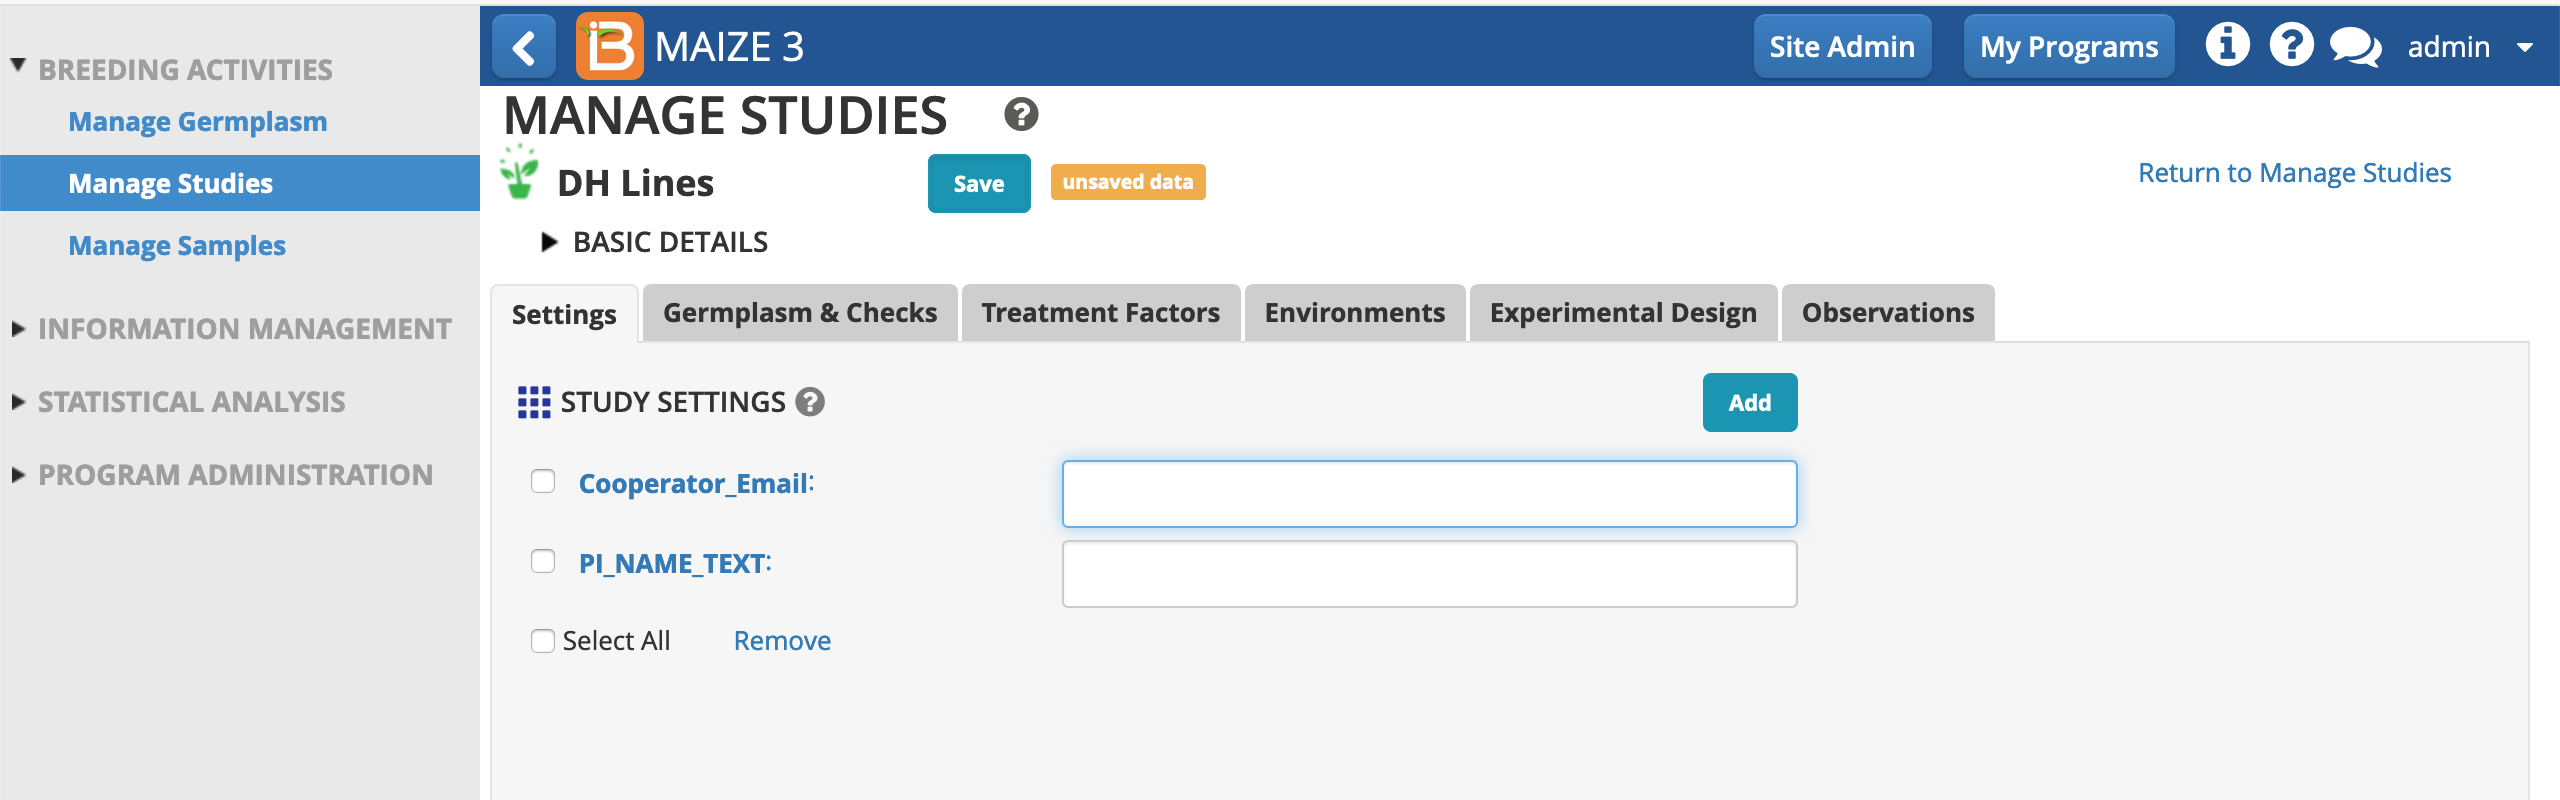
- Search the Study-Level settings to add the following default maize study-level details: Cooperator_Email and PI_NAME_TEXT. Close the Add Study_Level Settings pop-up. Enter your email and name in the Study Settings. Both of these settings allow free text input.
Germplasm & Checks
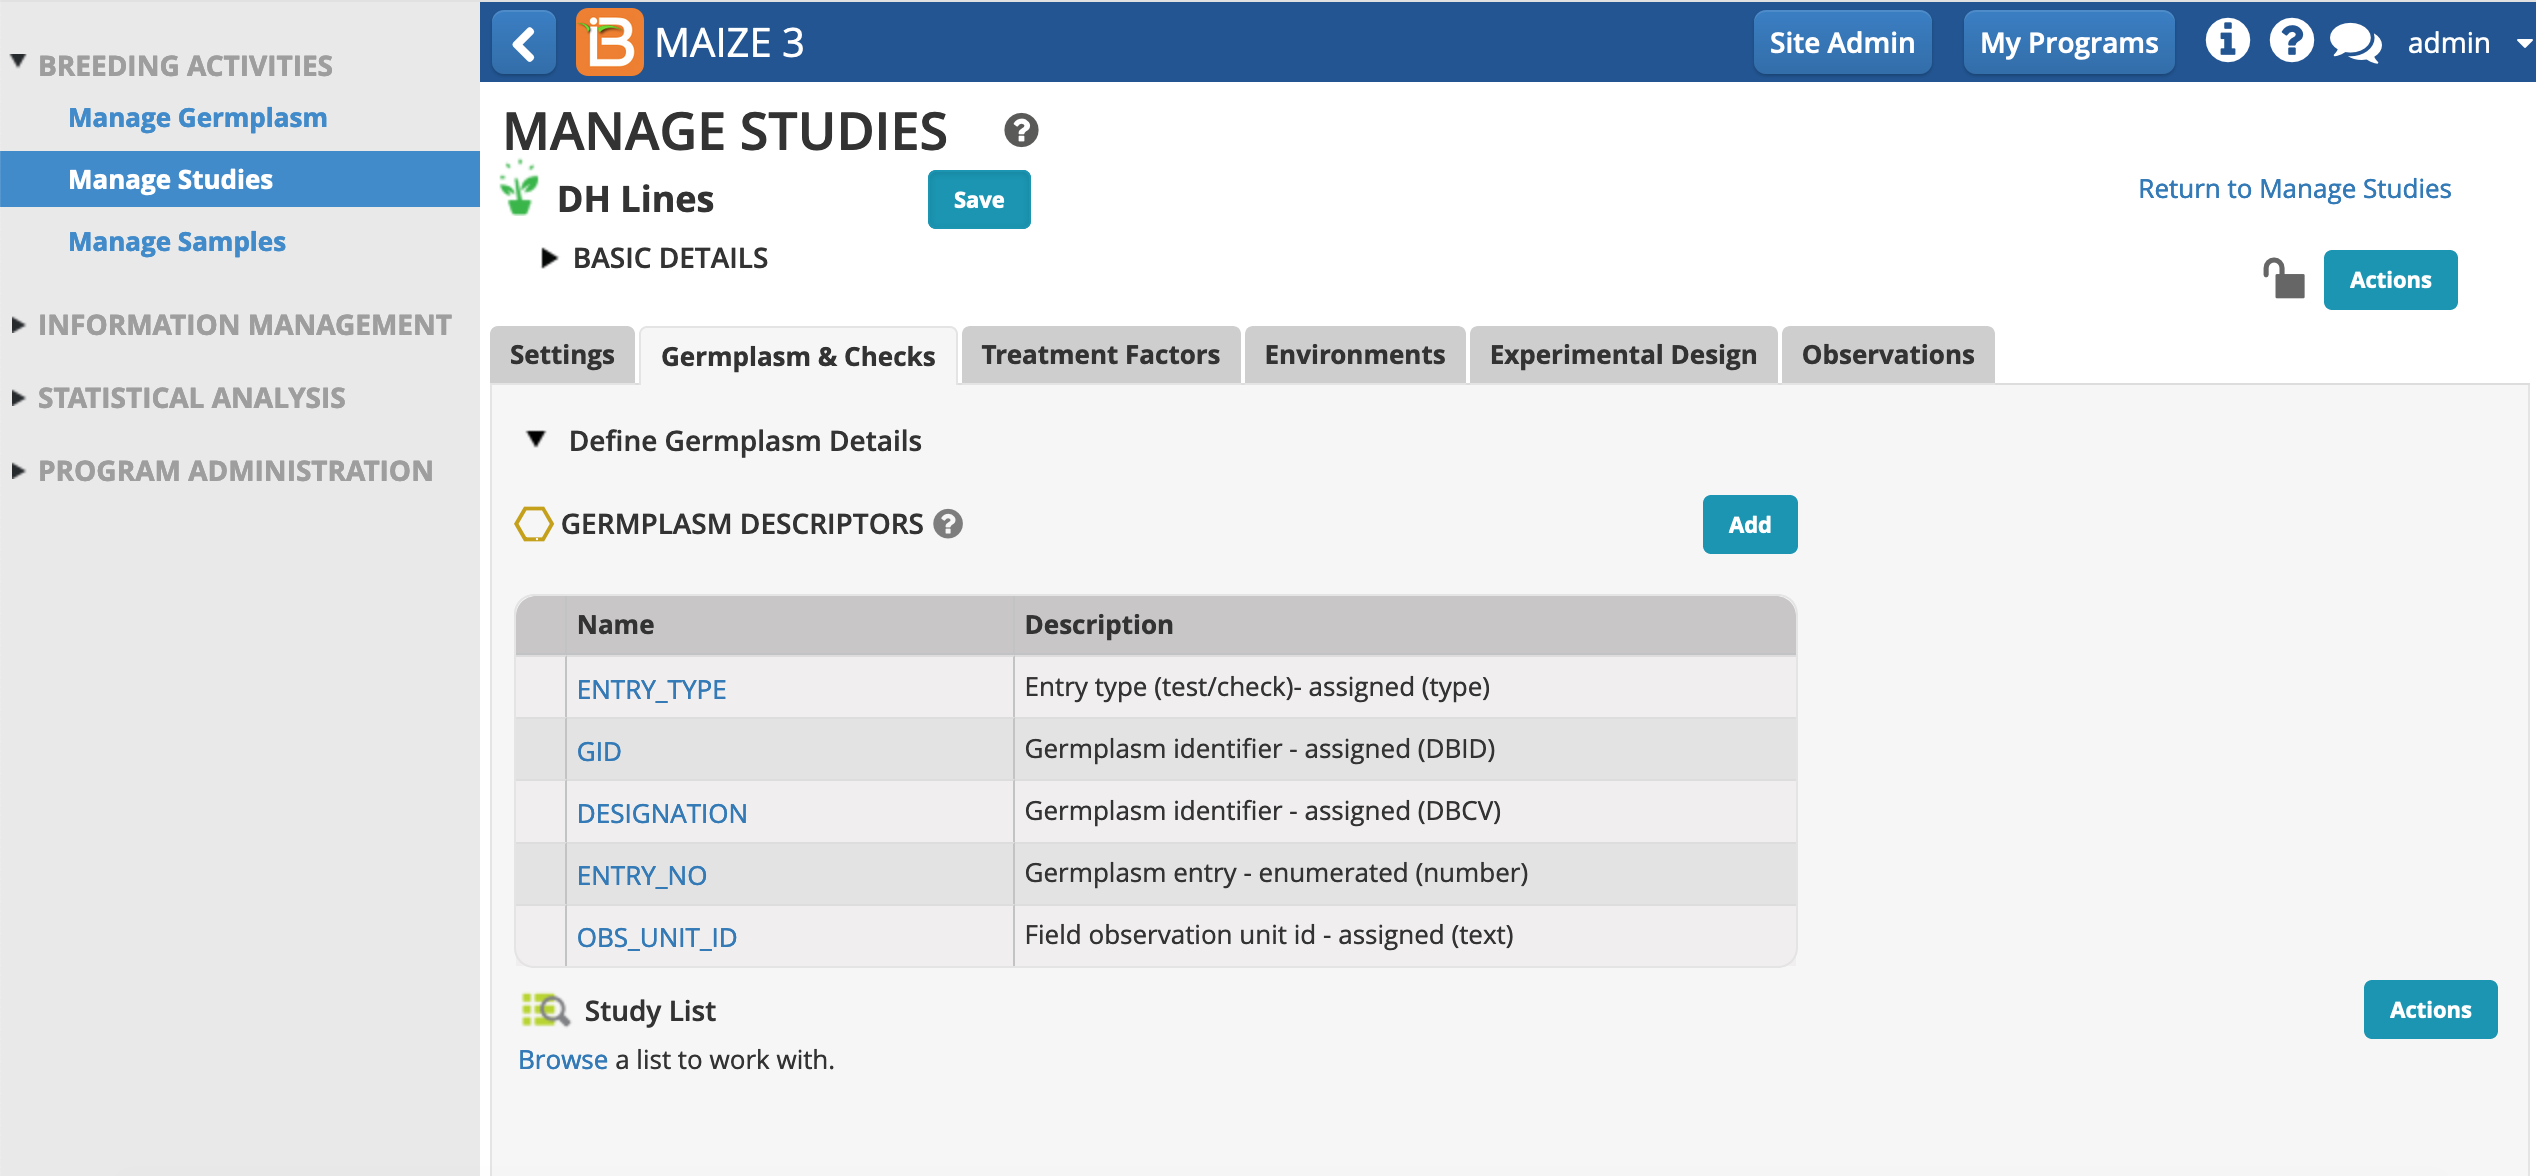
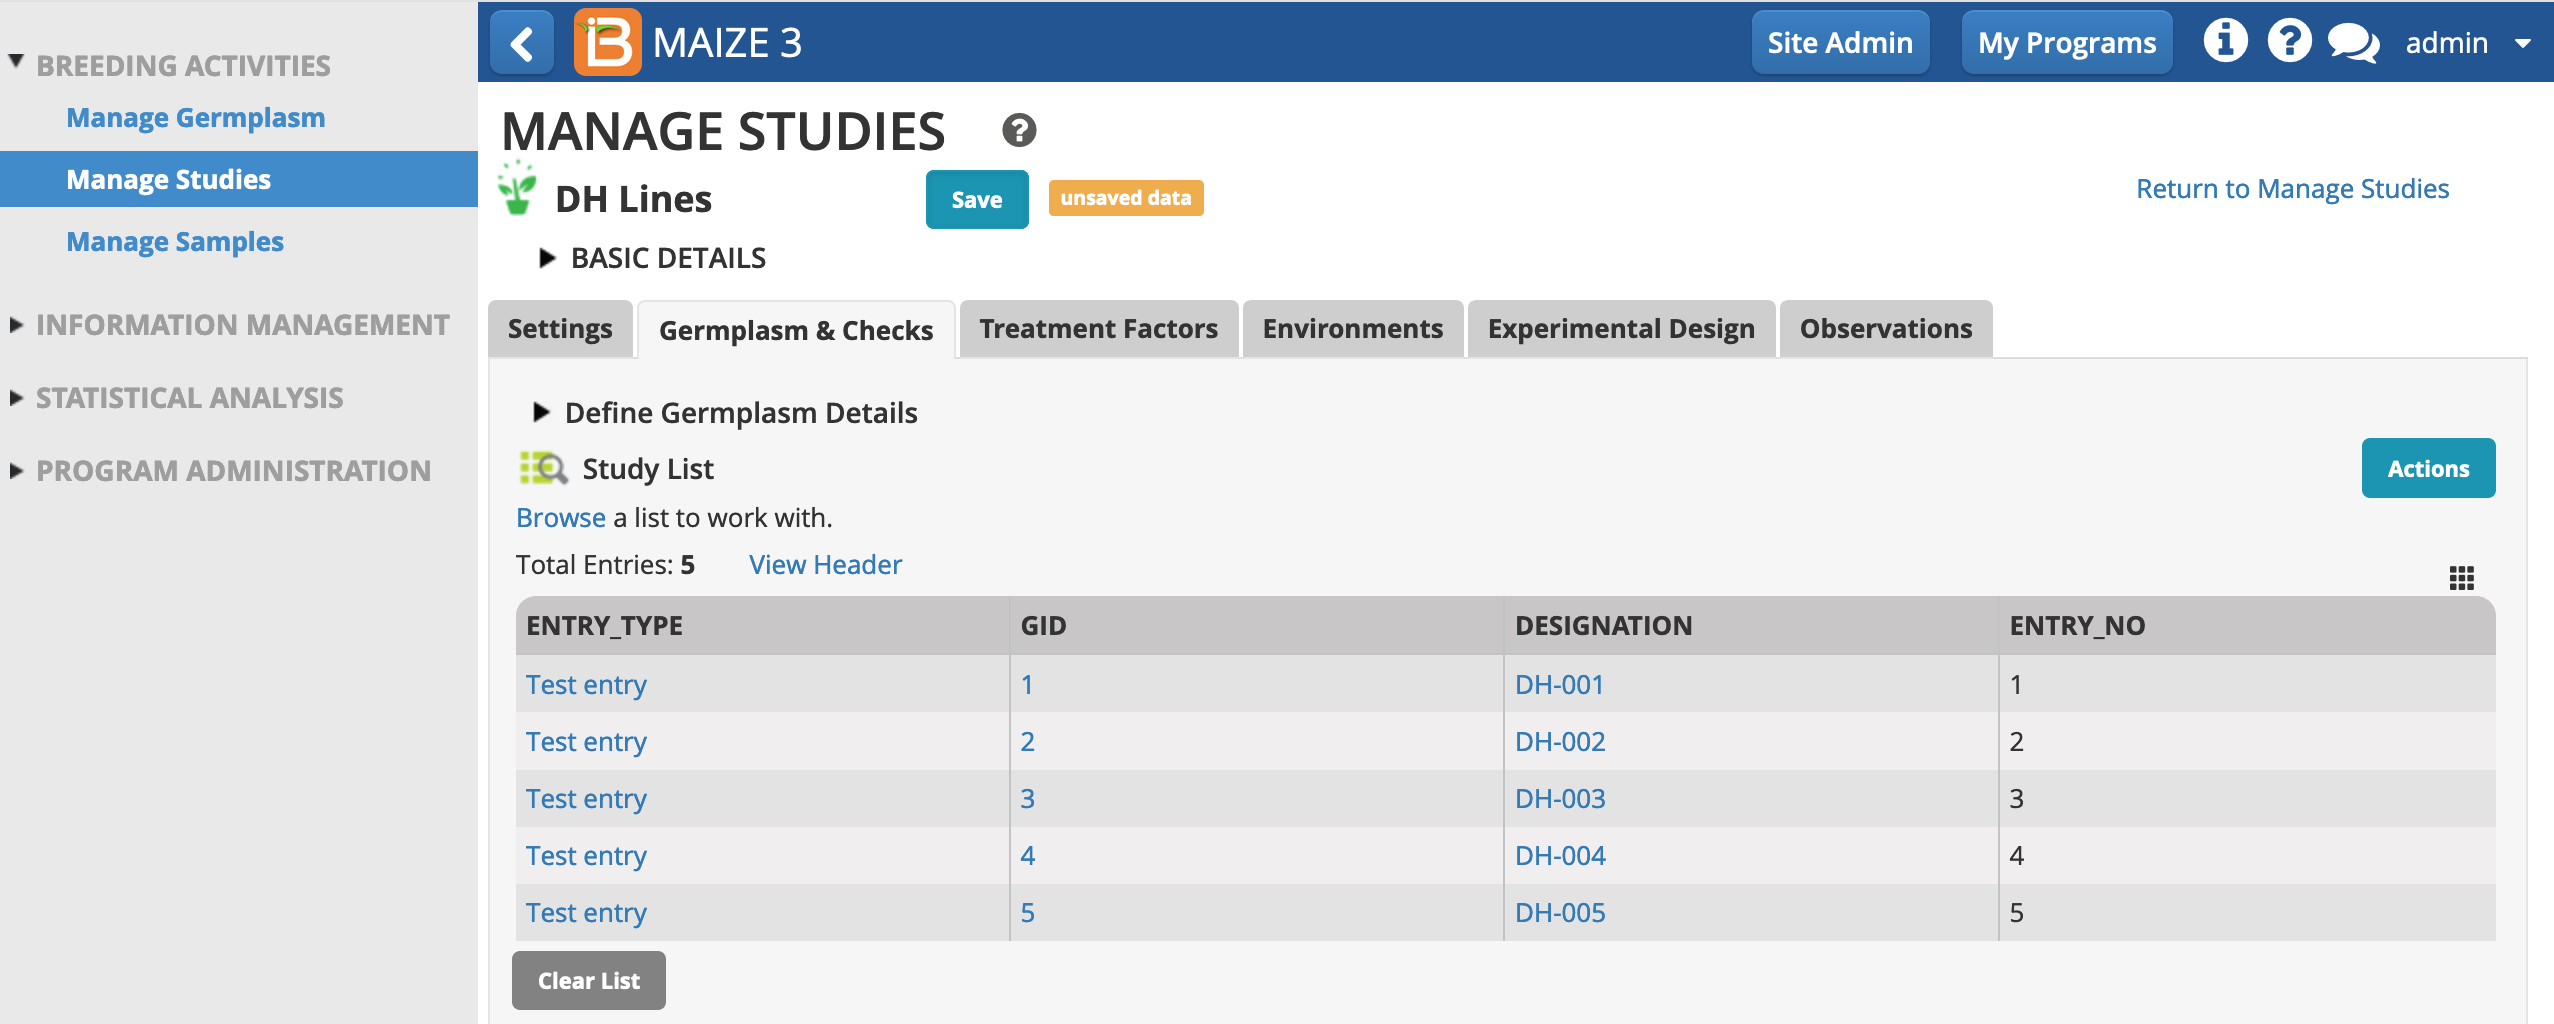
- Save, and proceed to the Germplasm & Checks tab.
- Browse a germplasm list to populate the study.
- Choose the DH Lines list. Select.
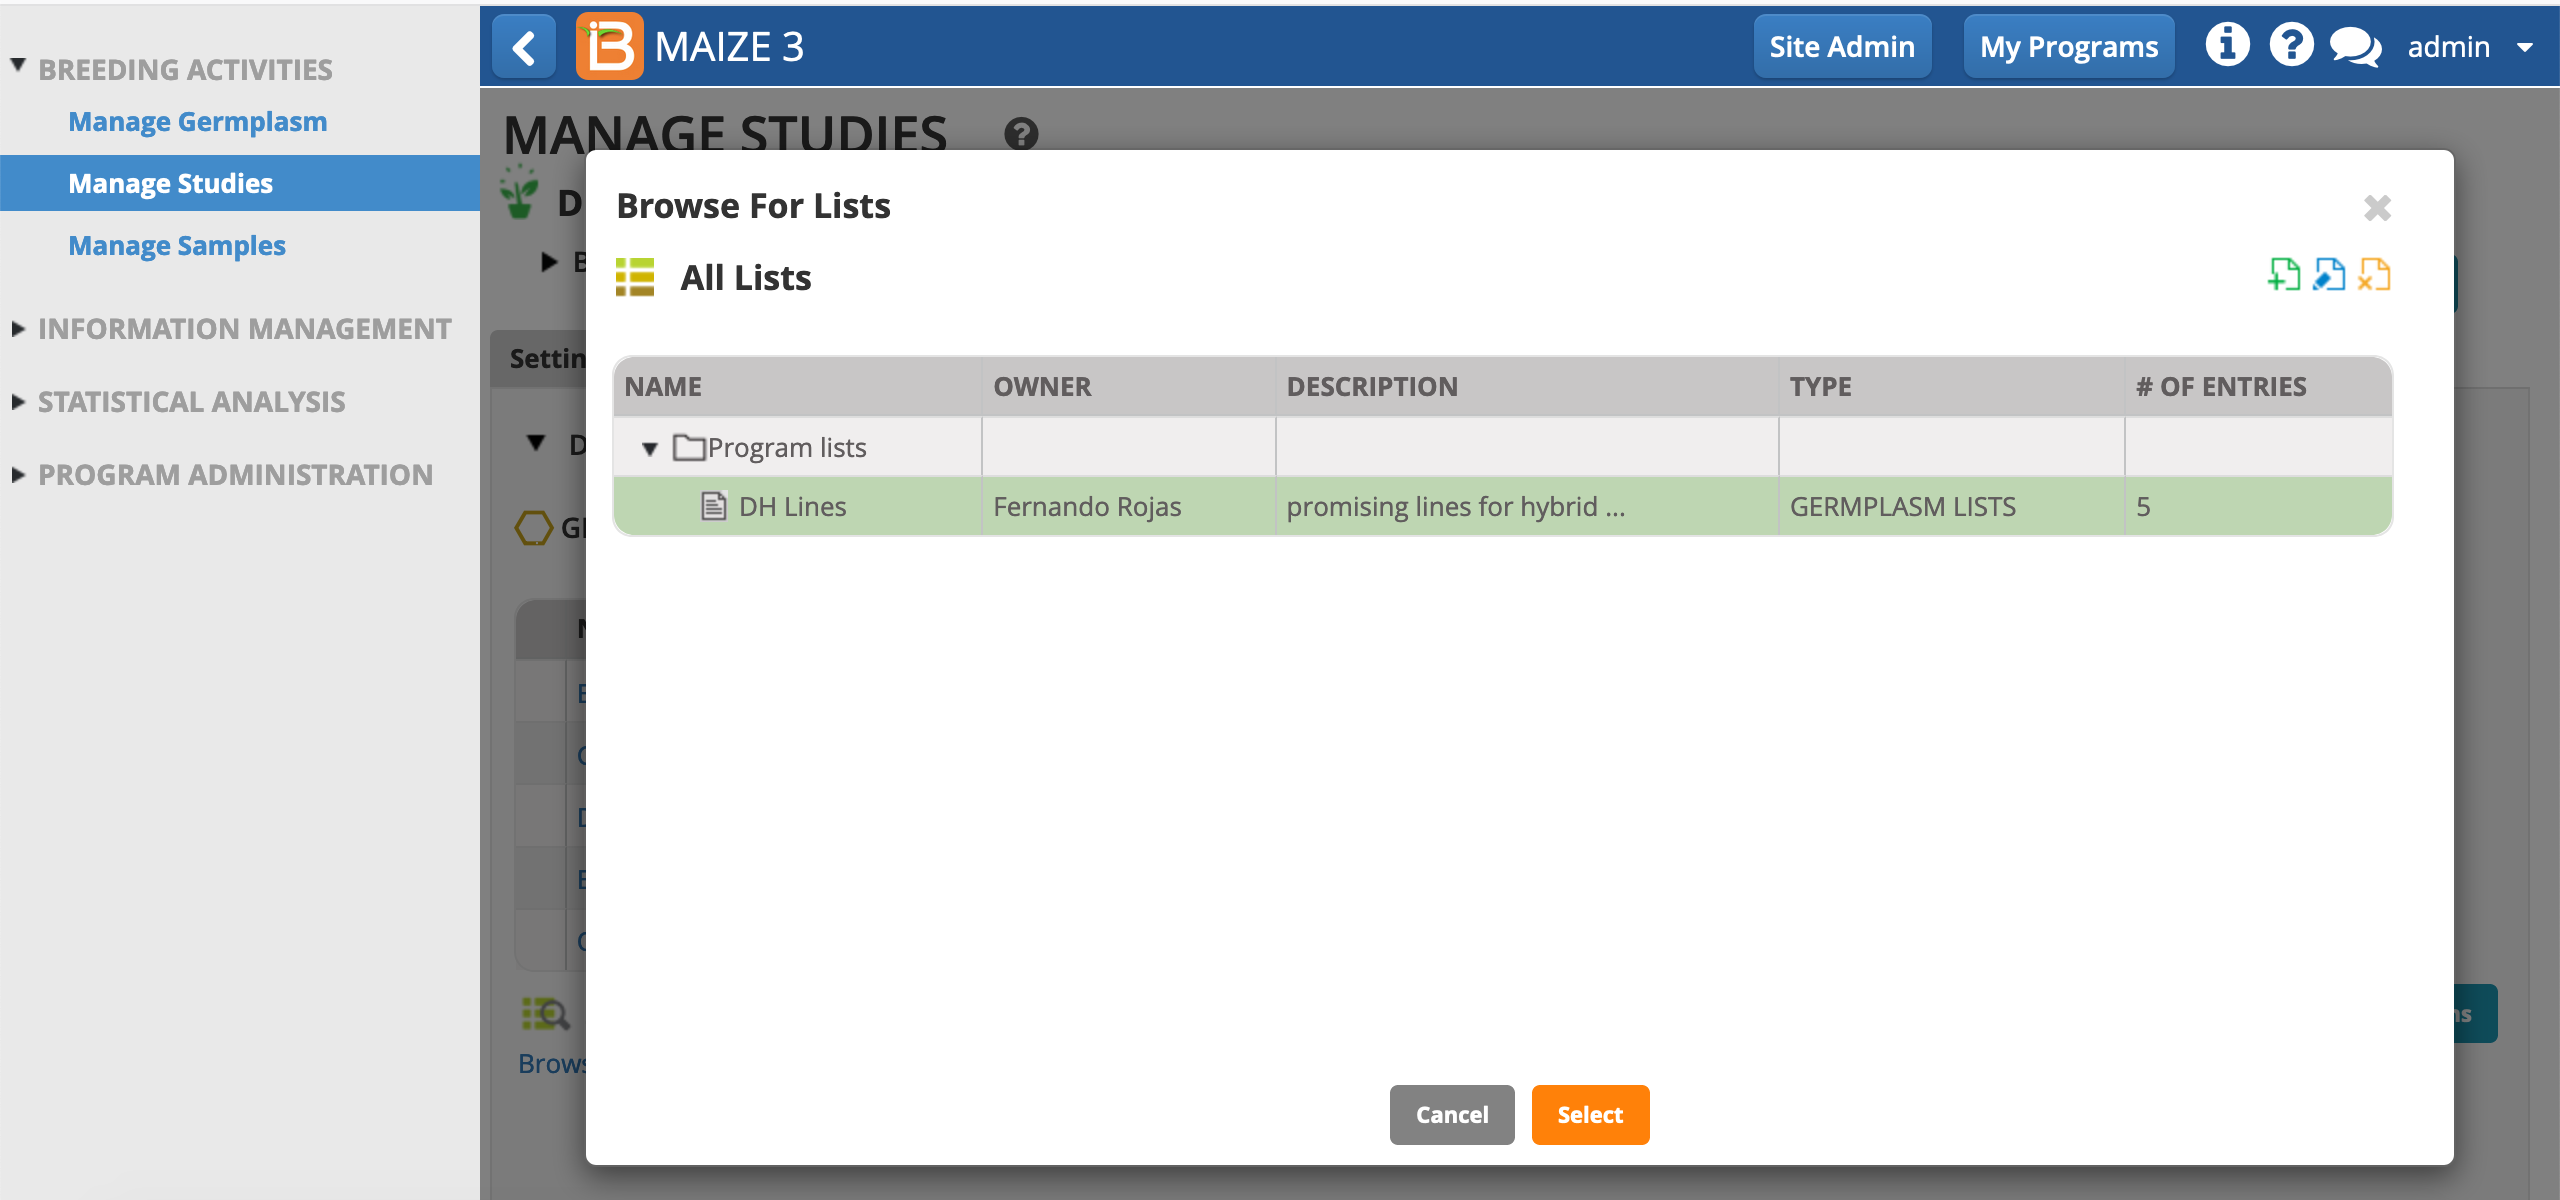
The 5 entry DH germplasm list now populates the study.
Environments
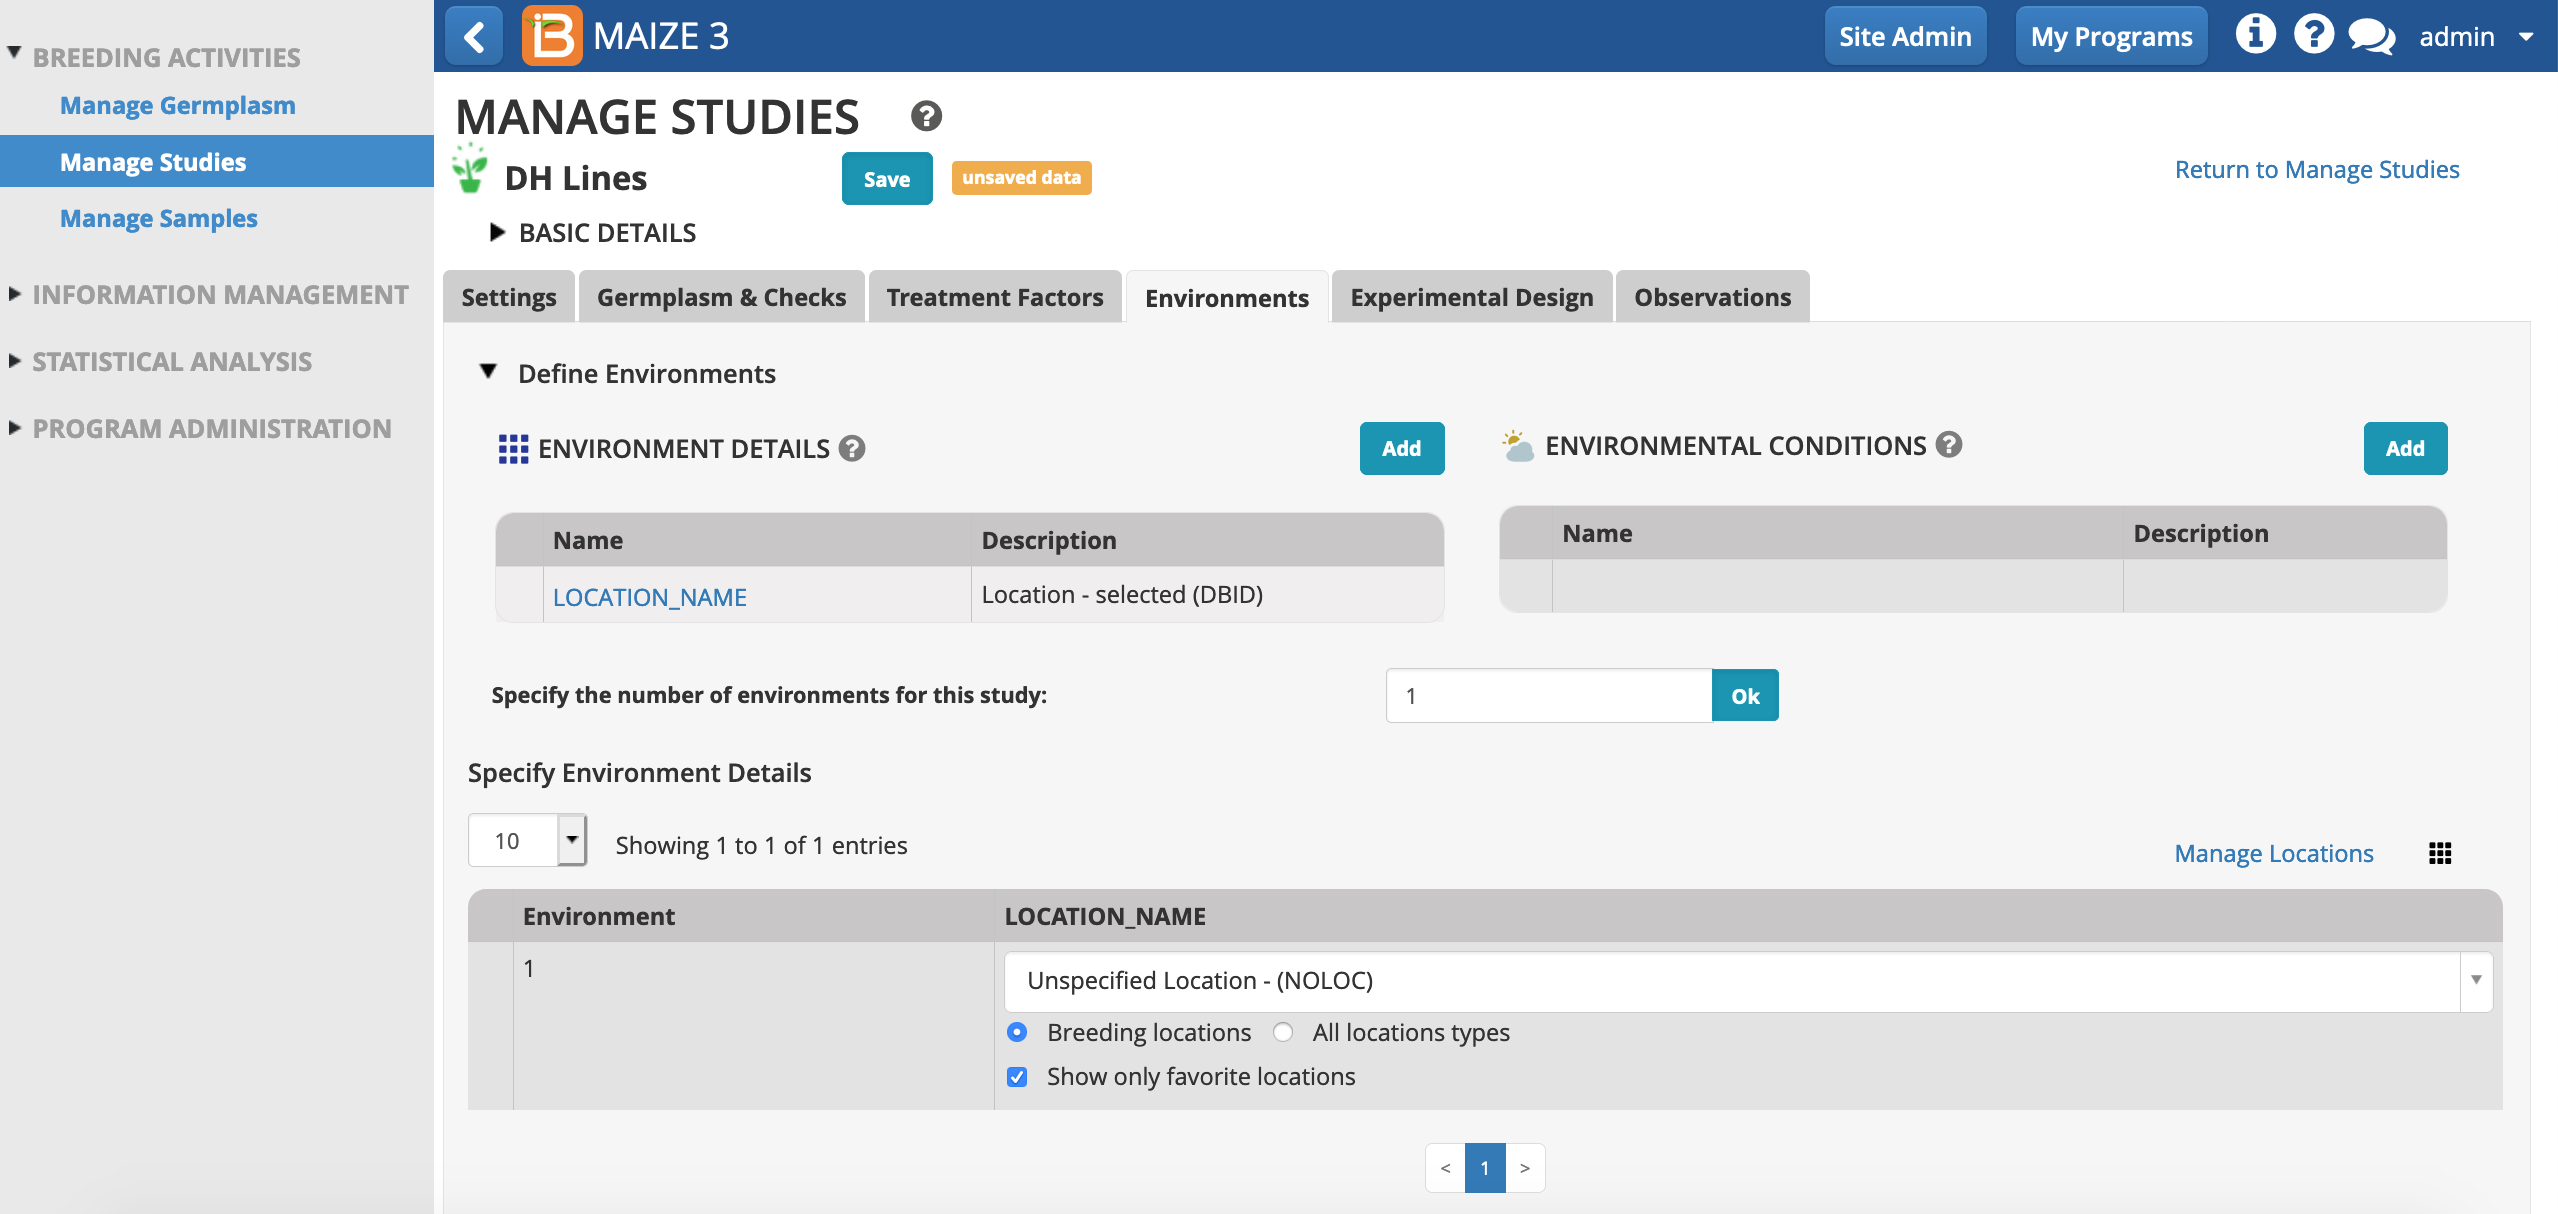
- Select the Environments tab. (This study has no Treatment Factors, so this tab can be ignored.)
Location Note
Locations are fully customizable and establishing program favorites limits the drop down options to the most relevant options.
Advanced Activity: Go to Manage Locations and add a new favorite location to your program (see manual for more information).
Locations are fully customizable and establishing program favorites limits the drop down options to the most relevant options.
Advanced Activity: Go to Manage Locations and add a new favorite location to your program (see manual for more information).
- Review the default environments settings - a single location named "Unspecified Location". Since this study will take place at a single theoretical location, you don't need to change the default settings.
Experimental Design
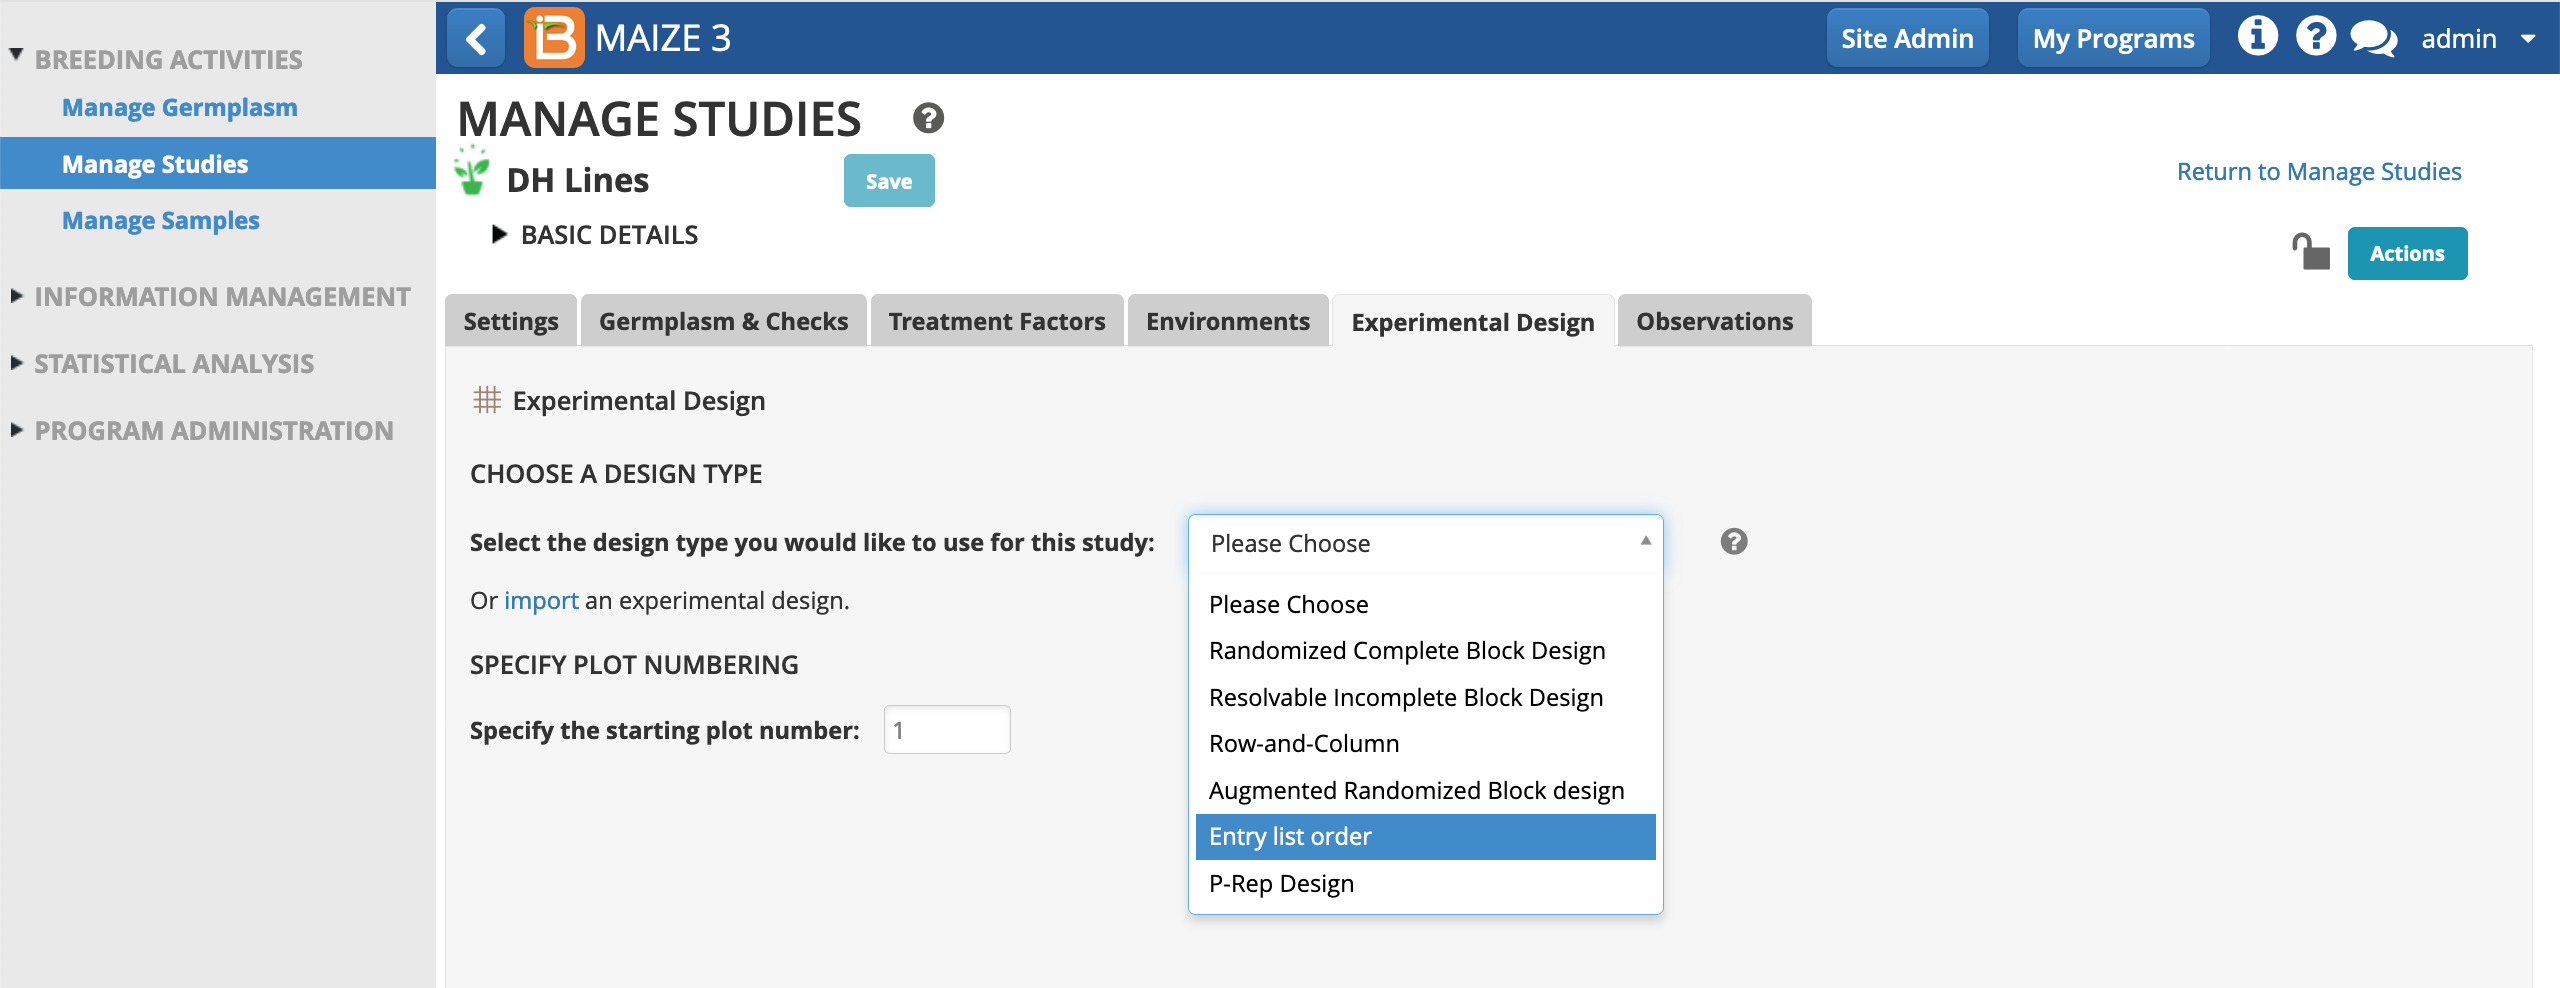
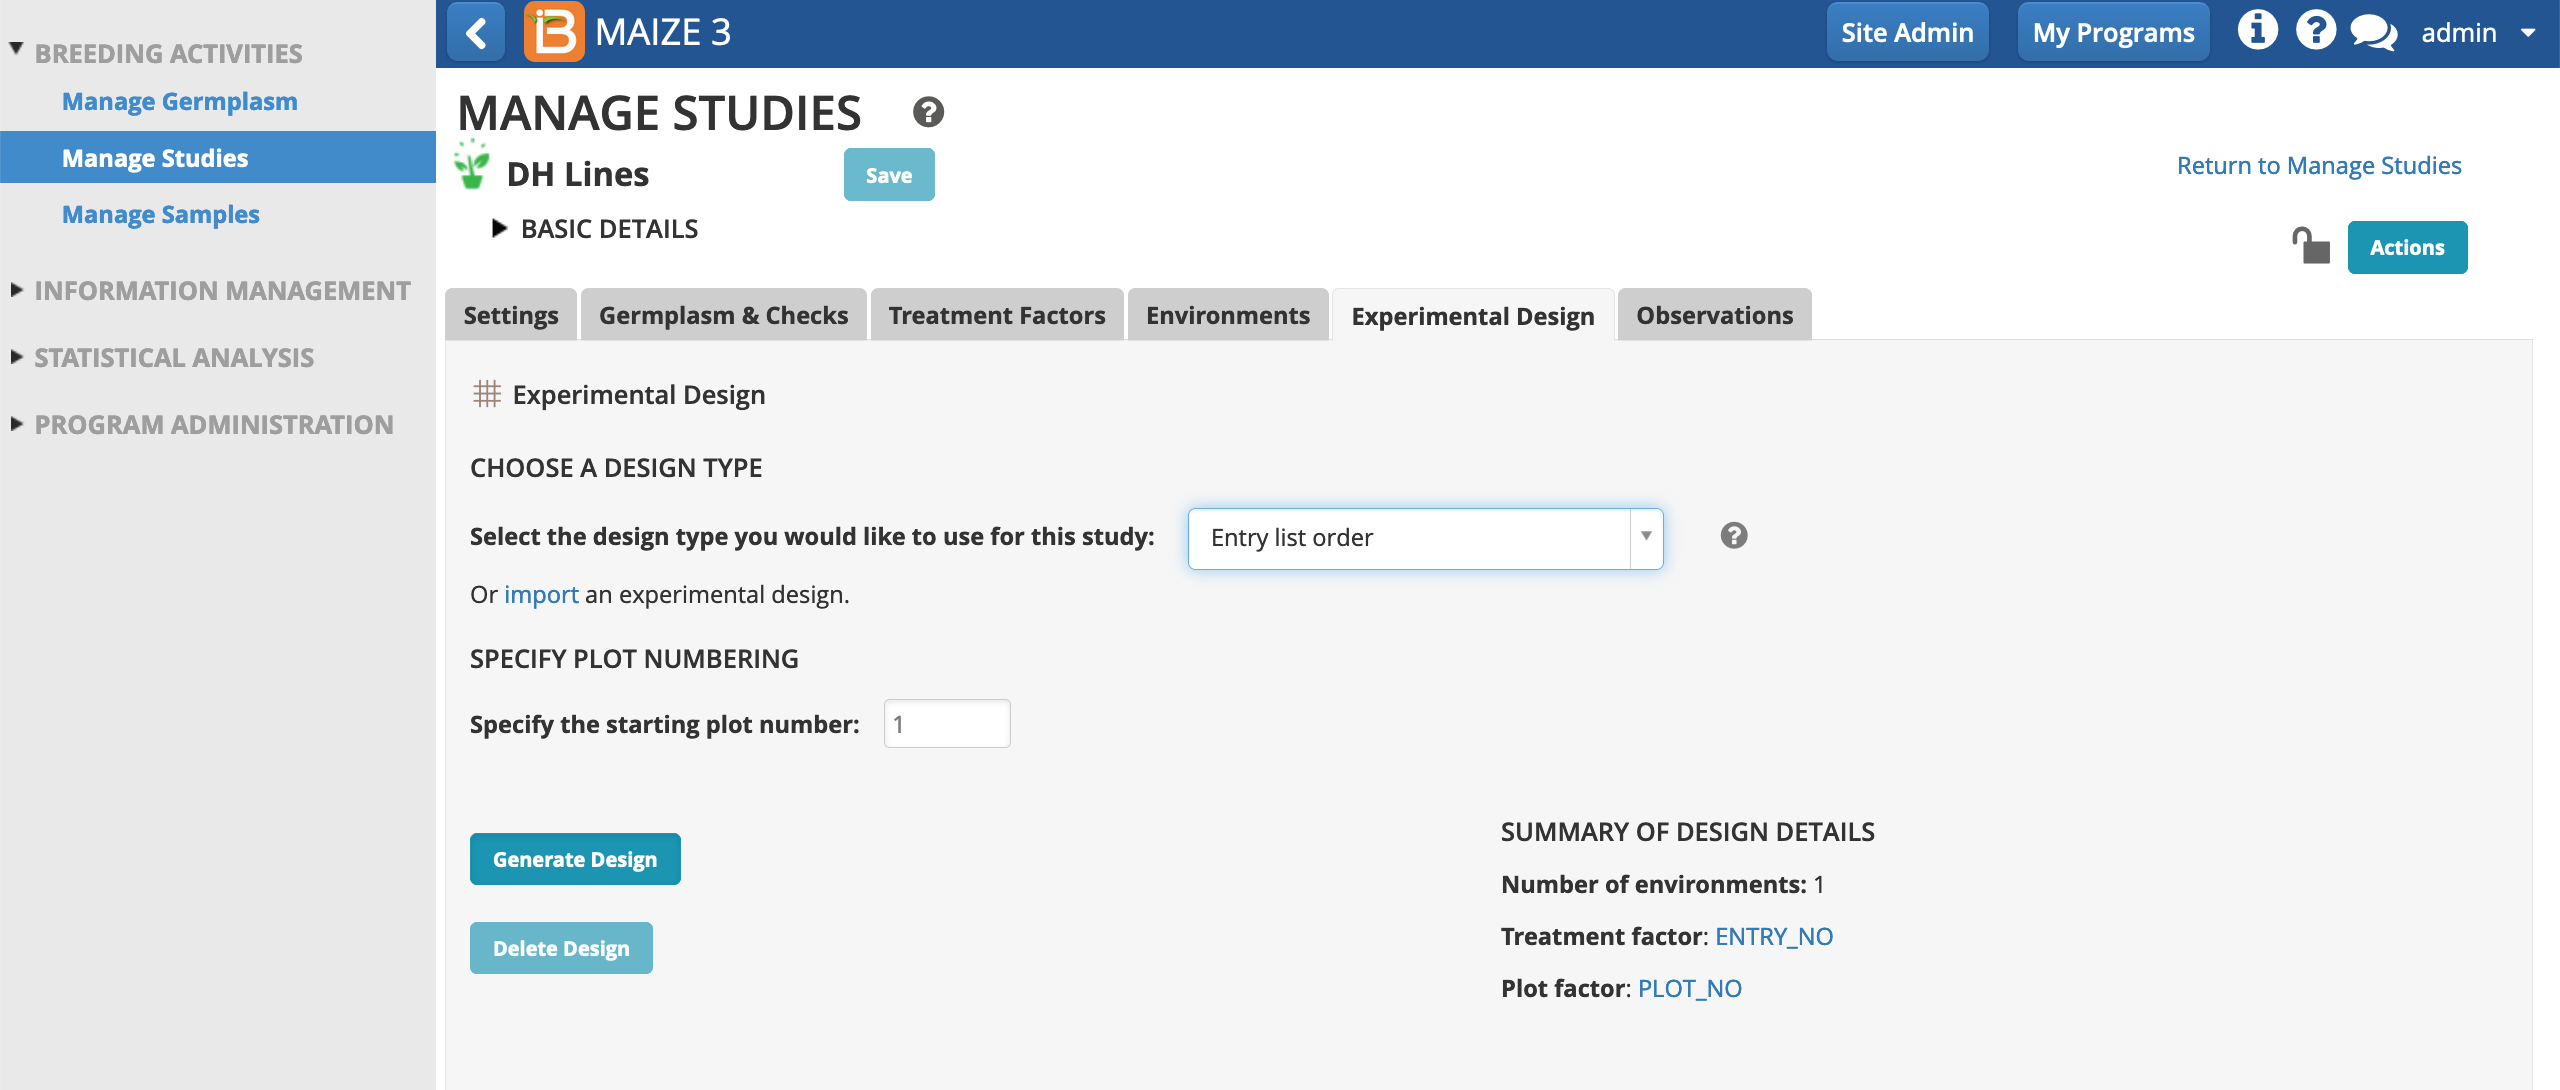
- From the Experimental Design tab, select the non-randomized design, Entry List Order. The purpose of this study is crossing and advancement, not statistical analysis, so the non-randomized option is appropriate.
- Generate Design.
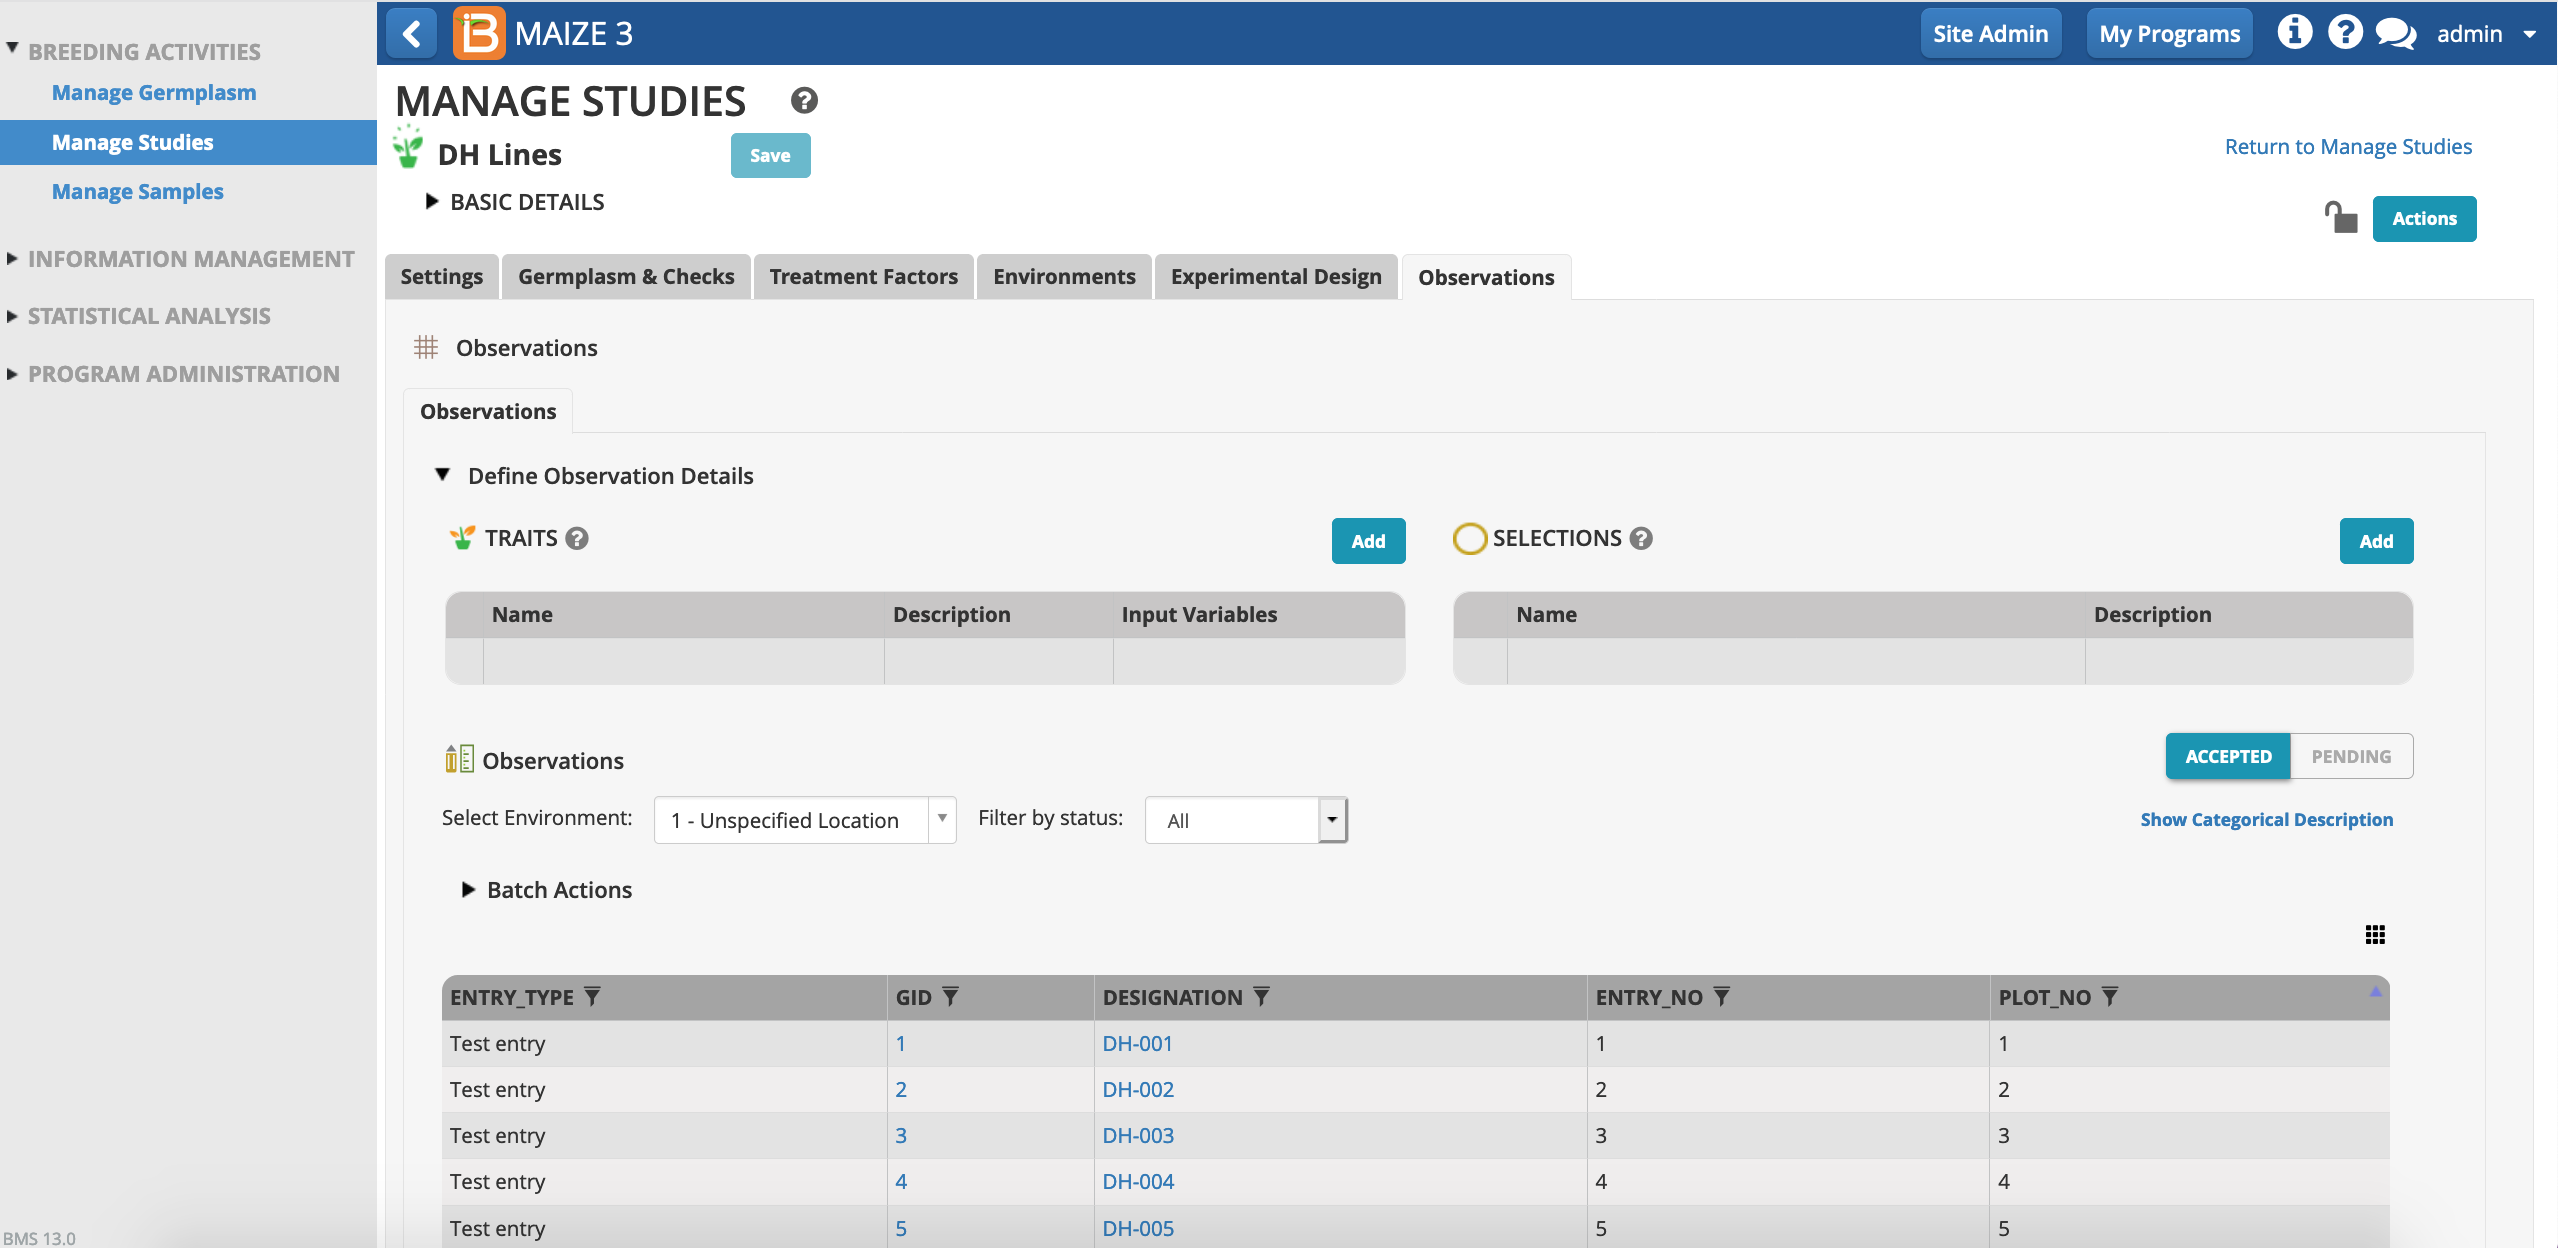
Observations
Generating the experimental design populates the observations table. Once the observation table is populated, the study is ready for printing plot labels and creating a field map.
UID Note
UIDs, like OBS_UNIT_ID are unique IDs that the BMS uses to match data. UIDs are always included in export files, but since they are not human readable, they are generally hidden in the BMS user interface. OBS_UNIT_ID is suitable as a barcode to identify the plot.
Additional Activities (see manual for more details):
(1) Return to the Observation table of the DH study. Select the matrix symbol above and to the right of the table. This reveals additional possible columns to add to the table. Select OBS_UNIT_ID to see the UID suitable for creating a plot specific barcode in the observations table.
(2) From the study Actions menu, export the Study Book in spreadsheet file format. Notice the OBS_UNIT_ID in the export file.
(3) Create barcoded plot labels for this study.
(4) Create a field map for this study.
