

- Add Selection To Observation Table
- Make Selections
- Create Genotyping Sample List
- Add Plate Map Details
- In Conclusion
This tutorial describes how to make a genotype sampling list for a study. The five double haploid lines in this study are new to the breeding program, and some aspects of their breeding history are unknown. Doubled haploid maize seeds and plants are identifiable by purple anthocyanin color marker, but genotyping can provide additional assurance that the lines represent five distinct genotypes and contain markers of interest. In programs with seed chipping technology, seeds can even be genotyped before planting. However in this scenario, we will create a genotype sample list for individual seedlings as they emerge in five field plots.
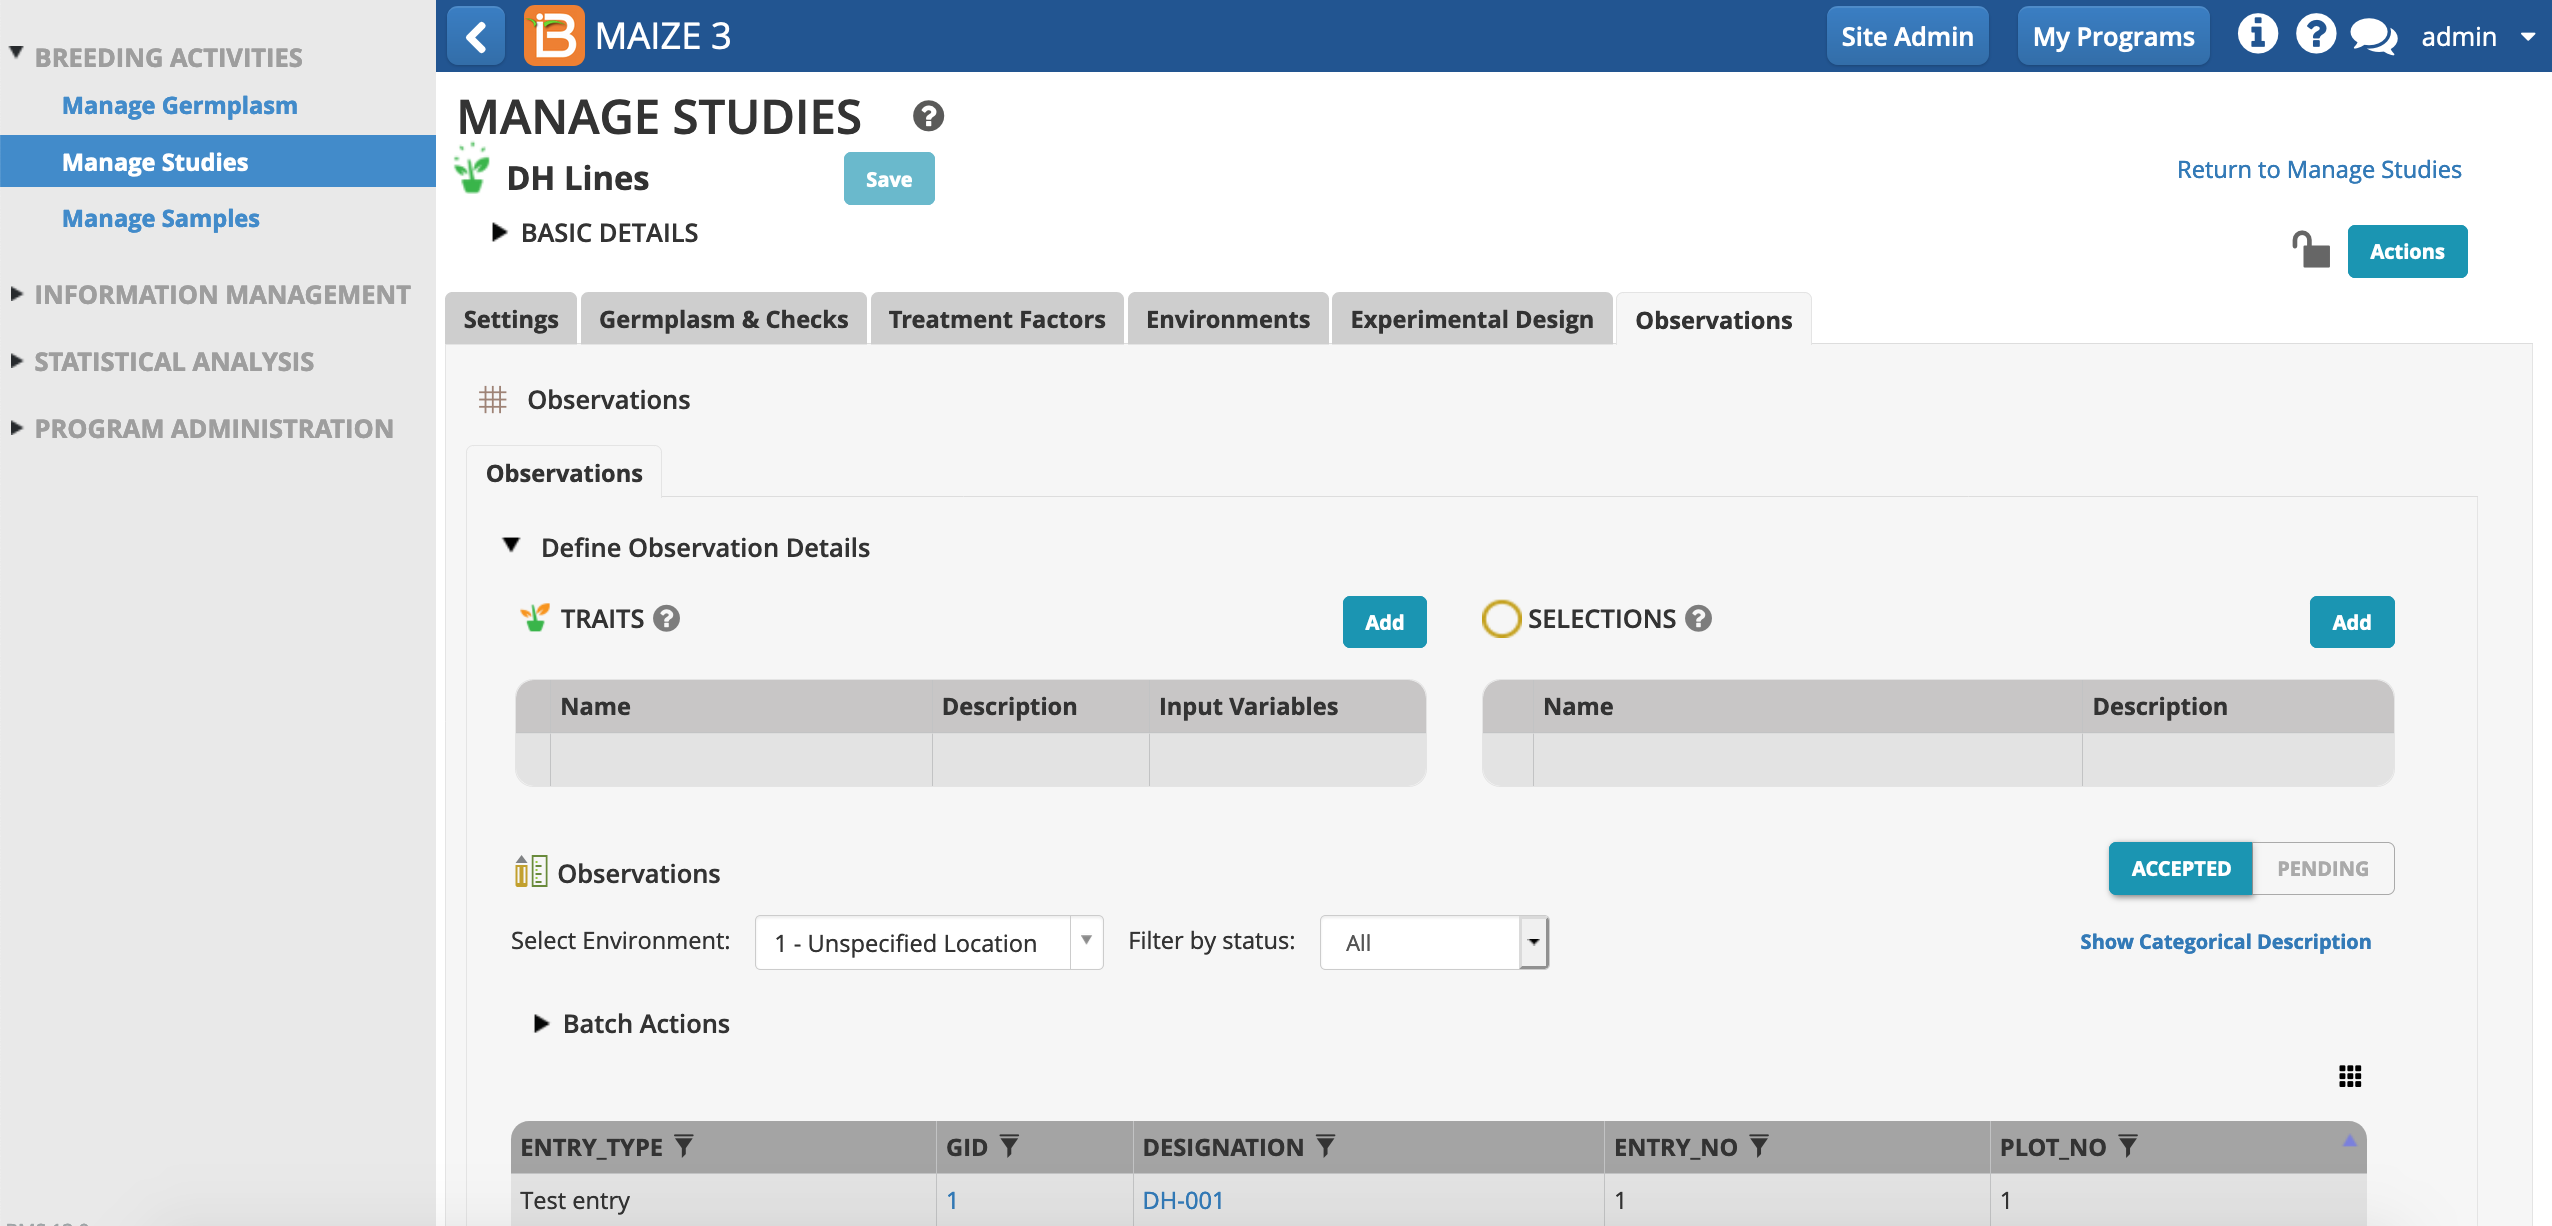
Add Selection To Observation Table
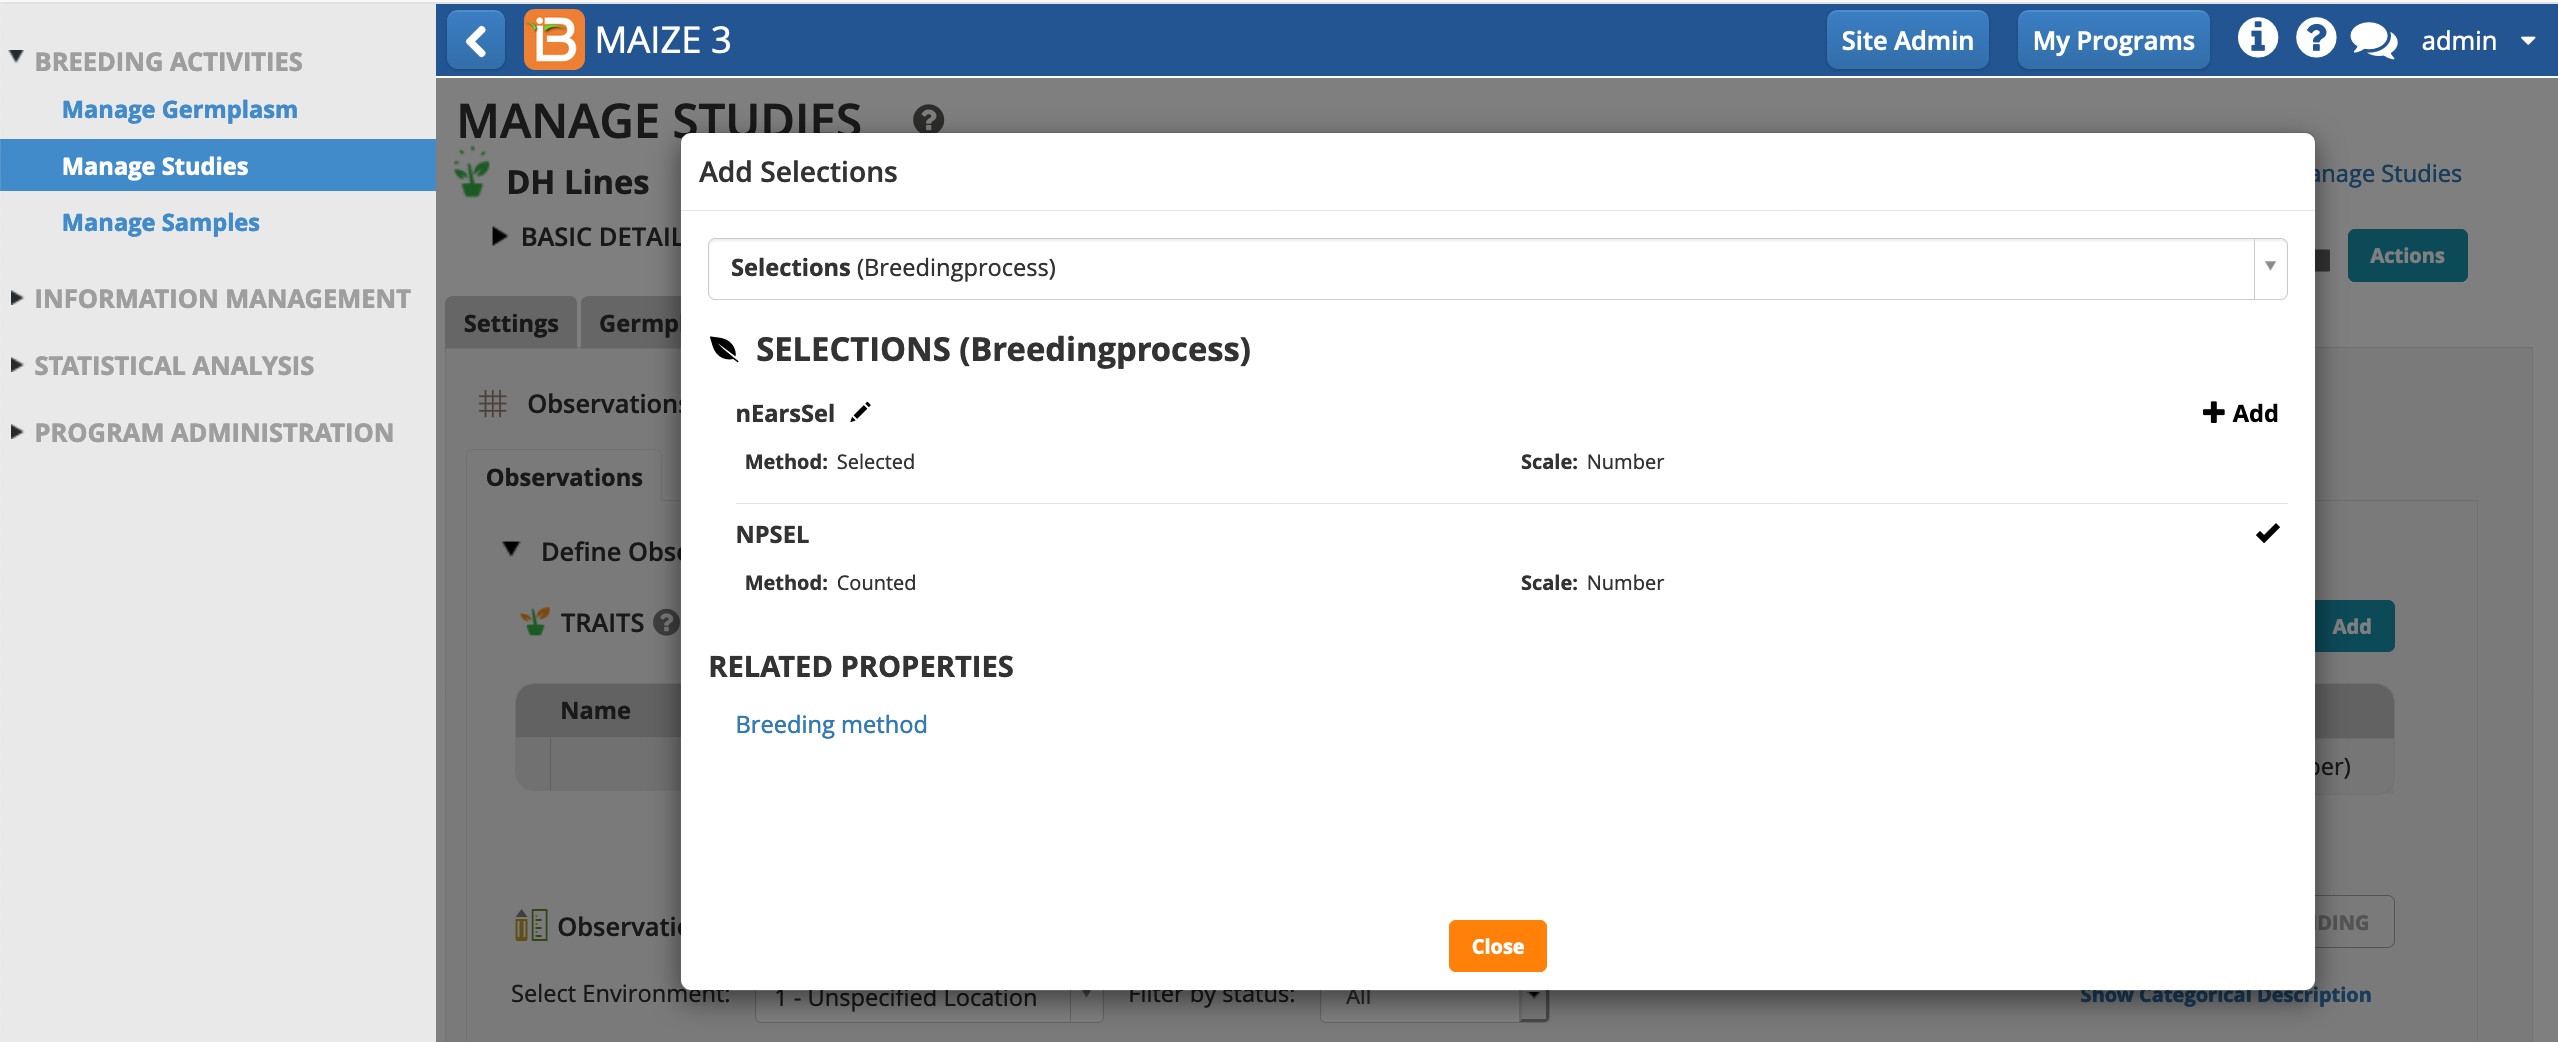
- From the observations tab, Add a Selections option.
- Choose NPSEL (number of plants selected). Close pop-up.
Make Selections
The observations table supports several types of data input via: (1) browser interface, (2) BrAPI enabled applications, (3) export/import via spreadsheet file (.csv, .xls).
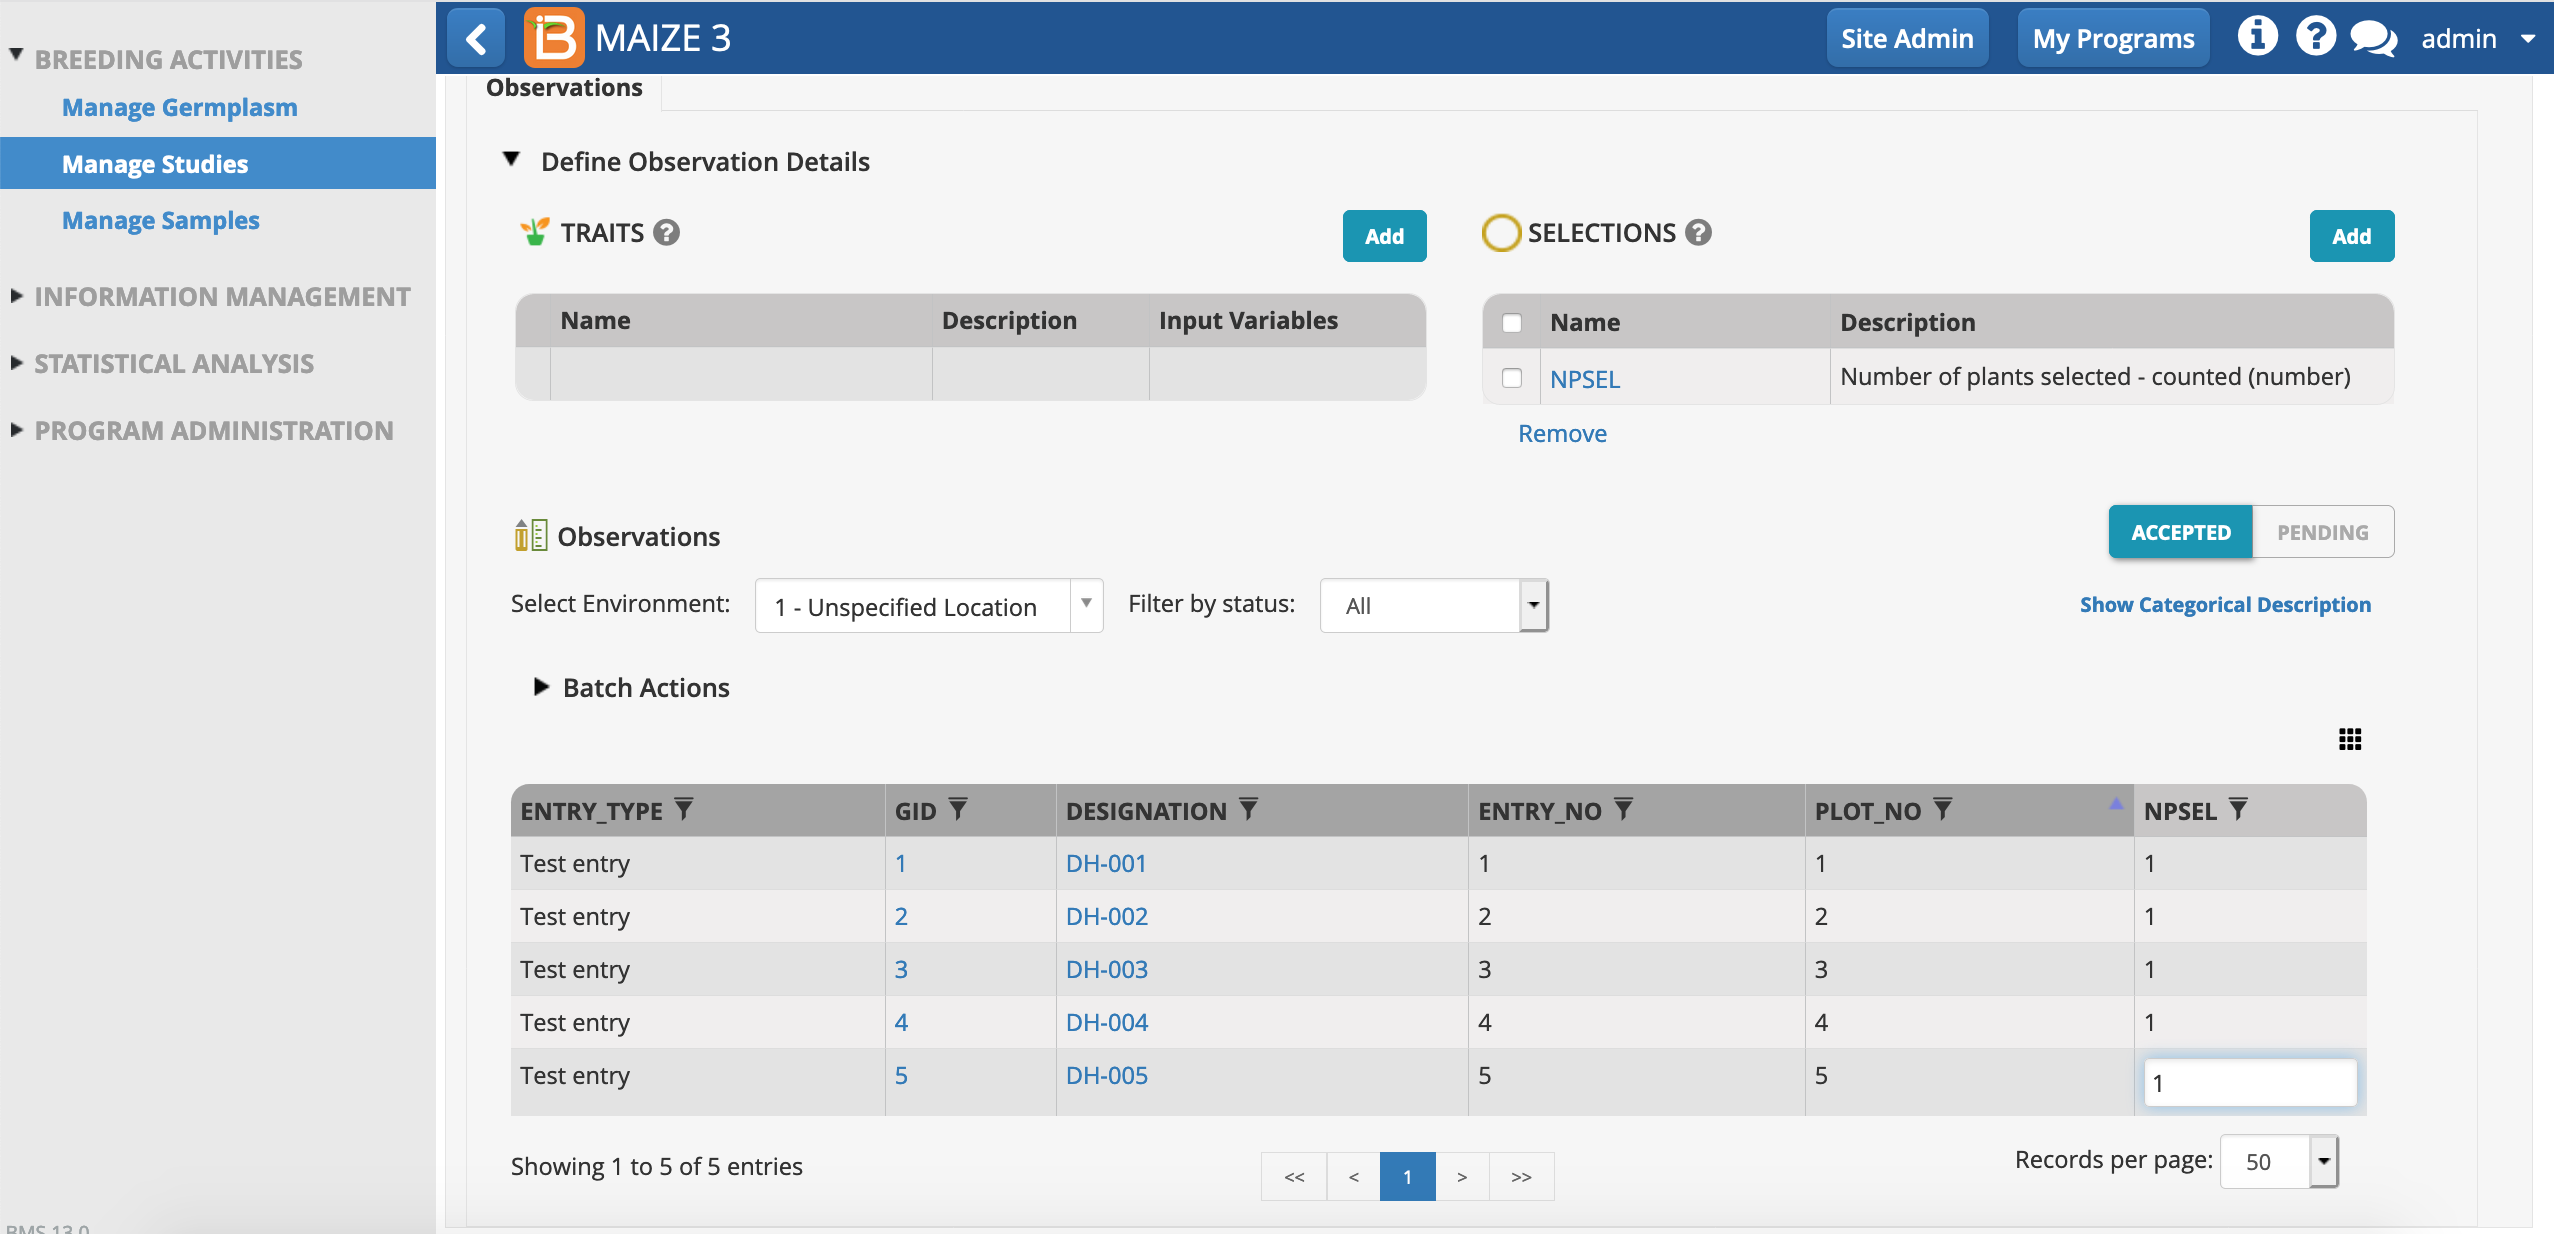
Number of plants selected (NPSEL) is now added as an empty column to the observations table. DH lines. Due to fixation, DH lines are expected to have extremely uniform phenotypes. Assuming no discernable segregation observed within lines, only one plant per plot will be selected for genotyping.
- Select one plant from each plot via browser interface. Place cursor in first NPSEL cell. Type "1" and Enter. Repeat for all five lines.
Create Genotyping Sample List
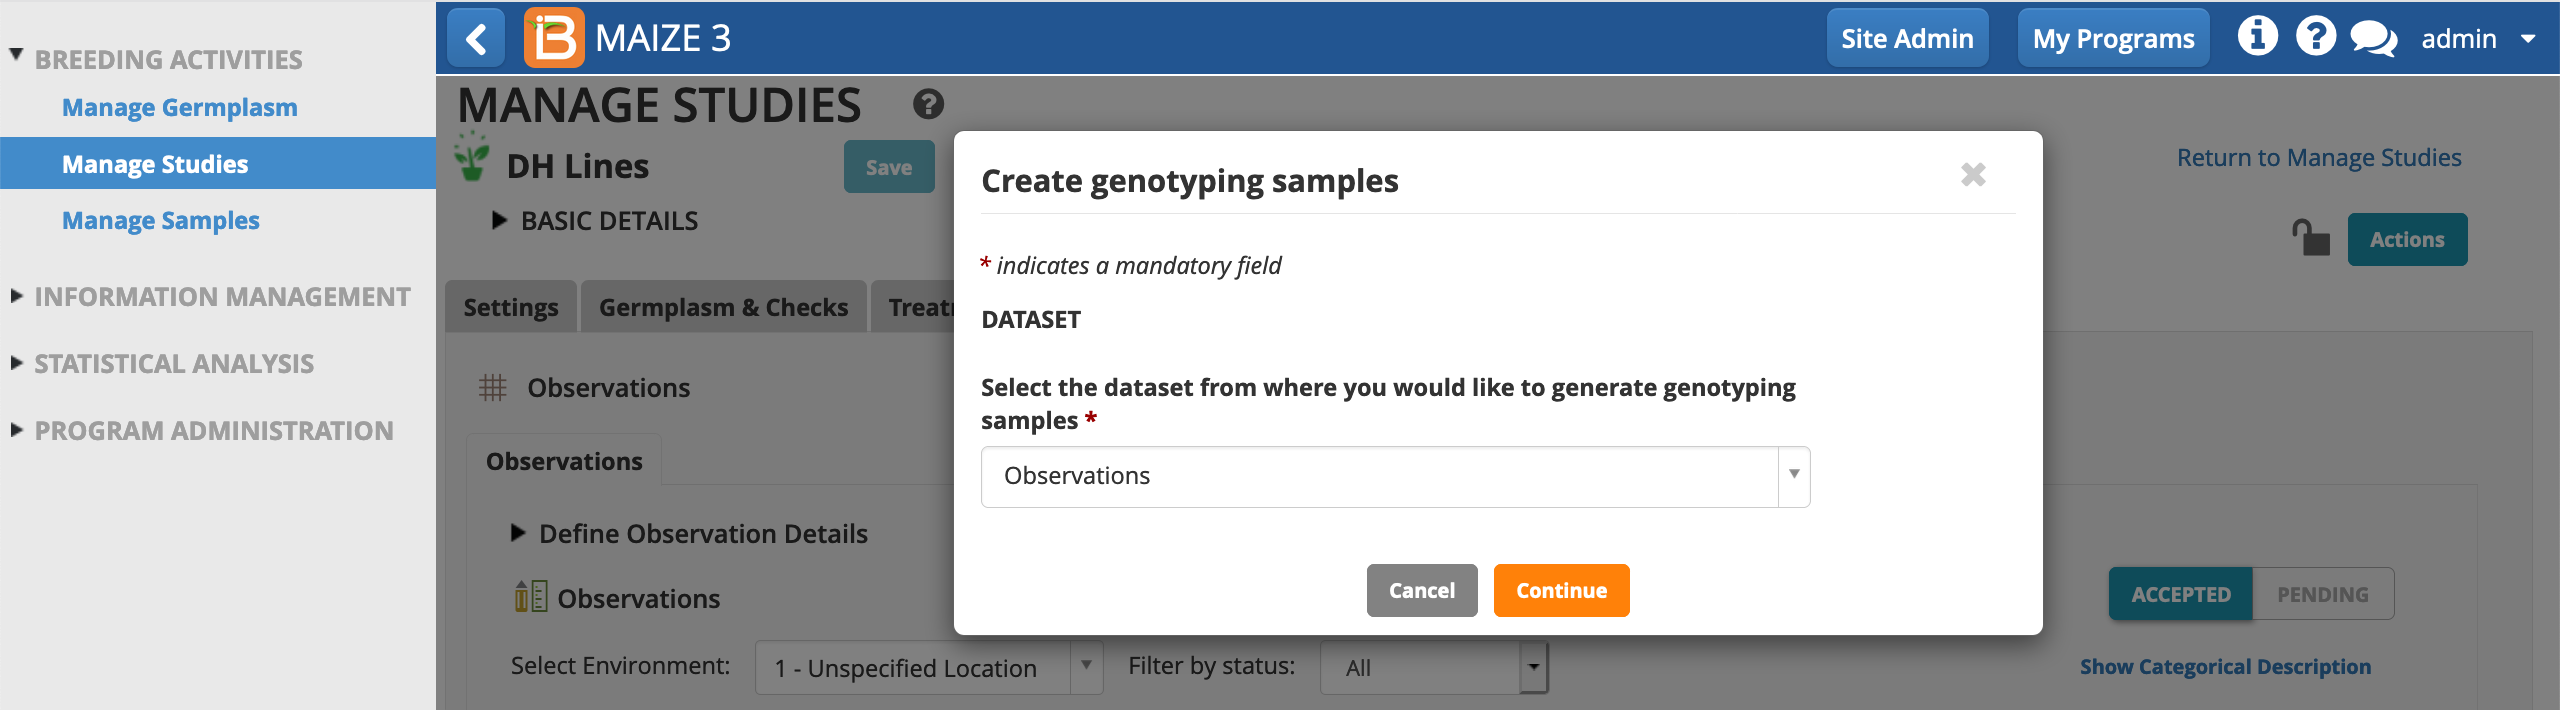
- From the studies Actions menu, select Create Genotyping Samples.

- Continue. This study only consists of a single dataset, Observations.
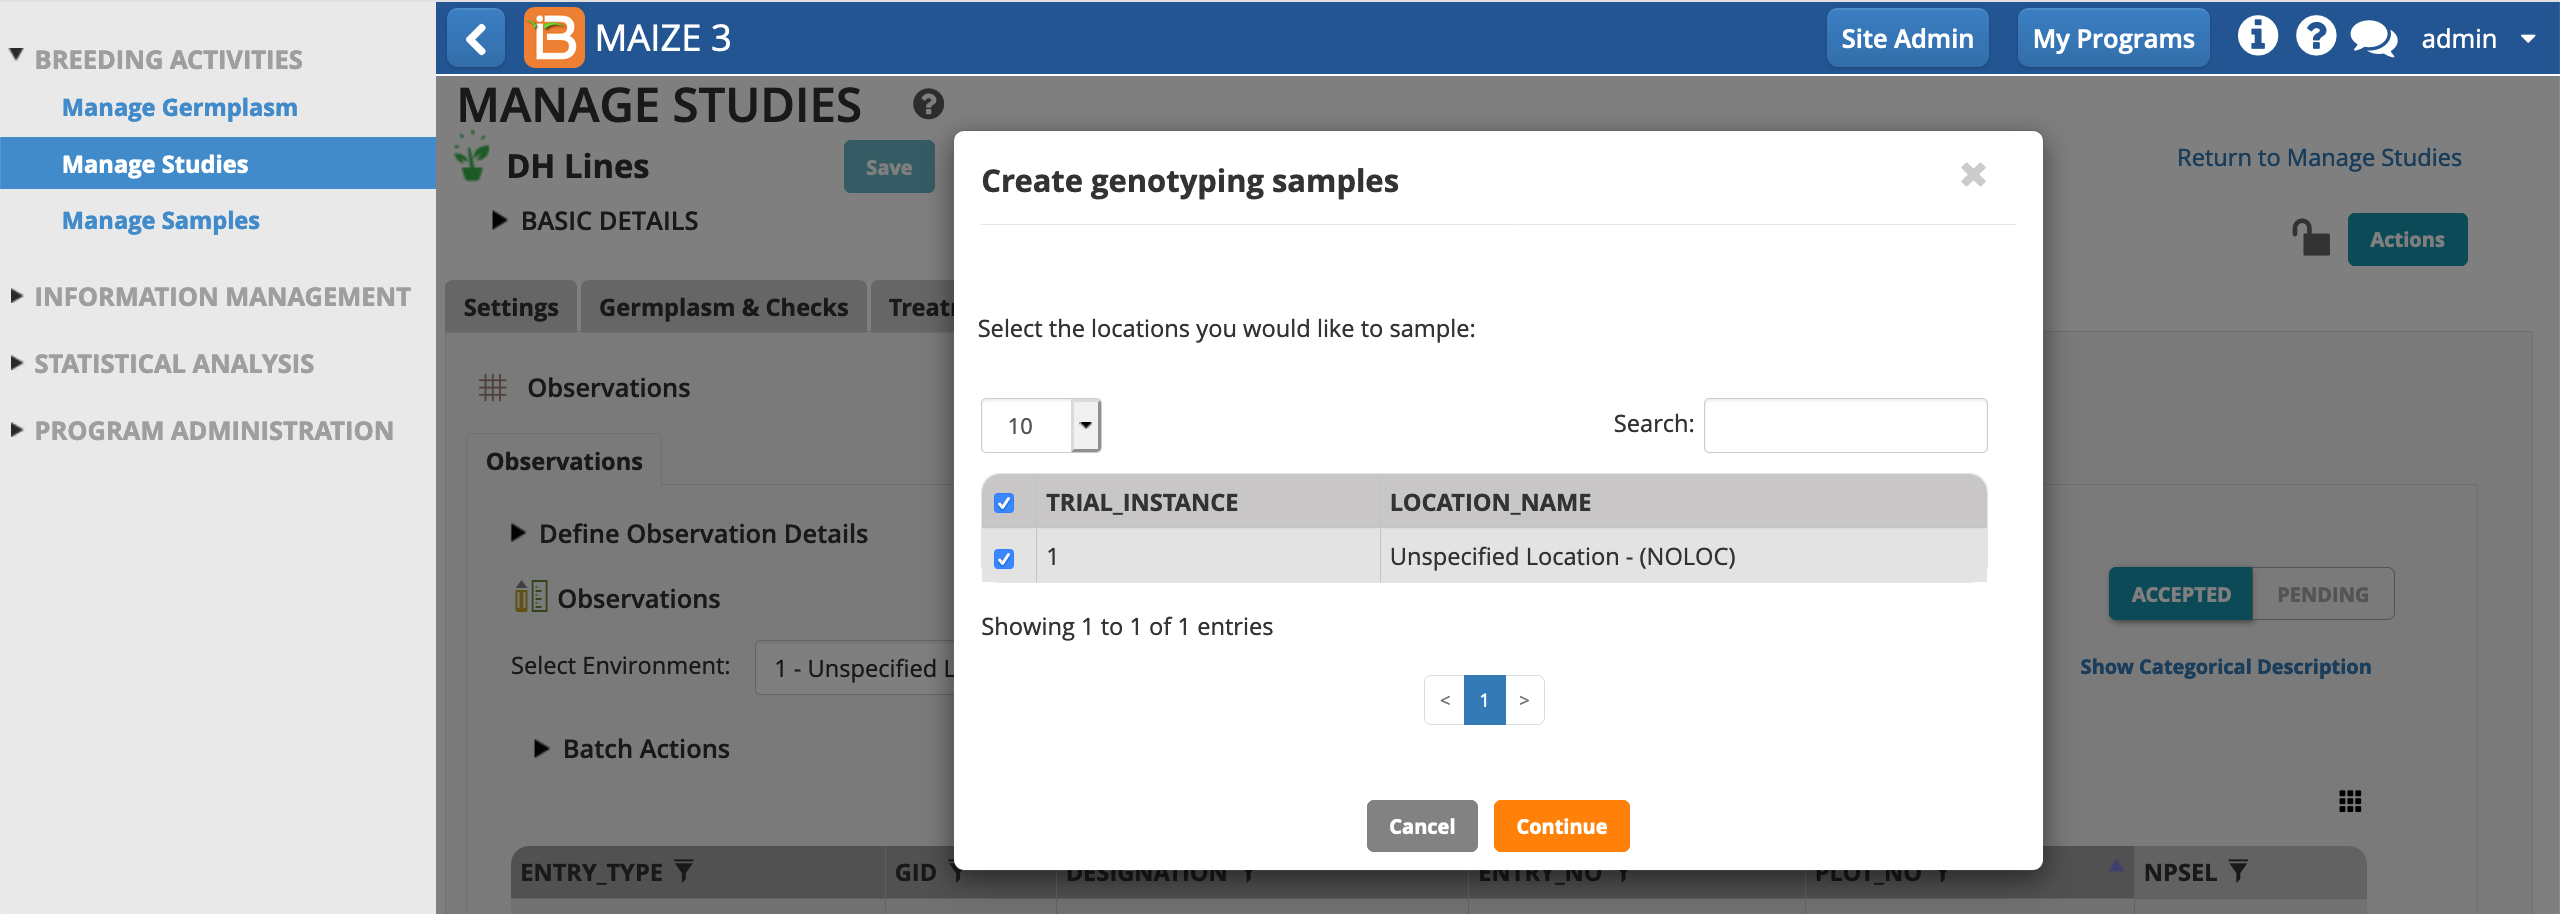
- Continue. This study only consists of a single, Unspecified Location.
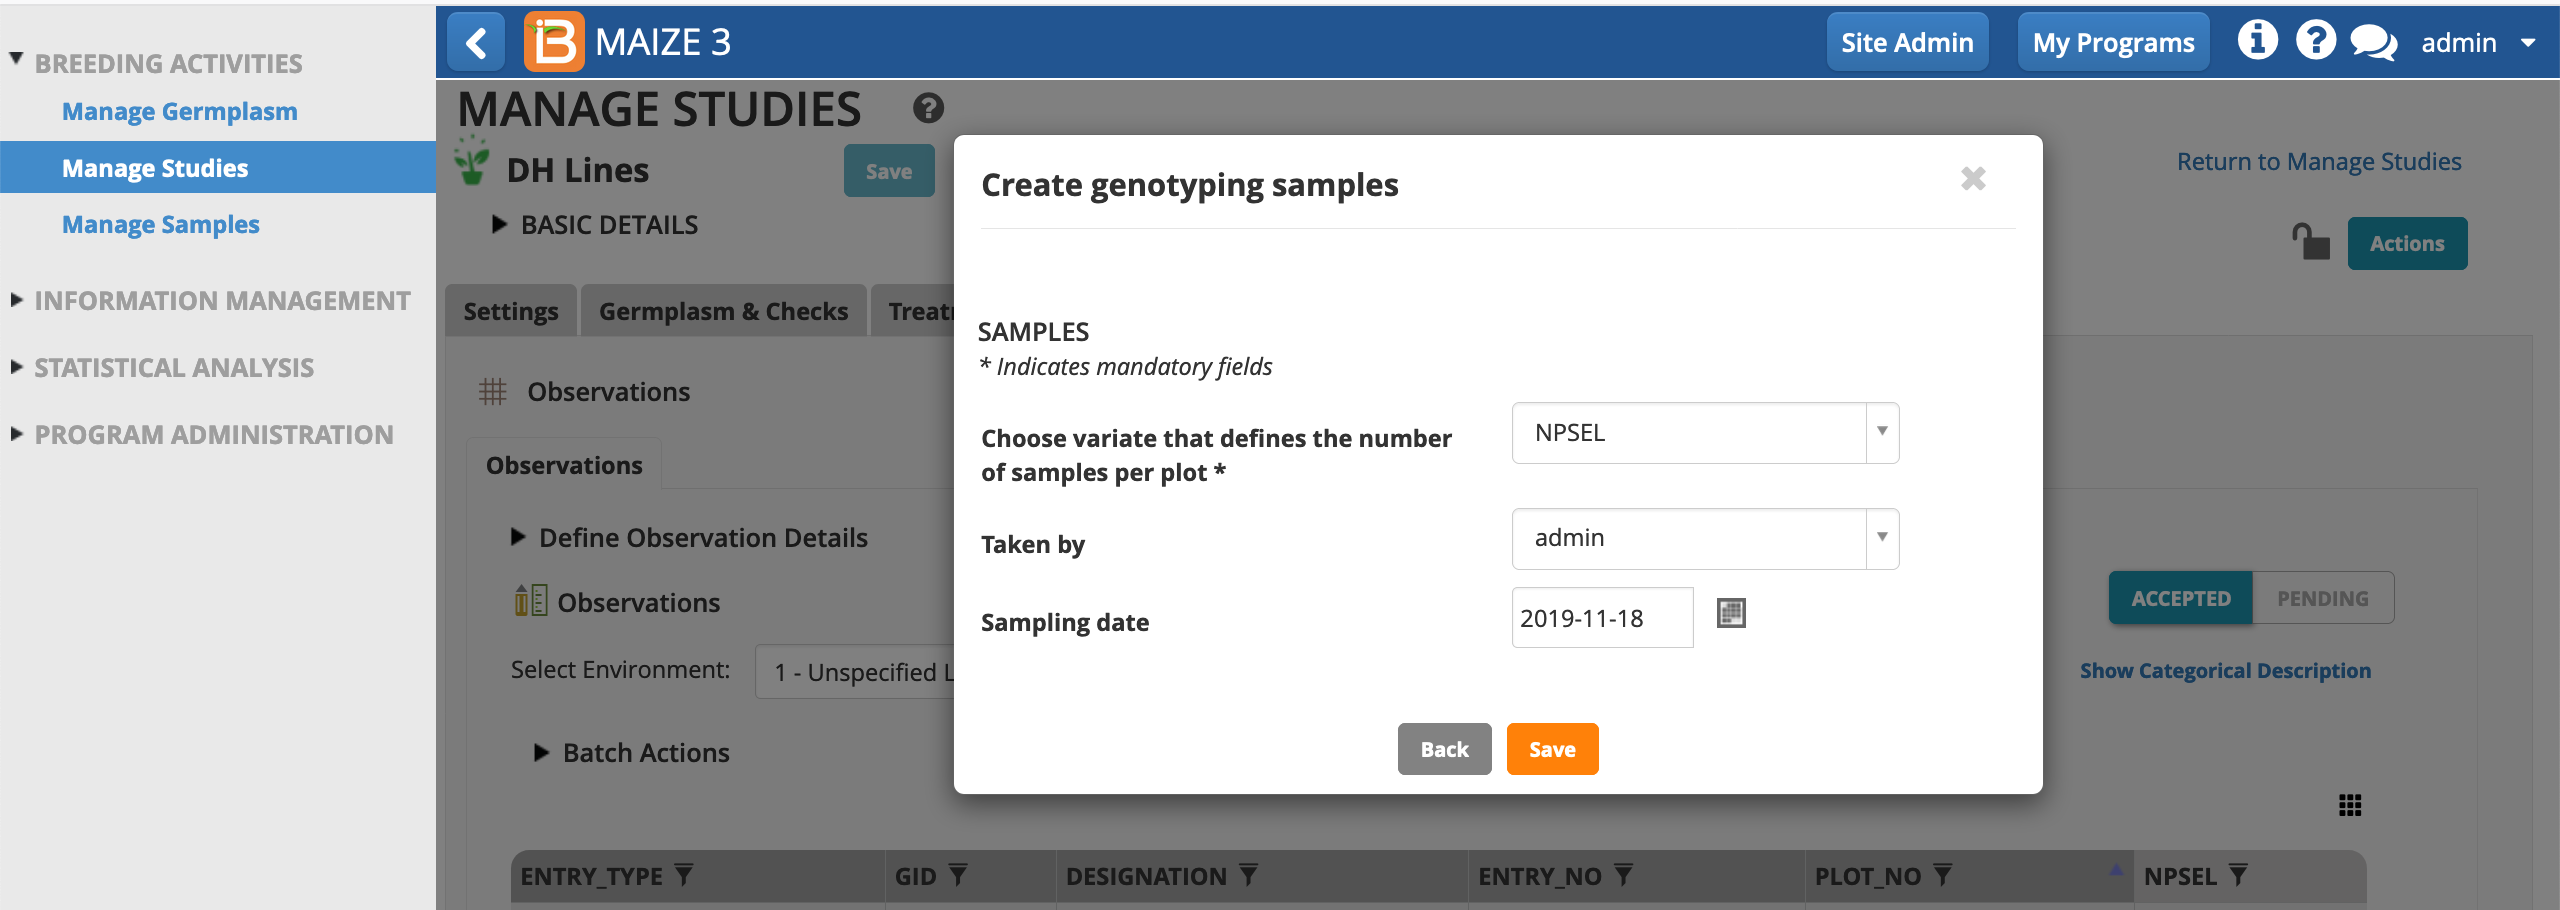
- Choose, NSPEL, as the variate defining the samples per plot. The user is assumed to the sample taker by default, but other users can be chosen from the drop down menu. Choose the date of sampling. Save.
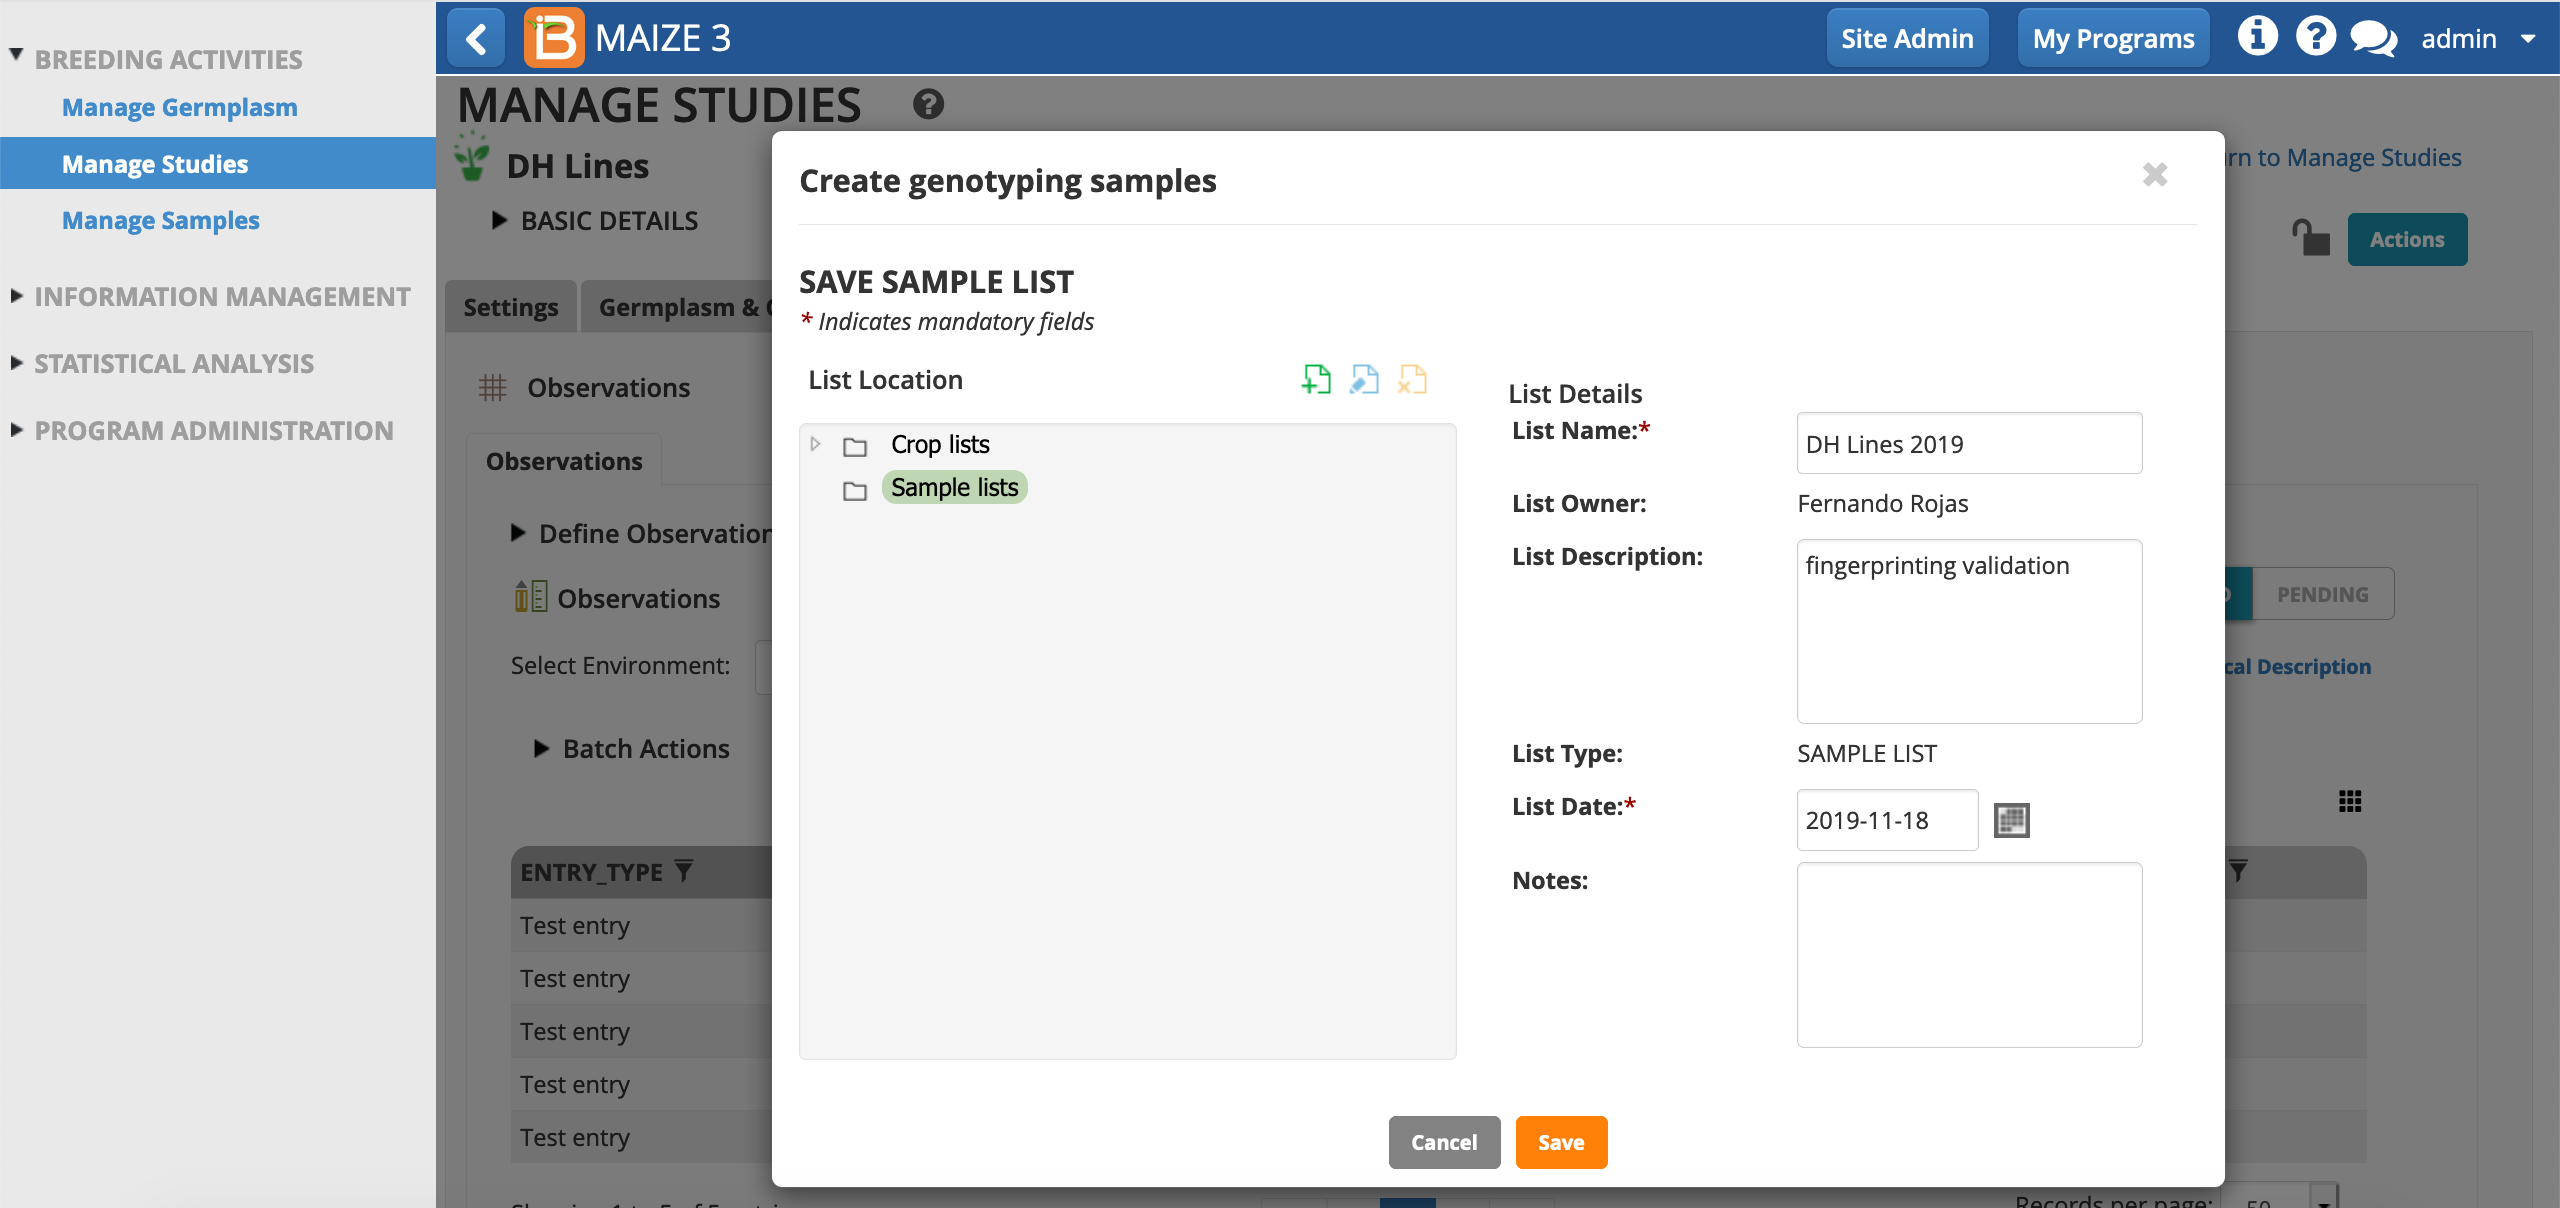
- Save the sample list in the samples directory.
The sample list is now associated with this study and in the sample list directory.
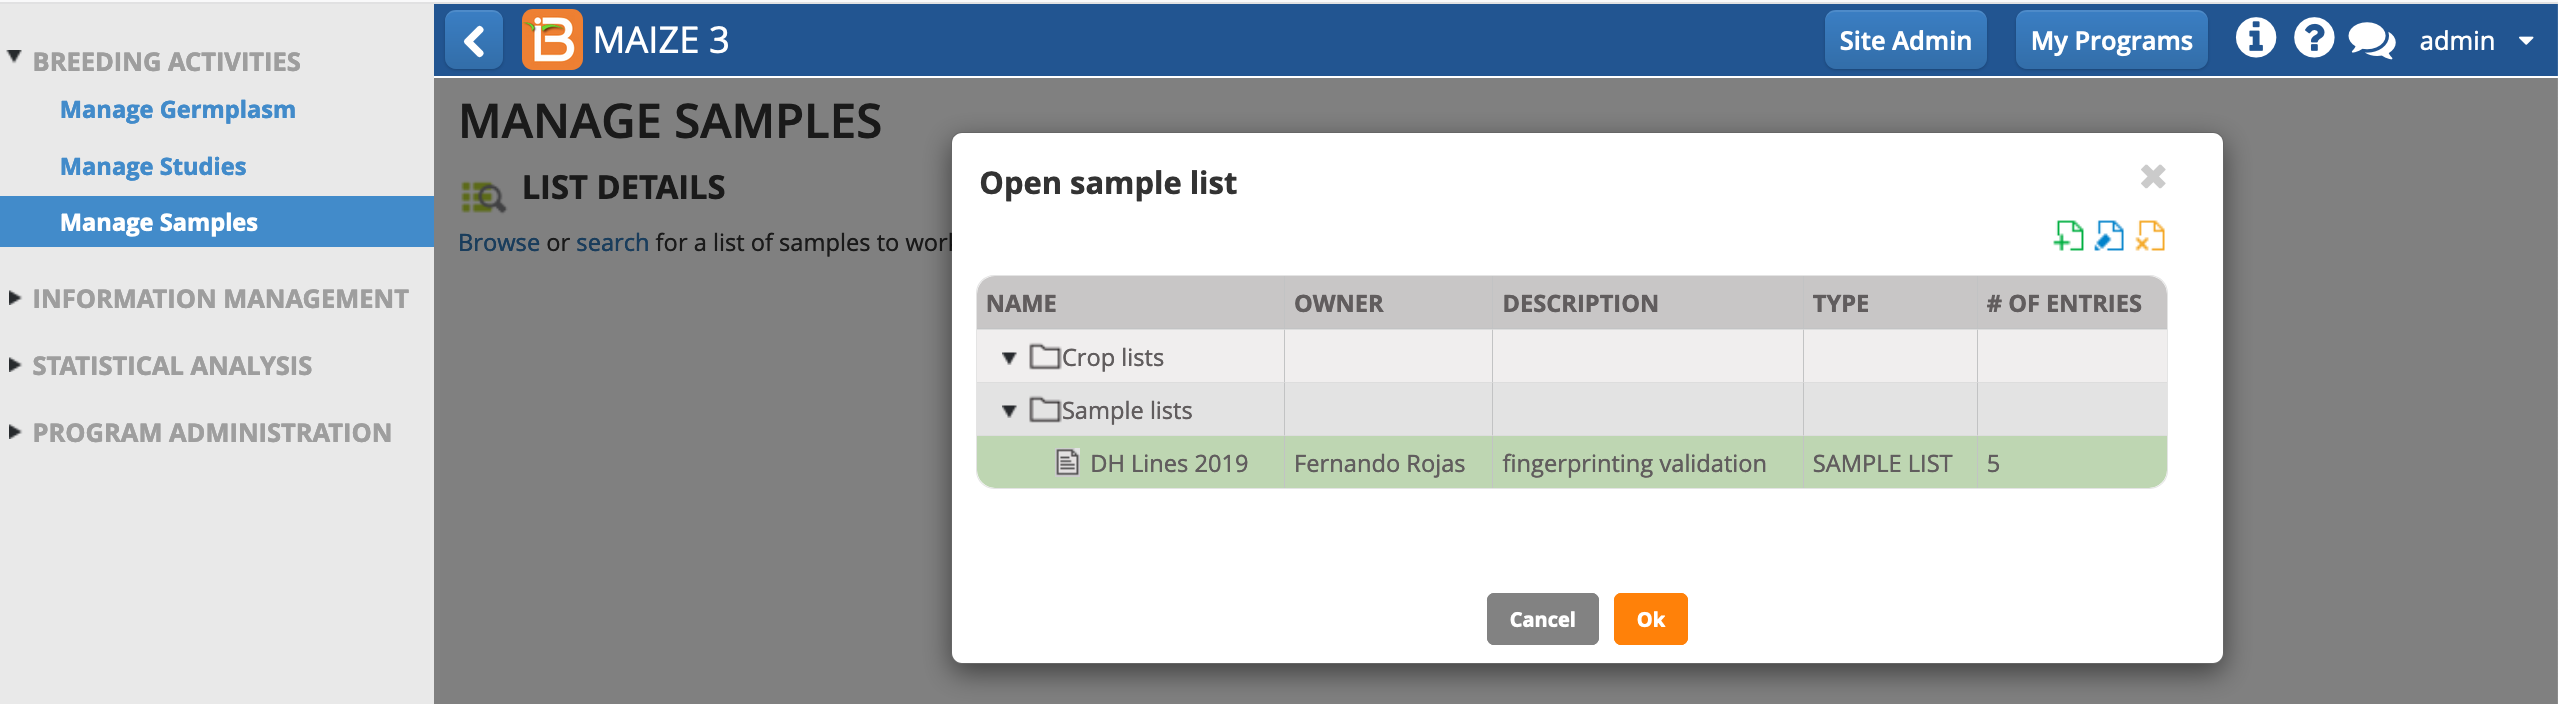
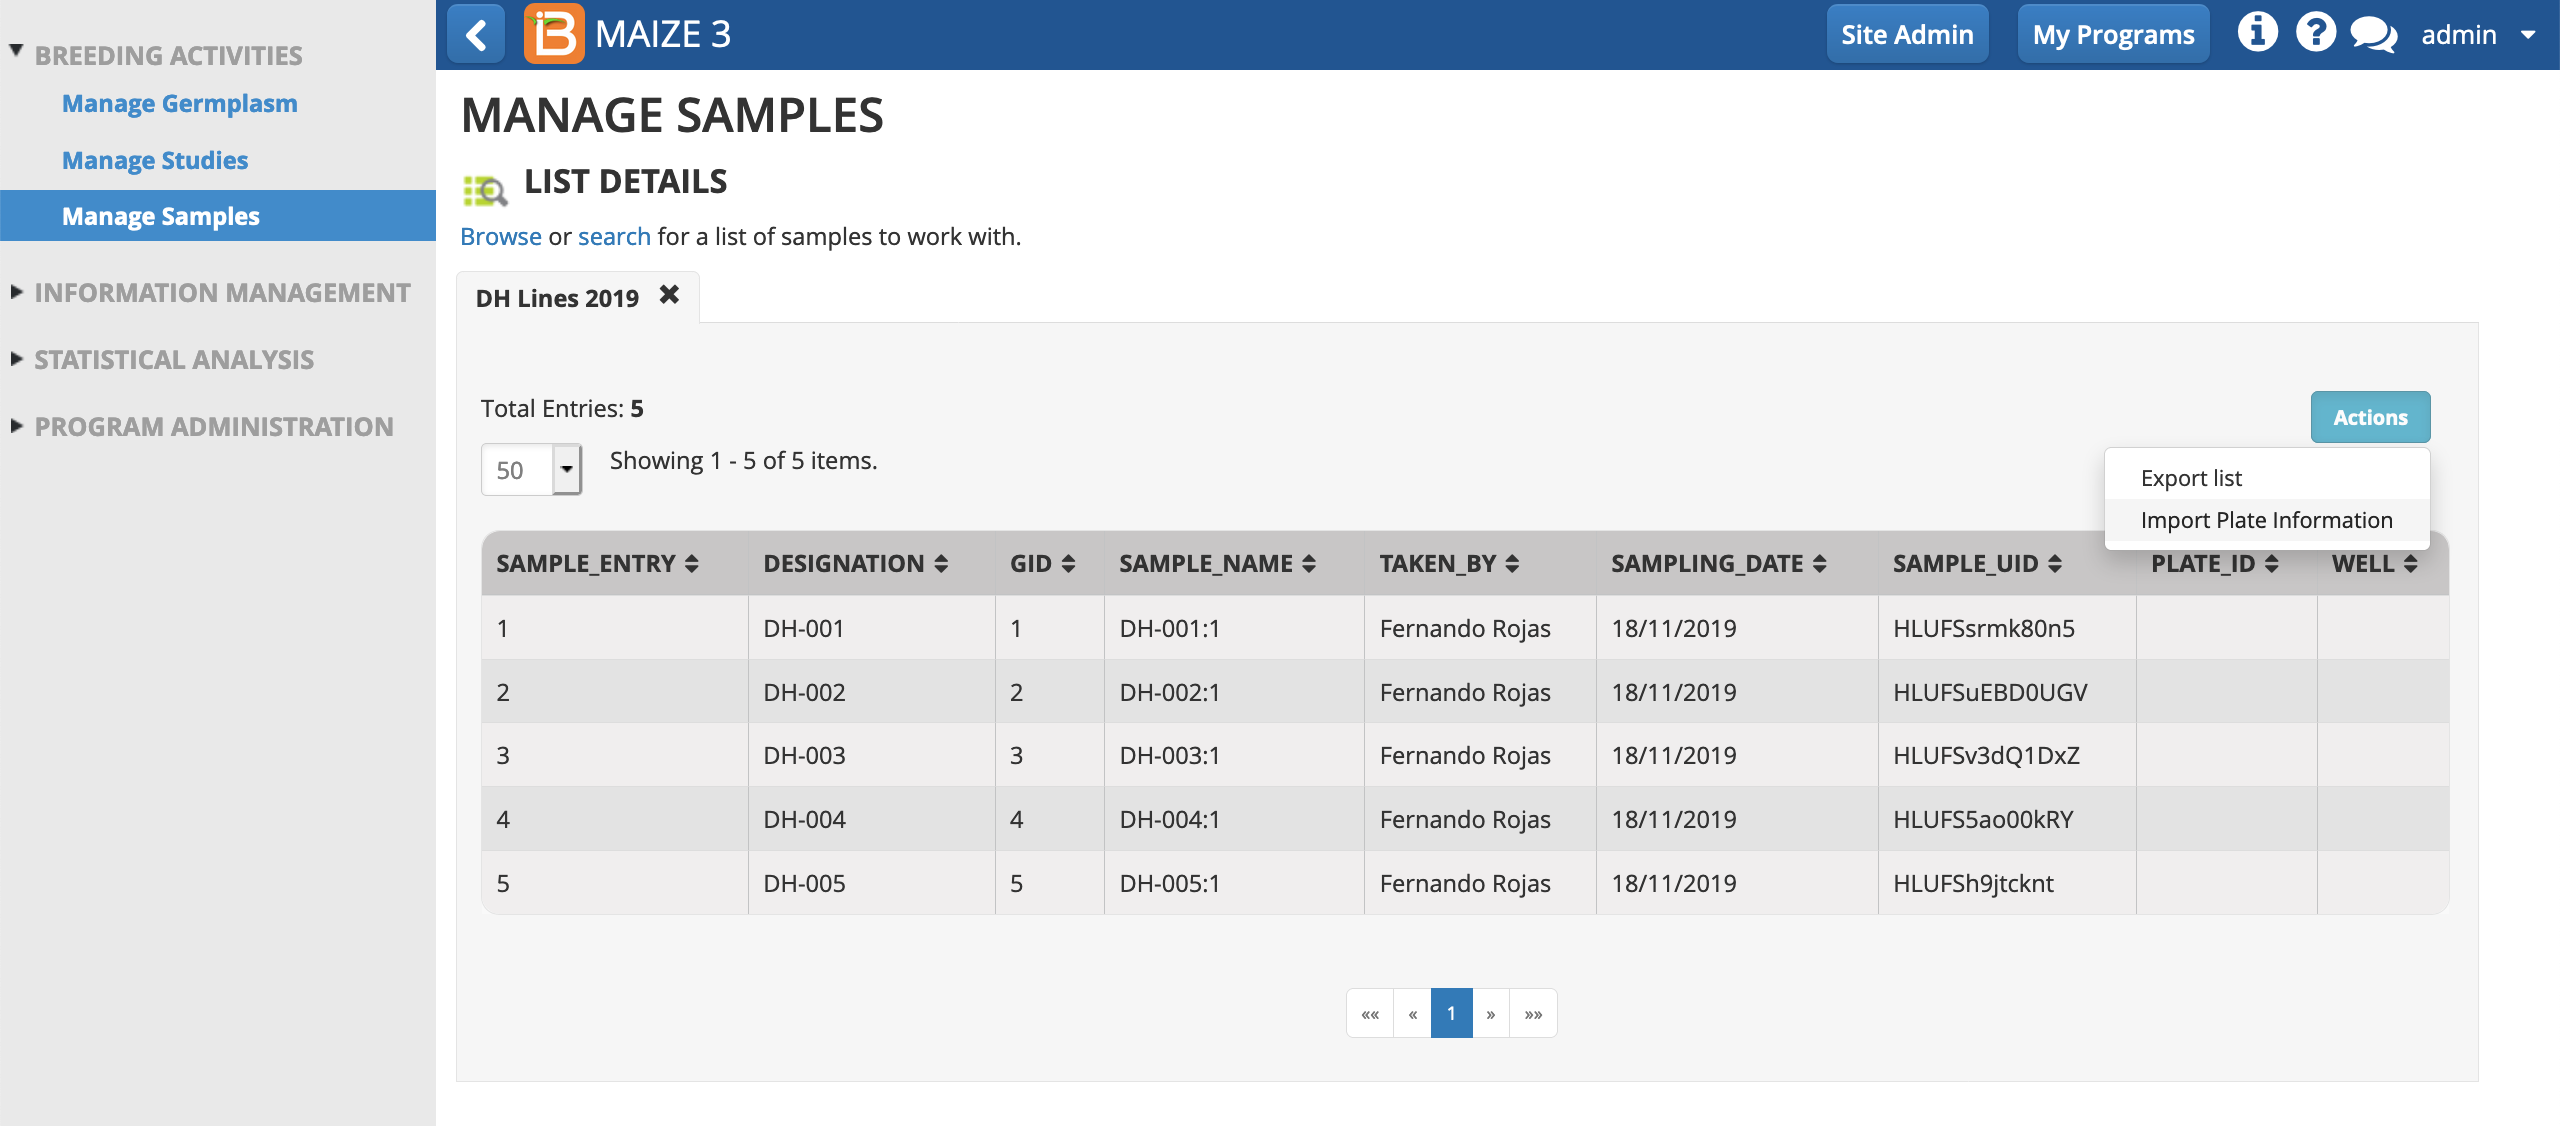
- Select Manage Samples from the left menu.

- Browse and choose the samples list. OK.
- From Manage Samples Actions menu, export list (.csv).

- Open the sample list (.csv) in a spreadsheet program, like Excel.

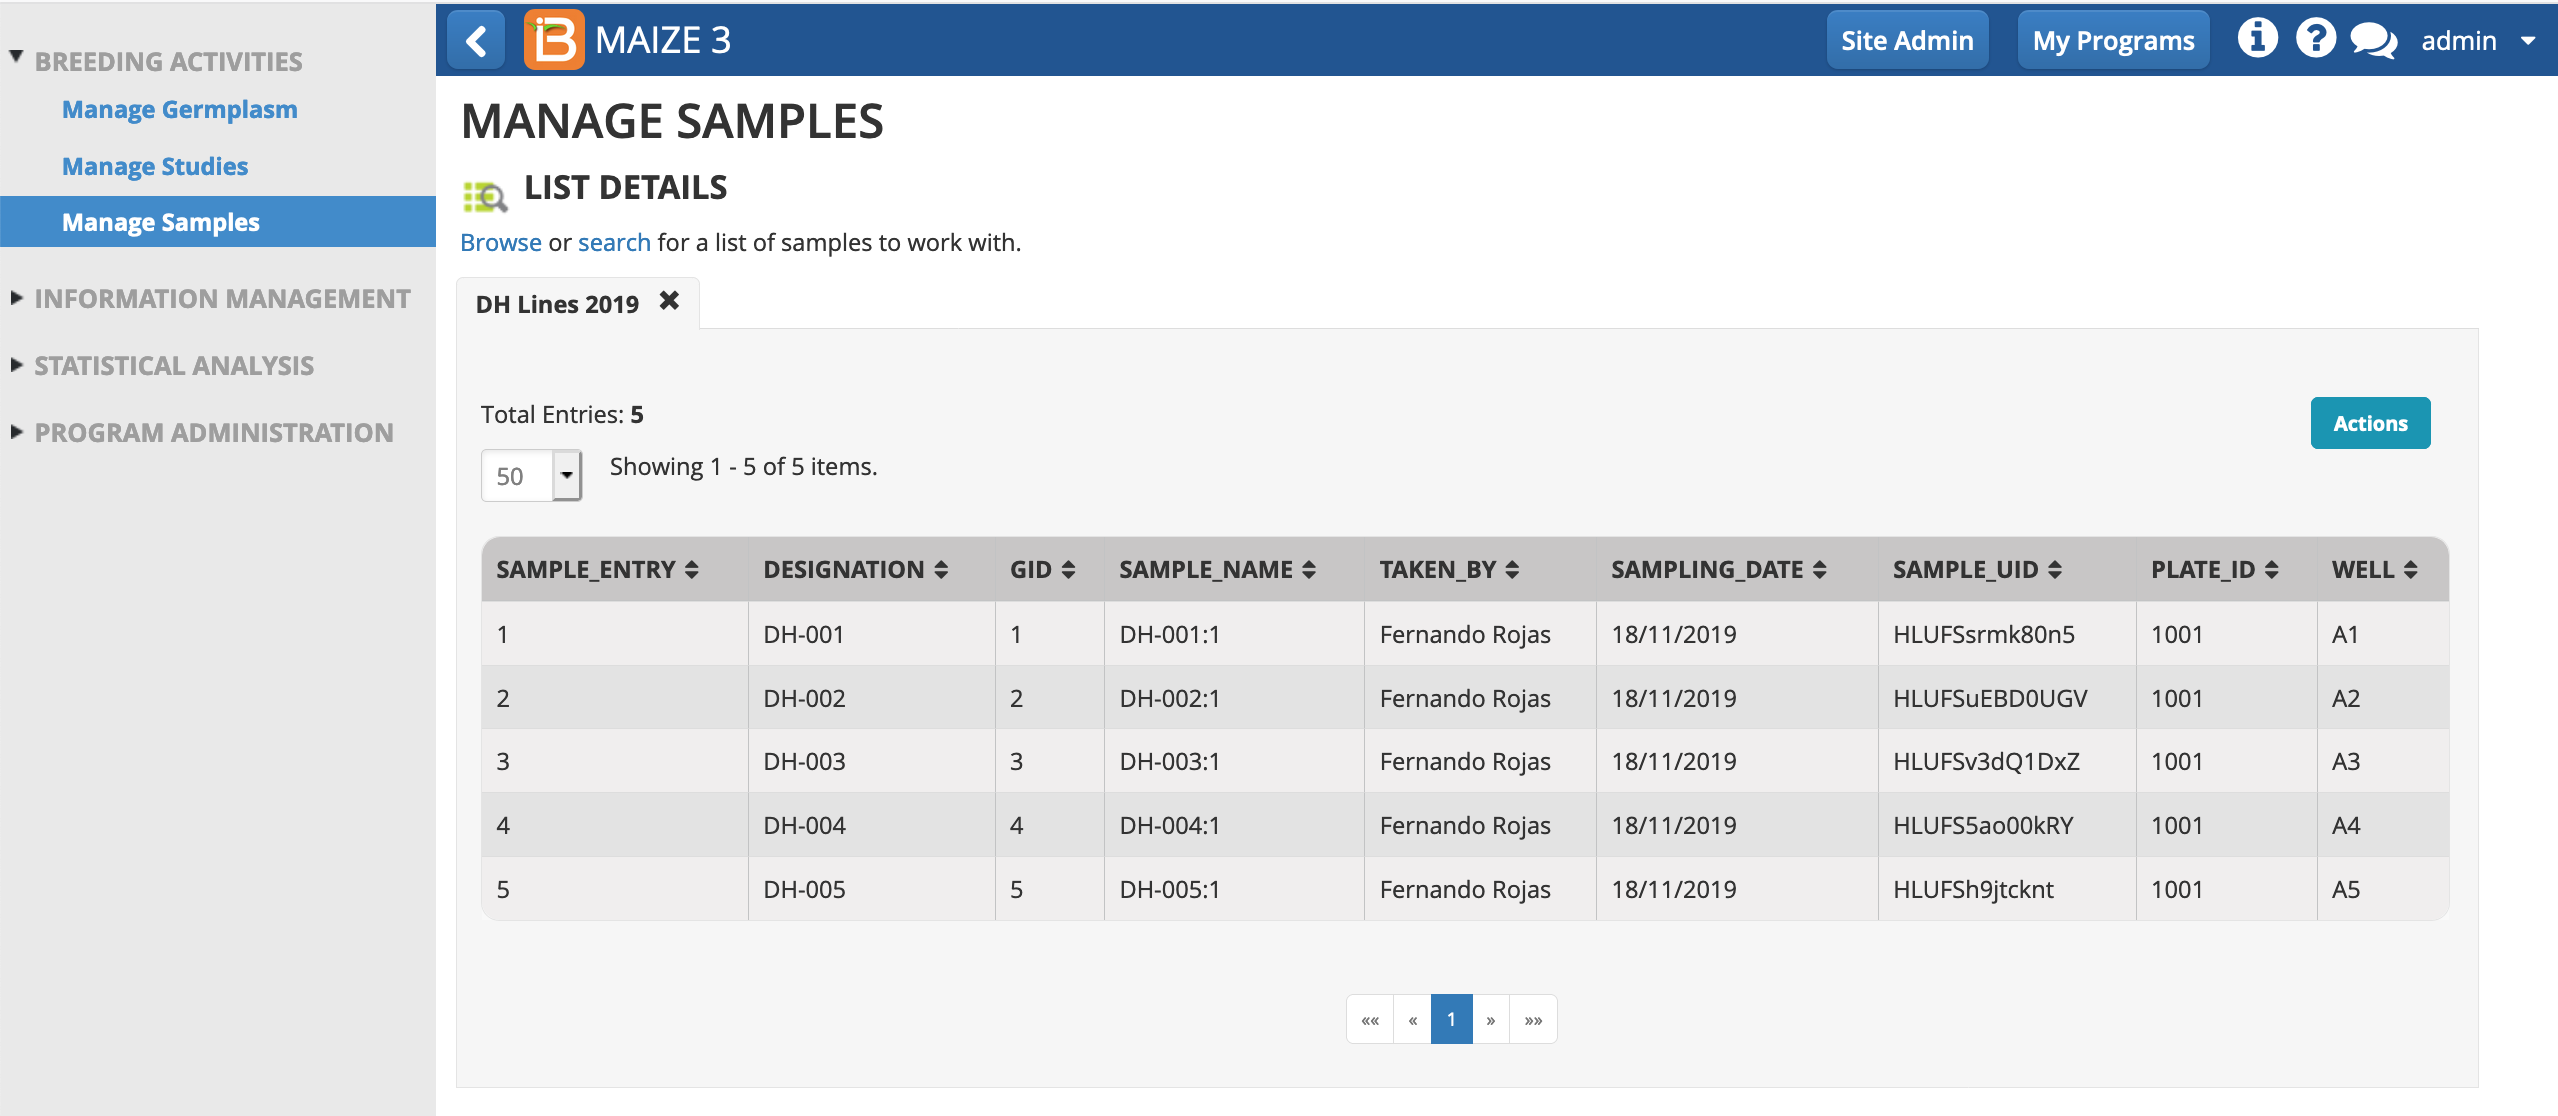
Add Plate Map Details
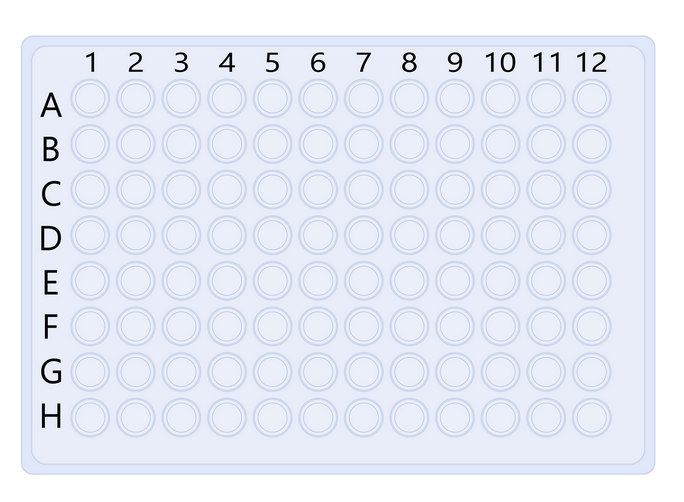
Leaf punches are generally added to a 96 well plate for DNA extraction and genotyping. Genotype service providers need a plate map to complete their analysis.
- Add fictional plate ID and well information to the .csv file. Save file.

- From the Manage Samples Actions menu, import plate information.
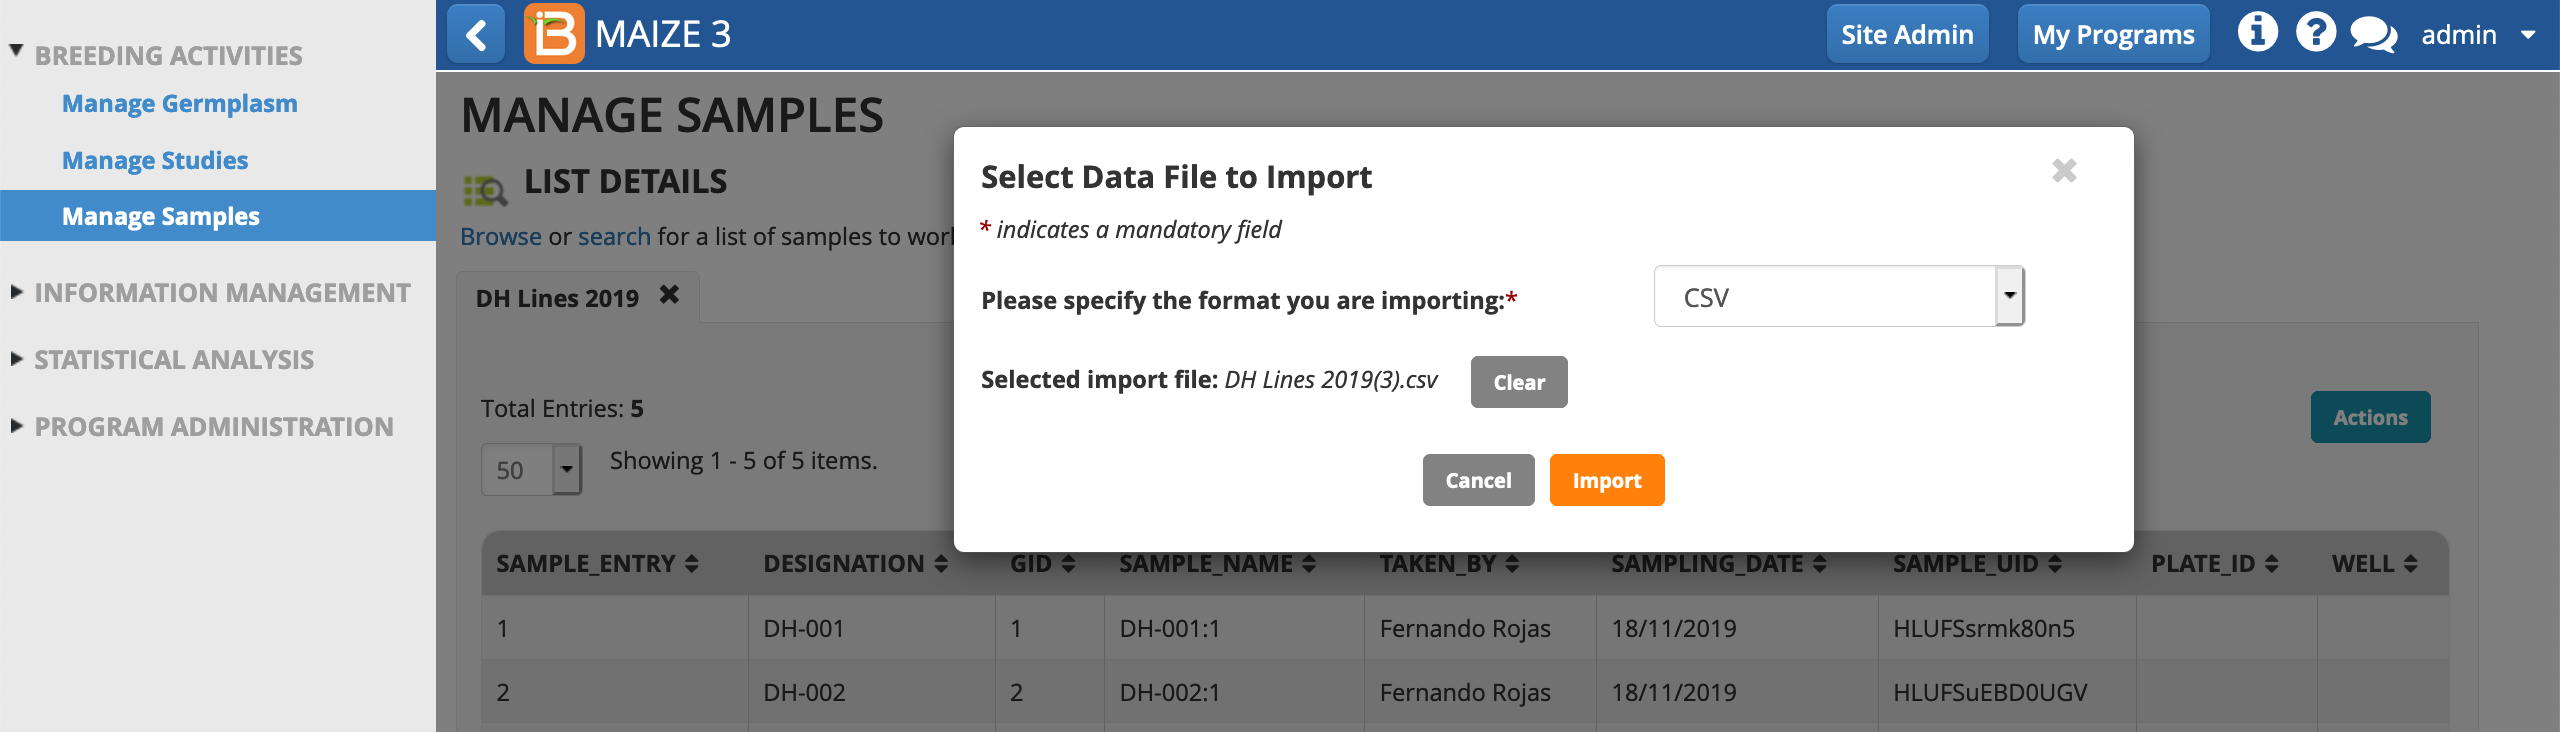
- Select import file (.csv) from your computer's file directory. Import.
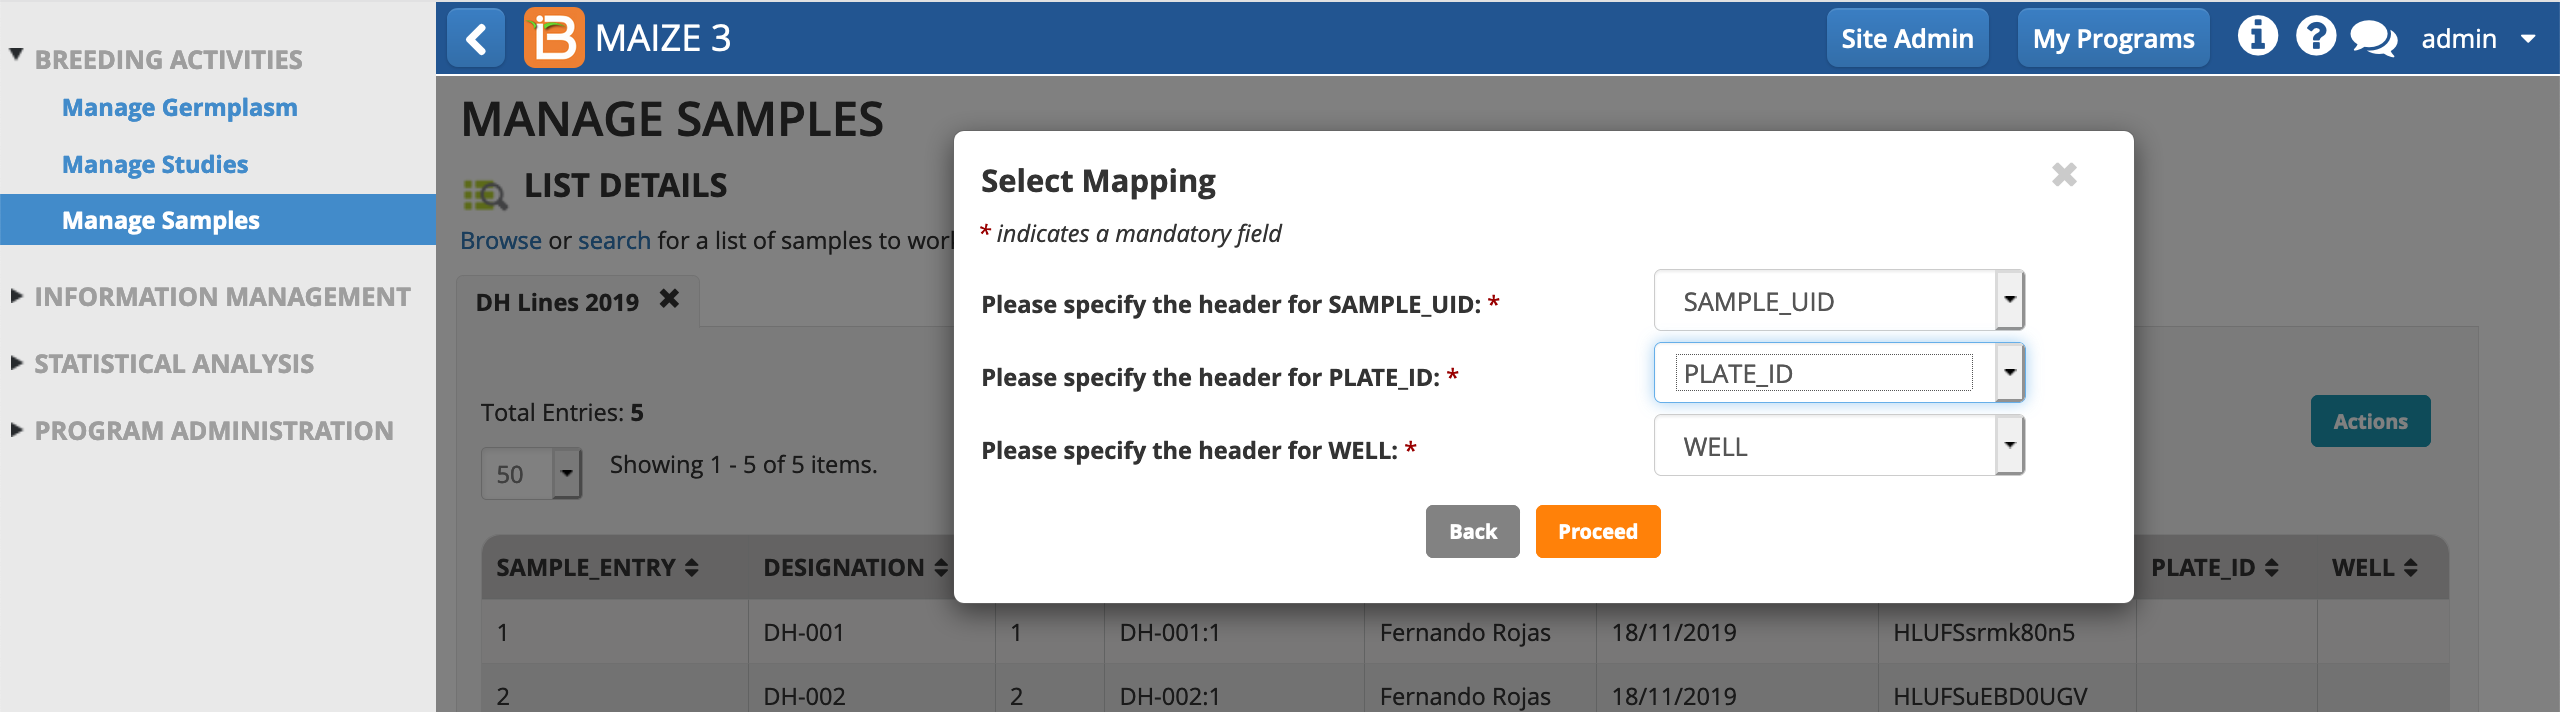
- Proceed.
The plate details now populate the sample list.
In Conclusion
This sampling tutorial concludes our exploration of genotype data management. Moving forward to upcoming tutorials, we assume that SNP genotyping validates the DH lines - the five lines represent five distinct genotypes and contain the desired markers. We will proceed with a diallel crossing scheme and seed increase of the DH lines.
The Breeding Management System is able to store low density genotype data, and the maize database comes preloaded with 1169 mapped maize SNP markers suitable for genotyping (LGC for preferred pricing). The BMS is also compatible with other BrAPI enabled genotype databases.
Additional activities: Edit a fictional genotype file .csv (5 Fictional Maize Genotypes x 1169 SNP markers) with the SAMPLE_UIDs from your sample list. Use the BMS Manage Germplasm tool to upload fictional SNP genotyping dataset for the 5 DH lines (see manual for more information).
